Apache is probably the most highly effective, versatile, and widely-used open-source software program that serves net content material over the web. The server works as a supply man by serving content material accessible as HTML recordsdata when the consumer makes any request with the web site area.
Most significantly, net servers, together with Apache, help a number of working techniques like Linux, Home windows, Solaris, macOS, and so forth. Therefore, you’ll be able to simply flip a pc right into a server internet hosting a number of web sites.
The Apache HTTP server permits loading modules with intensive help for software program and utility integration. This text particulars the set up and configuration of an Apache HTTP server in Linux.
Step 1: Set up Apache Server on Linux
Earlier than starting with the Apache set up, you need to replace the Linux bundle database from the official repositories. It’s a crucial step that helps keep away from any safety loopholes and contains the most recent options to the packages.
Replace the system repository listing and set up Apache utilizing the next instructions:
On Ubuntu and Debian:
sudo apt-get replace
sudo apt-get set up apache -y
On CentOS:
sudo yum replace
sudo yum set up httpd -y
On Fedora:
sudo dnf replace
sudo dnf set up httpd -y
To put in Apache on Arch Linux, run:
sudo pacman -Syu
sudo pacman -S apache
Word that Ubuntu/Debian distributions discuss with Apache as apache2, whereas CentOS and Fedora discuss with it as httpd.
Step 2: Confirm Apache Service Standing
On Debian-based distributions, the Apache service begins mechanically. You may go to the browser and enter your native IP deal with to entry the server’s touchdown web page. If you’re uncertain about your server’s deal with, run the hostname -i command to print the main points.
hostname -iOutput:
192.168.43.130The web page confirms profitable set up.
http://<local_server_IPadd>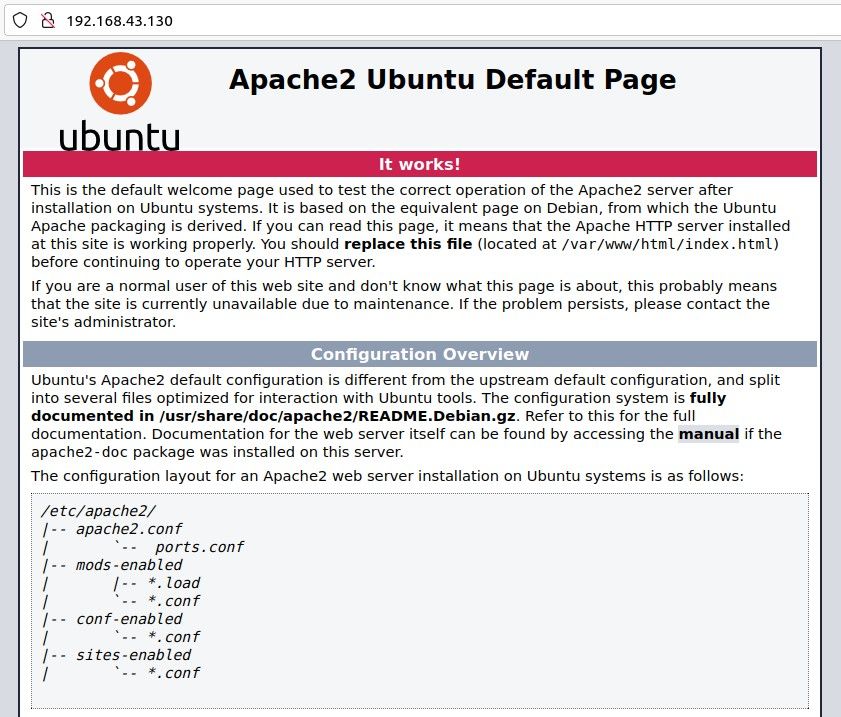
Alternatively, run the next command to confirm the set up:
apache2 -versionOutput:

For those who’re working CentOS, the service will not begin mechanically. You can begin the service manually by executing the command:
sudo systemctl begin httpdExamine the service standing, as under:
sudo systemctl standing httpdStep 3: Configure Firewall to Permit Apache Server Entry
One other obligatory step in Apache configuration is enabling the UFW firewall in Linux to just accept or permit site visitors to entry the server through default port 80. Throughout set up, the service registers with the firewall with some utility profiles. The listing of utility profiles lets you allow/disable Apache entry.
Use the next command to listing all Apache utility profiles:
sudo ufw app listingOutput:
Accessible purposes:
Apache
Apache Full
Apache Safe
OpenSSH
The accessible profiles characterize:
- Apache: Solely opens port 80 to allow unencrypted communication over the web
- Apache Full: Opens each ports 80 and 443 for unencrypted and safe communication
- Apache Safe: Allows safe server entry through HTTPS by permitting site visitors on port 443
Since we do not have SSL/TLS enabled for the server, we’ll permit UFW entry on solely port 80 as follows:
sudo ufw permit 'Apache'Now examine the firewall standing by working:
sudo ufw standing
Step 4: Perceive Apache Directories and Recordsdata
After profitable server set up and configuration, each newbie should know the way the server manages its web sites and their content material. The /var/www/html listing manages all of the web sites you wish to host in your server.
By default, the listing accommodates the net web page you’ve got seen earlier. Apache permits you to create totally different subdirectories on this folder to host a number of web sites.
In Ubuntu and Debian-based distributions, the principle configuration listing for the Apache server is /and so forth/apache2, whereas for CentOS, it is /and so forth/httpd. Therefore, all of the configuration recordsdata for the server can be found inside these directories. A few of the most recognized recordsdata/directories are:
- /var/log/apache2/error.log: Logs all of the errors encountered
- /var/log/apache2/entry.log: Logs all of the entry requests made to the server
- /and so forth/apache2/sites-available: Listing that accommodates digital hosts
- /and so forth/apache2/sites-enabled: Shops able to serve web sites per digital host. It can’t work with out linking the configuration file contained in the sites-available listing utilizing the a2ensite command.
An Instance to Set Up a Digital Host
Apache server set up creates a default listing of /var/www/html in all Linux distributions. This listing accommodates all of the recordsdata in your web site, however it can’t work if you wish to host a number of web sites on the identical server.
To serve a number of domains, you should use digital hosts and create a site listing contained in the /var/www folder, as follows:
sudo mkdir /var/www/host_example
Change the possession and file permissions of the listing utilizing chown.
sudo chown -R $current_user:$current_user /var/www/host_example
sudo chmod -R 755 /var/www/host_example
Now open the /var/www/host_example/html/content material.html file in your favourite editor and replica/paste the next HTML:
<html>
<head>
<title>Welcome to host_example!</title>
</head>
<physique>
<h1>You're working host_example on Ubuntu 18.04!</h1>
</physique>
</html>
Apache creates a configuration folder that serves as a storage place to include a file of the digital hosts. The default configuration file is /and so forth/apache2/sites-available/000-default.conf. Nonetheless, you’ll be able to create a brand new file in response to your area title and replica/paste the configuration block accessible within the default file.
Edit the file with a textual content editor of your alternative and replace it along with your area title and the brand new listing as follows:
<VirtualHost *:80>
ServerAdmin admin@host_example
ServerName host_example
ServerAlias www.host_example
DocumentRoot /var/www/host_example
ErrorLog ${APACHE_LOG_DIR}/error.log
CustomLog ${APACHE_LOG_DIR}/entry.log mixed
</VirtualHost>
Activate Your Area Configuration File
The area configuration file host_example.conf activation requires using a2ensite.
sudo a2ensite host_example.confThe above output shows the necessities for disabling the default configuration file (000-default.conf):
sudo a2dissite 000-default.confNow restart the apache service to load the modifications.
sudo systemctl restart apache2Go to the browser and navigate to the area title to examine whether it is serving your web site:
http://host_exampleCheck for Configuration Errors
The apache2ctl utility permits you to examine for any configuration errors for the Apache server. The next command should return the Syntax OK output to confirm the profitable no-error configuration:
sudo apache2ctl configtestOutput:
Syntax OK
Internet hosting A number of Web sites on Linux Servers Utilizing Apache
The tutorial above reveals the modularity and ease of putting in and configuring an Apache server. The flexibility of the server permits you to configure the setup and host web sites as per your requirement. The use case of the digital host setup reveals how the configuration recordsdata work and work together.
You’ll have additionally seen that the specifics/folders could change relying in your Linux distribution and Apache model. Lastly, the Apache administration instructions are there to handle, begin or reload the server companies in an optimized method. You can too discover another Linux servers to host your web sites on.
Learn Subsequent
About The Creator
