
Have you ever copied a text snippet, then copied another shortly after, only to realize that the initial text snippet is now gone?
Well, it’s quite a common sight on most operating systems, including Linux. And it’s got to do with your system’s clipboard/pasteboard, which can hold only one instance of text at a time.
Fortunately, you have clipboard managers, like CopyQ, that allow you to store multiple snippets in your clipboard and use them wherever required.
Let’s check out CopyQ, its installation steps on Linux, and how to use it to manage your clipboard history.
What Is CopyQ?
CopyQ is an advanced clipboard manager that works with all major desktop operating systems. It monitors your system’s clipboard for any changes and copies its content whenever it’s modified. You can then access its clipboard history and paste text snippets from there directly into other apps.
Following are some stand out features of CopyQ:
- Support for text, HTML, images, and other formats
- Quick clipboard browsing and item filtering
- Freedom to manage (sort, create, edit) items in tabs
- Option to add notes or tags to copied text snippets
- Ability to customize the app’s appearance
- Scripting capabilities
How to Install CopyQ on Linux
CopyQ is available on most Linux distros and is fairly easy to install. So depending on what Linux distro you’re running on your machine, use the instructions below to install it on your computer:
On Debian/Ubuntu, open the terminal and run the following command:
sudo apt install copyqTo install CopyQ on Fedora, CentOS, or RHEL, use:
sudo dnf install copyqArch Linux users can install CopyQ by running:
yay -S copyqIf you’re on any other Linux distro, you can install CopyQ using Flatpak. For this, first, install Flatpak on your Linux machine using our Flatpak guide. And then, run the command below to install CopyQ:
flatpak install flathub com.github.hluk.copyqHow to Use CopyQ on Linux
Once you’ve successfully installed CopyQ on your system, open the Applications menu, look up copyq, and launch it. Upon opening the app, the first thing you’ll notice is that the app doesn’t appear on the desktop. That’s because it’s present in the system tray.
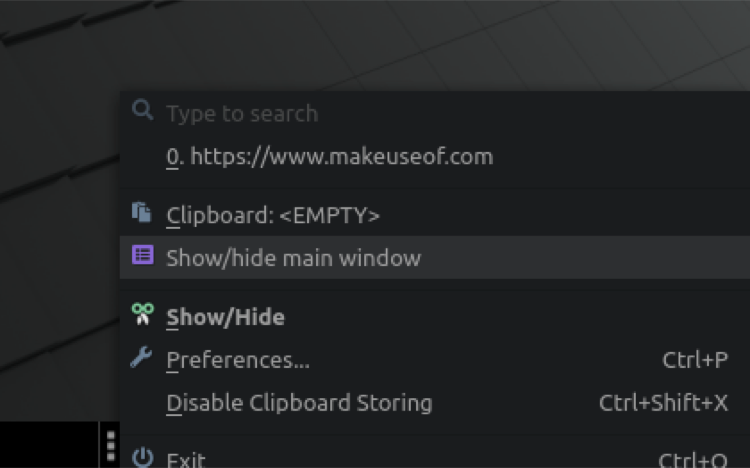
To bring it up, right-click on CopyQ’s icon in the tray (usually located at the bottom-right of the screen) and select Show/Hide.
Alternatively, you can open a terminal window and run the copyq command in it to bring up the GUI.
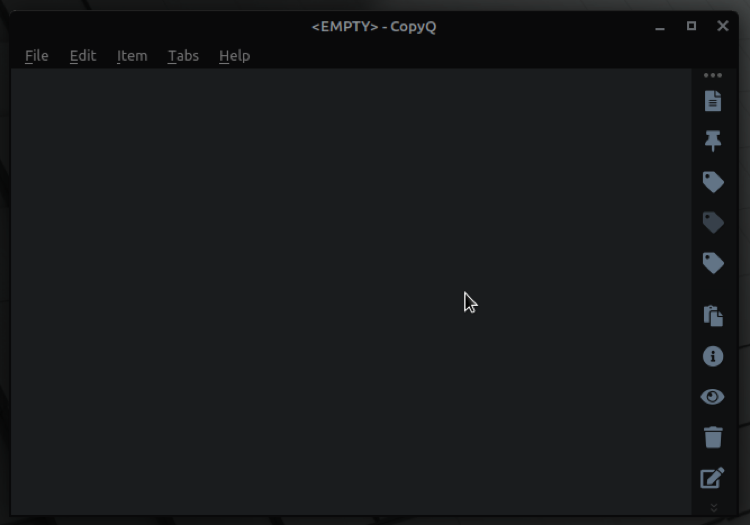
CopyQ Main Window
With CopyQ GUI up, you’ll be greeted with CopyQ’s main window that displays all your copied text and images in one place. But since you haven’t copied any items after installing CopyQ, this will be empty for now.
Minimize this window and continue using your computer to accumulate some clippings in your clipboard.
Create and Edit Copied Items
Over time, when you’ve copied a few text snippets or images to your clipboard, return to the main window, and there you’ll find a list of all your copied items. If you’d like to edit a snippet, hit the F2 key and start making changes to it. Alternatively, you can right-click on an item and select Edit.
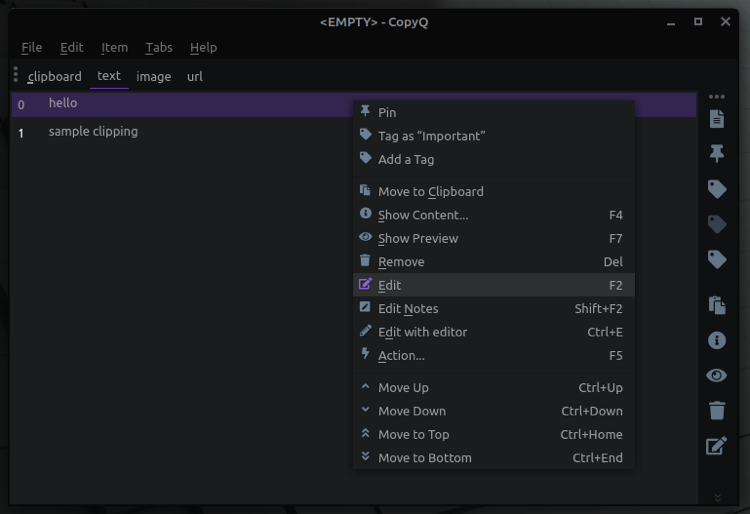
When you’re done editing, hit F2 again to save the clipping.
Similarly, to create a new item, click Ctrl + N, enter your text, and press F2 to save it to the list.
In case you want to rearrange items in this list, use Ctrl + Up or Ctrl + Down to move them up or down, respectively.
Find Copied Items
Eventually, as you copy more-and-more items, you’ll accumulate a lot of text snippets and images in your clipboard. This can make it difficult to find an item from the list of clippings in the CopyQ main window.
Fortunately, CopyQ offers search functionality to simplify finding copied items. To use it, while you’re on the main window, start entering a part of the text in a text snippet to filter your results.
For instance, if you want to look for a clipping with the words sample test, type sample test to get your desired snippet.
Paste Items From Clipboard
Finally, when you want to paste an item you copied earlier, click on the text field and bring up the Show/Hide (or CopyQ’s main window) from the system tray. Here, find the text/image you want to paste and click on it. Alternatively, you can use the arrow keys to navigate the list and hit Enter to paste the item.
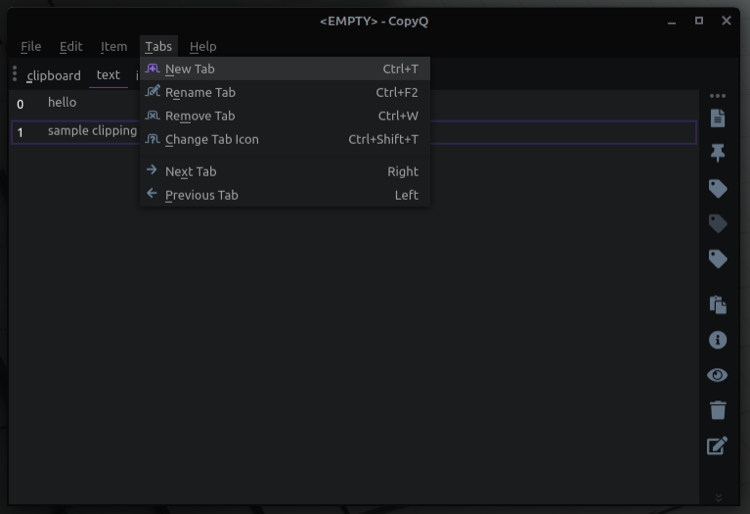
Organize Copied Items With Tabs
CopyQ saves all your copied items (text, images, etc.) in a single tab. As you can imagine, this can make it challenging to search for an item in the clipboard history. This is where tabs come in handy.
For example, you can create separate tabs in CopyQ for text, images, URLs, etc., and move items from the unified tab into them so that it’s easier to find them later.
To create a tab, go to the main window, click on Tabs in the title bar, and select New Tab. Alternatively, hit Ctrl + T.
Enter a name for the tab in the CopyQ New Tab window and hit OK.
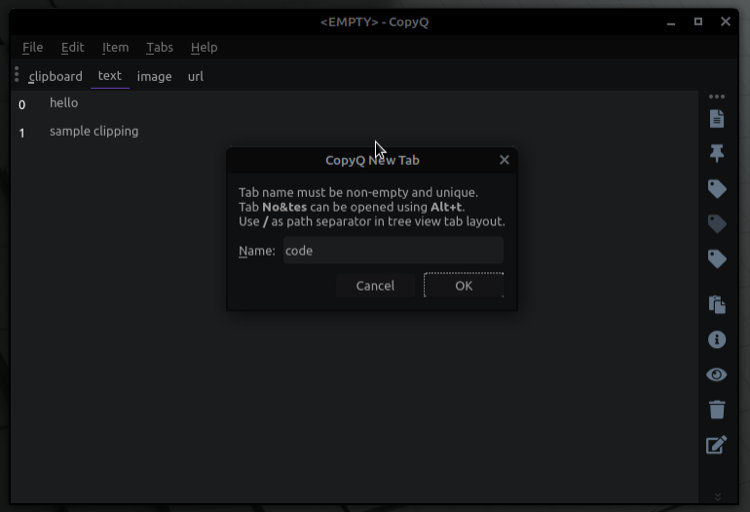
Do this for as many tabs you want to create.
Once you’ve created the tabs, go to the original tab (called clipboard by default) and drag the items across to their respective tabs.
Now, you’ll find the moved items in their new tabs, as well as the original tab. You can choose to remove its copy in another tab to clear up the clipboard and keep it organized.
To delete a copied item, select it and hit Delete. Or, right-click on it and select Remove.
Deleting (or editing) items in one tab doesn’t reflect on its copies in other tabs.
Assign a Shortcut to Access CopyQ’s Main Window Quickly
As you can see from the above sections, using CopyQ requires you to jump in and out of its main window (or Show/Hide menu) several times. Although you can access the clipboard from the system tray—as we mentioned earlier—it requires you to use the mouse, which feels slow.
So what you can do instead is assign a keyboard shortcut to open the main window. To do this, click on CopyQ’s icon in the system tray and select Preferences. Or, press Ctrl + P to go into it directly.
On the CopyQ Configuration window, click on Shortcuts and tap the plus icon (+) next to Show/hide main window. Enter a key combination you want to use for this action and click Apply.
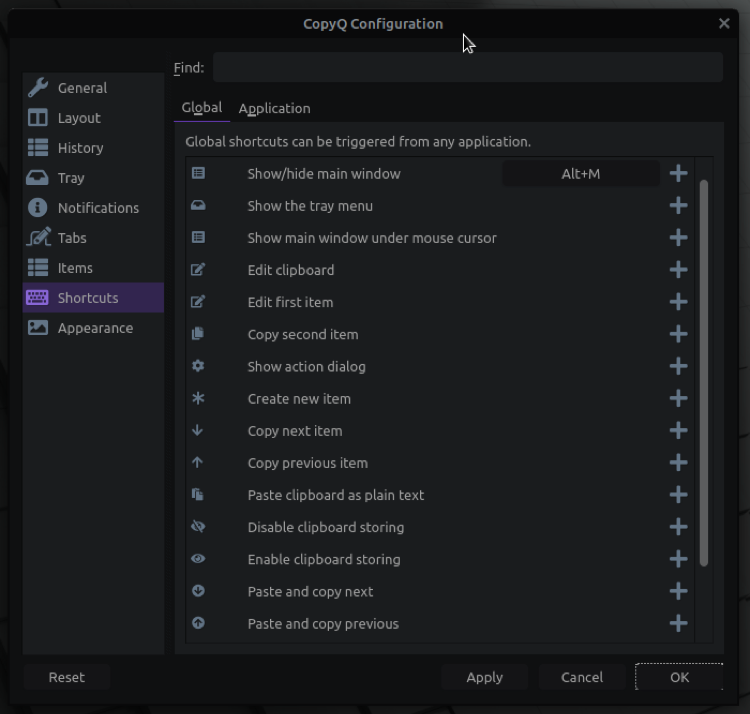
Hit OK to close the window.
Now, whenever you want to access CopyQ’s main window, simply press the keyboard combination.
Other CopyQ Operations
In addition to the operations described above, CopyQ also lets you perform the following:
- Remove tabs
- Change tab icons
- Pin items to the top for quick access
- Add a tag to clippings to group similar items together
- Add notes to clippings
Make the Most Out of Your Linux Clipboard With CopyQ
CopyQ makes it easy to take advantage of the clipboard on your Linux system to the fullest and use it to copy-paste items across different apps and websites efficiently.
If you’re just getting started with Linux, it’s a must-have app for your machine. However, if you’d like to explore more options before settling with one tool, there are a few other clipboard managers that you can check out to manage your Linux clipboard.
Read Next
About The Author
