Learn to construct a cellphone stand out of sculpting clay for a enjoyable DIY venture this weekend. Air-drying clay is reasonable and straightforward to purchase making it an inexpensive venture to make.
This tutorial will train you easy methods to construct a easy geometric design, however do not cease there. As soon as you understand how to mildew with clay, you possibly can create your personal distinctive designs sooner or later.
Supplies
- Air-dry sculpting clay
- Baking paper
- Sandpaper
- Paintbrush
- Acrylic paint
- Slip (see directions)
- Sealant (elective)
Inspiration
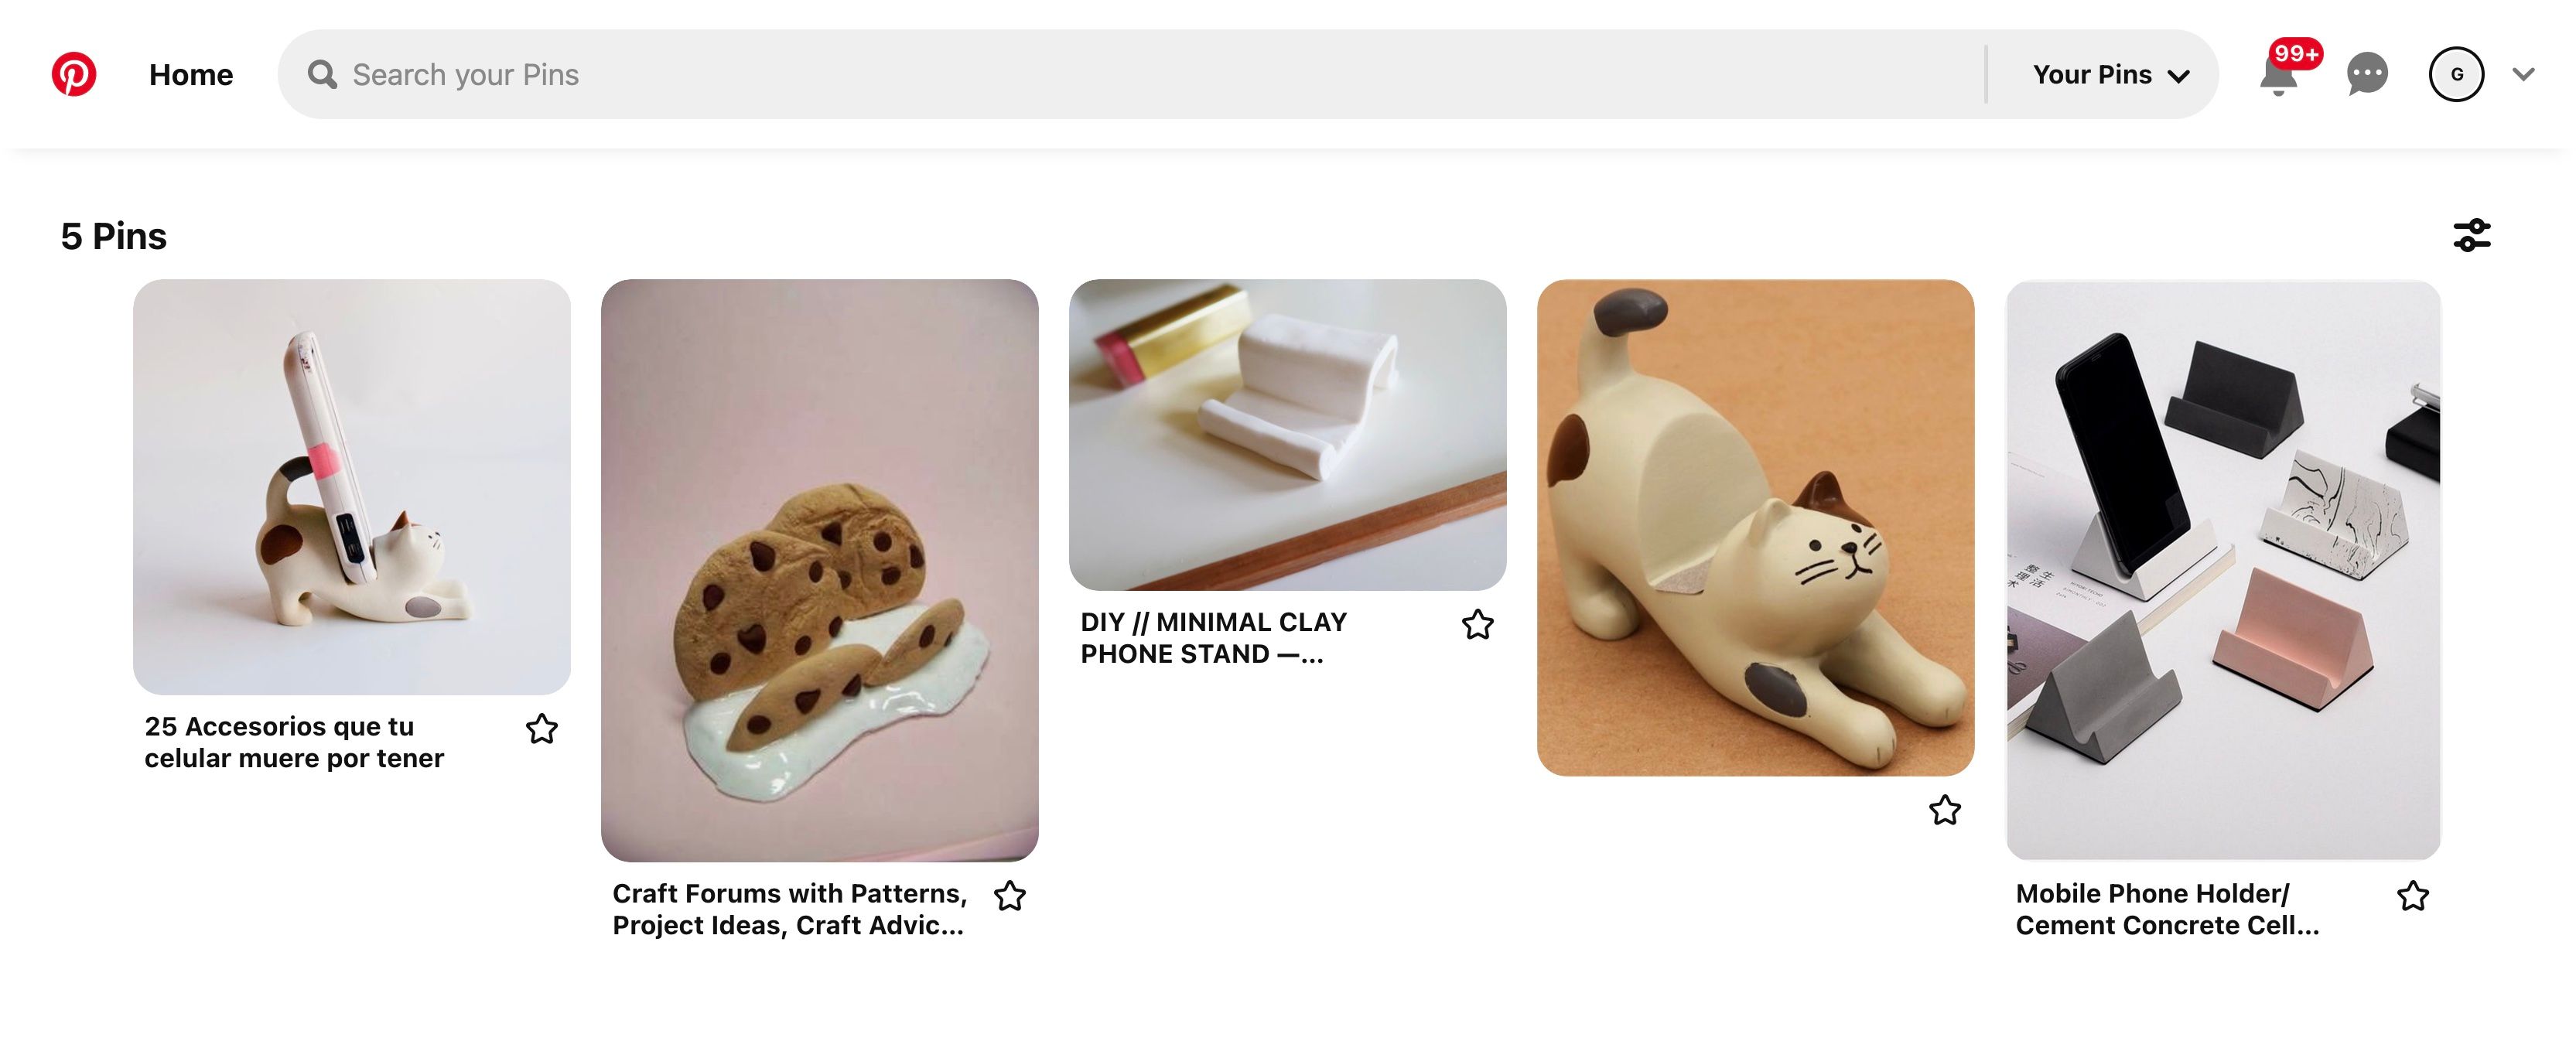
There are countless cellphone stand designs on the market you can draw inspiration from, together with our massive record of DIY cellphone stands you can also make in lower than 5 minutes.
Many designs are easy and may be properly replicated utilizing clay at dwelling for a lot lower than retail value. On this tutorial, you’ll discover ways to create a straightforward, minimal, geometric design. If you happen to really feel assured in your expertise, nonetheless, strive one thing more durable like making a clay figurine.
Earlier than Beginning: Make the Slip
Slip is a thick paste constituted of dried clay and water; it is used to assist connect two items of clay collectively. It will turn out to be useful later, so earlier than starting (ideally a day upfront), it is best to make a jar of these things.
Fortunately, it is extremely straightforward to do. Merely roll out a palm-sized piece of clay as skinny as attainable on a chunk of baking paper. Depart it to take a seat till the following day, when it turns into white and bone dry. Now you wish to flip the dried clay right into a powder by rigorously breaking it up with a rolling pin. After you have a positive powder, add it to a jar or container with a lid, and add simply sufficient water to create a paste. You might be searching for a thick cream-like consistency. And that is it: you are prepared to maneuver on to creating the clay cellphone stand.
Step 1: Choose a Design
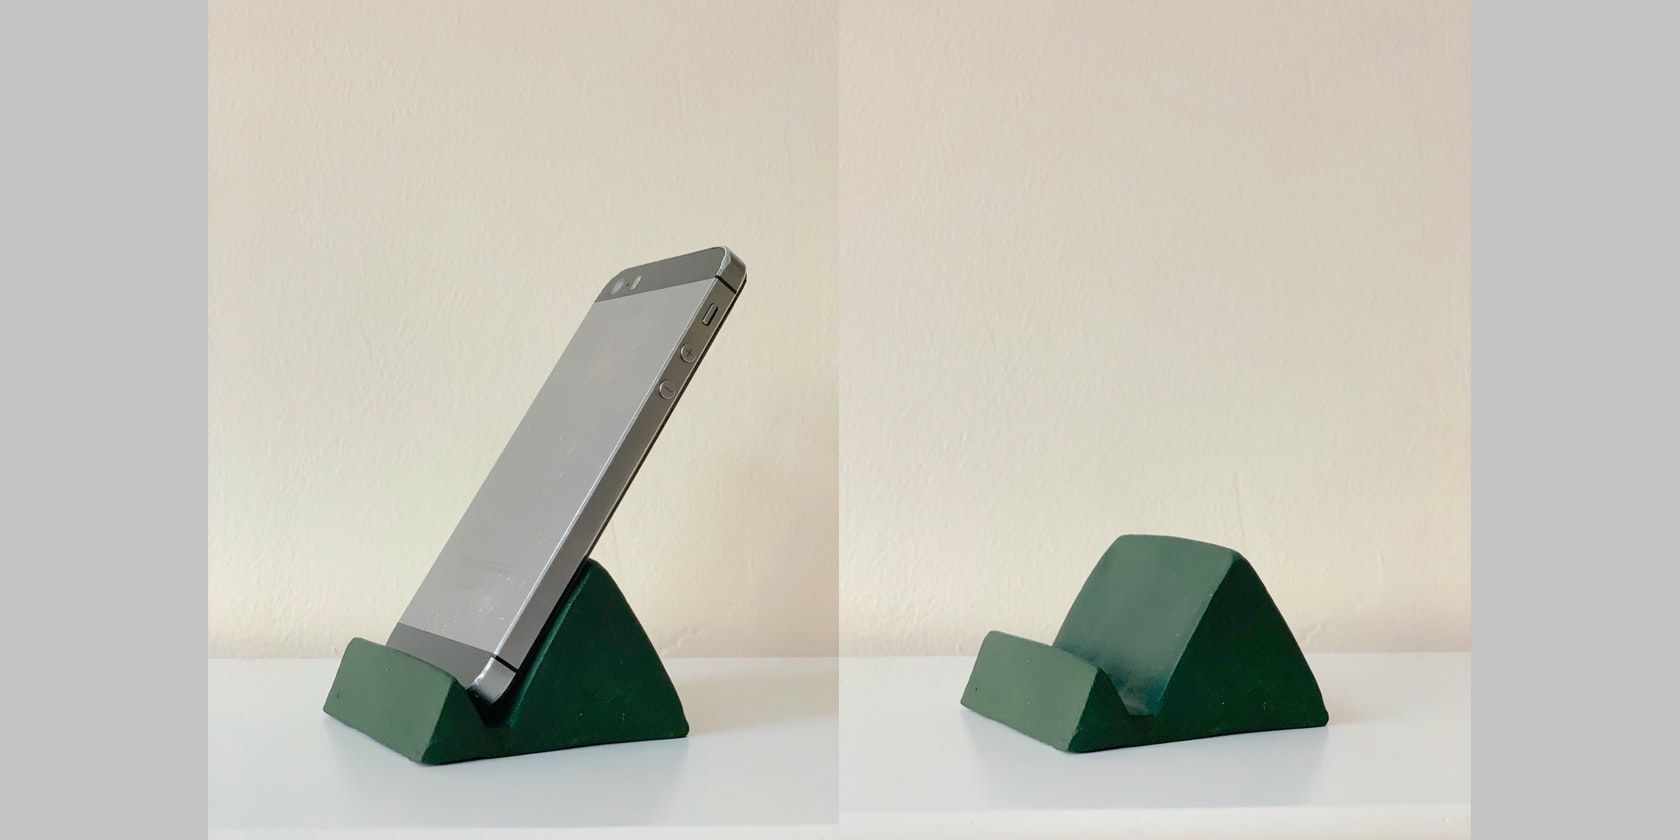
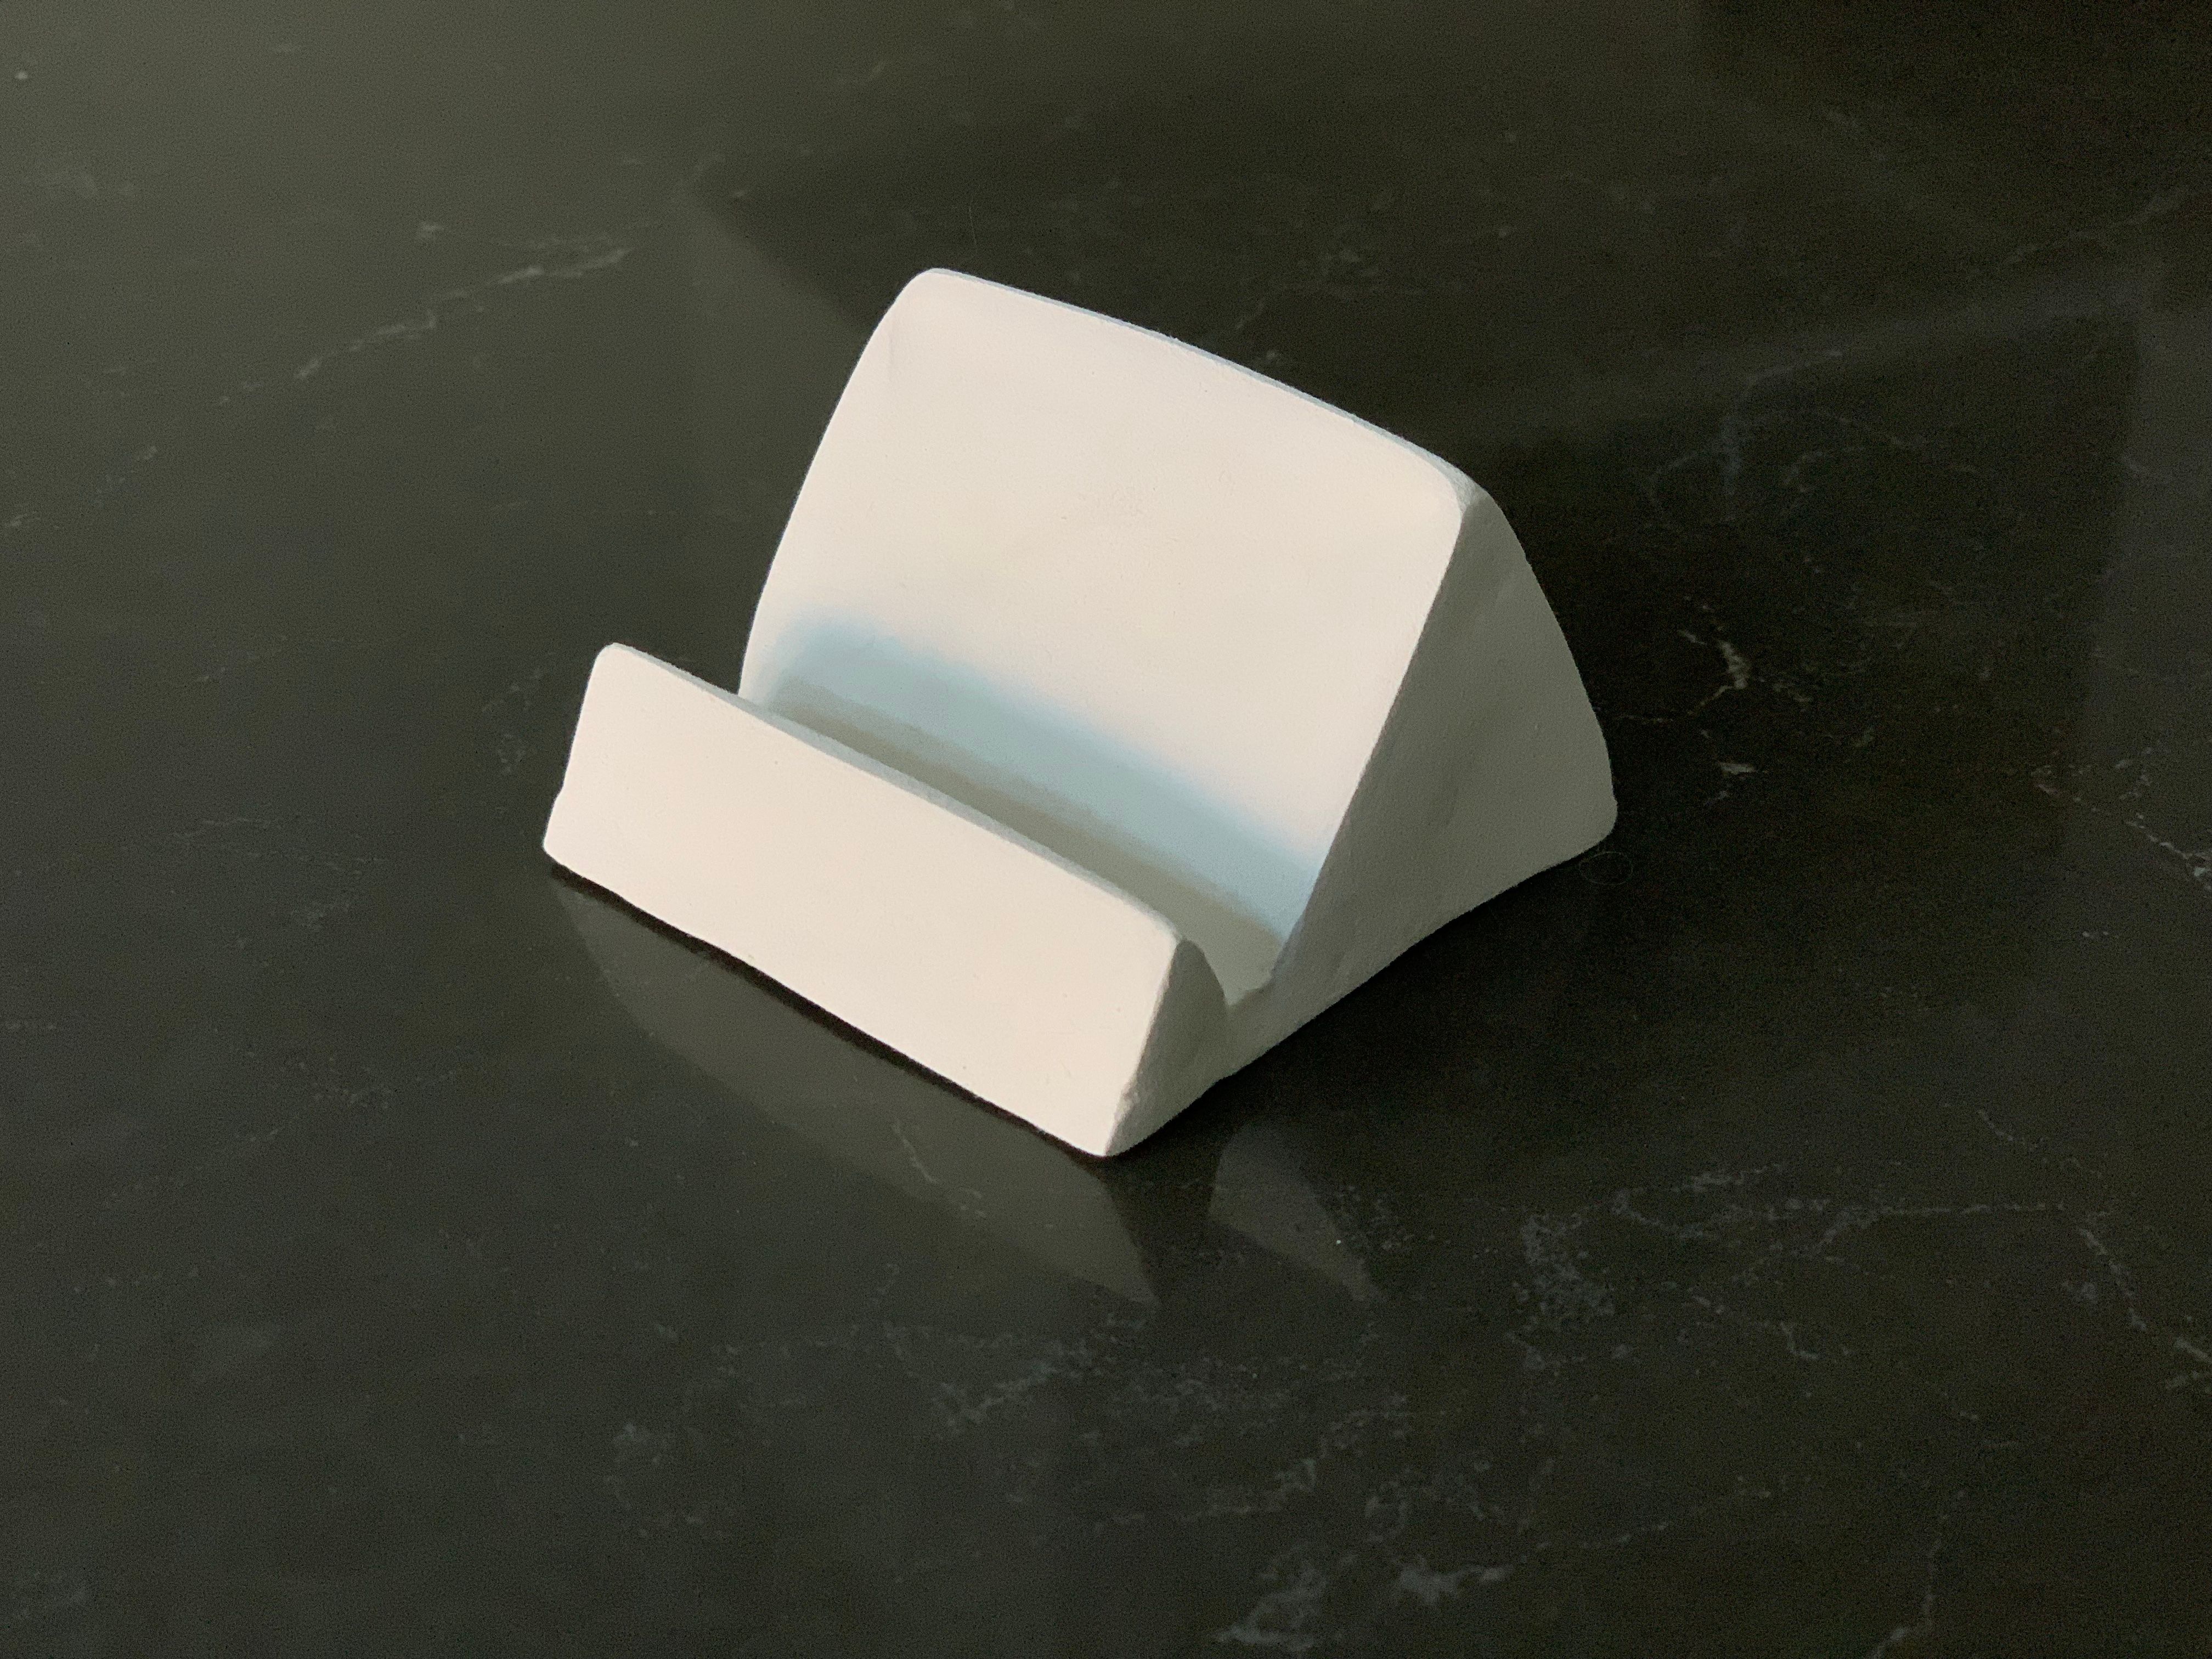
If you happen to do not have already got a design in thoughts, begin by searching the web for inspiration. Trying to find clay cellphone stands particularly provides you with concepts which might be assured to be achievable with clay. However in fact, there are lots of different issues you should utilize as inspiration. For instance, on this tutorial, we will probably be making a clay model of a geometrical concrete cellphone stand accessible on Etsy.
Step 2: Make Some Sketches
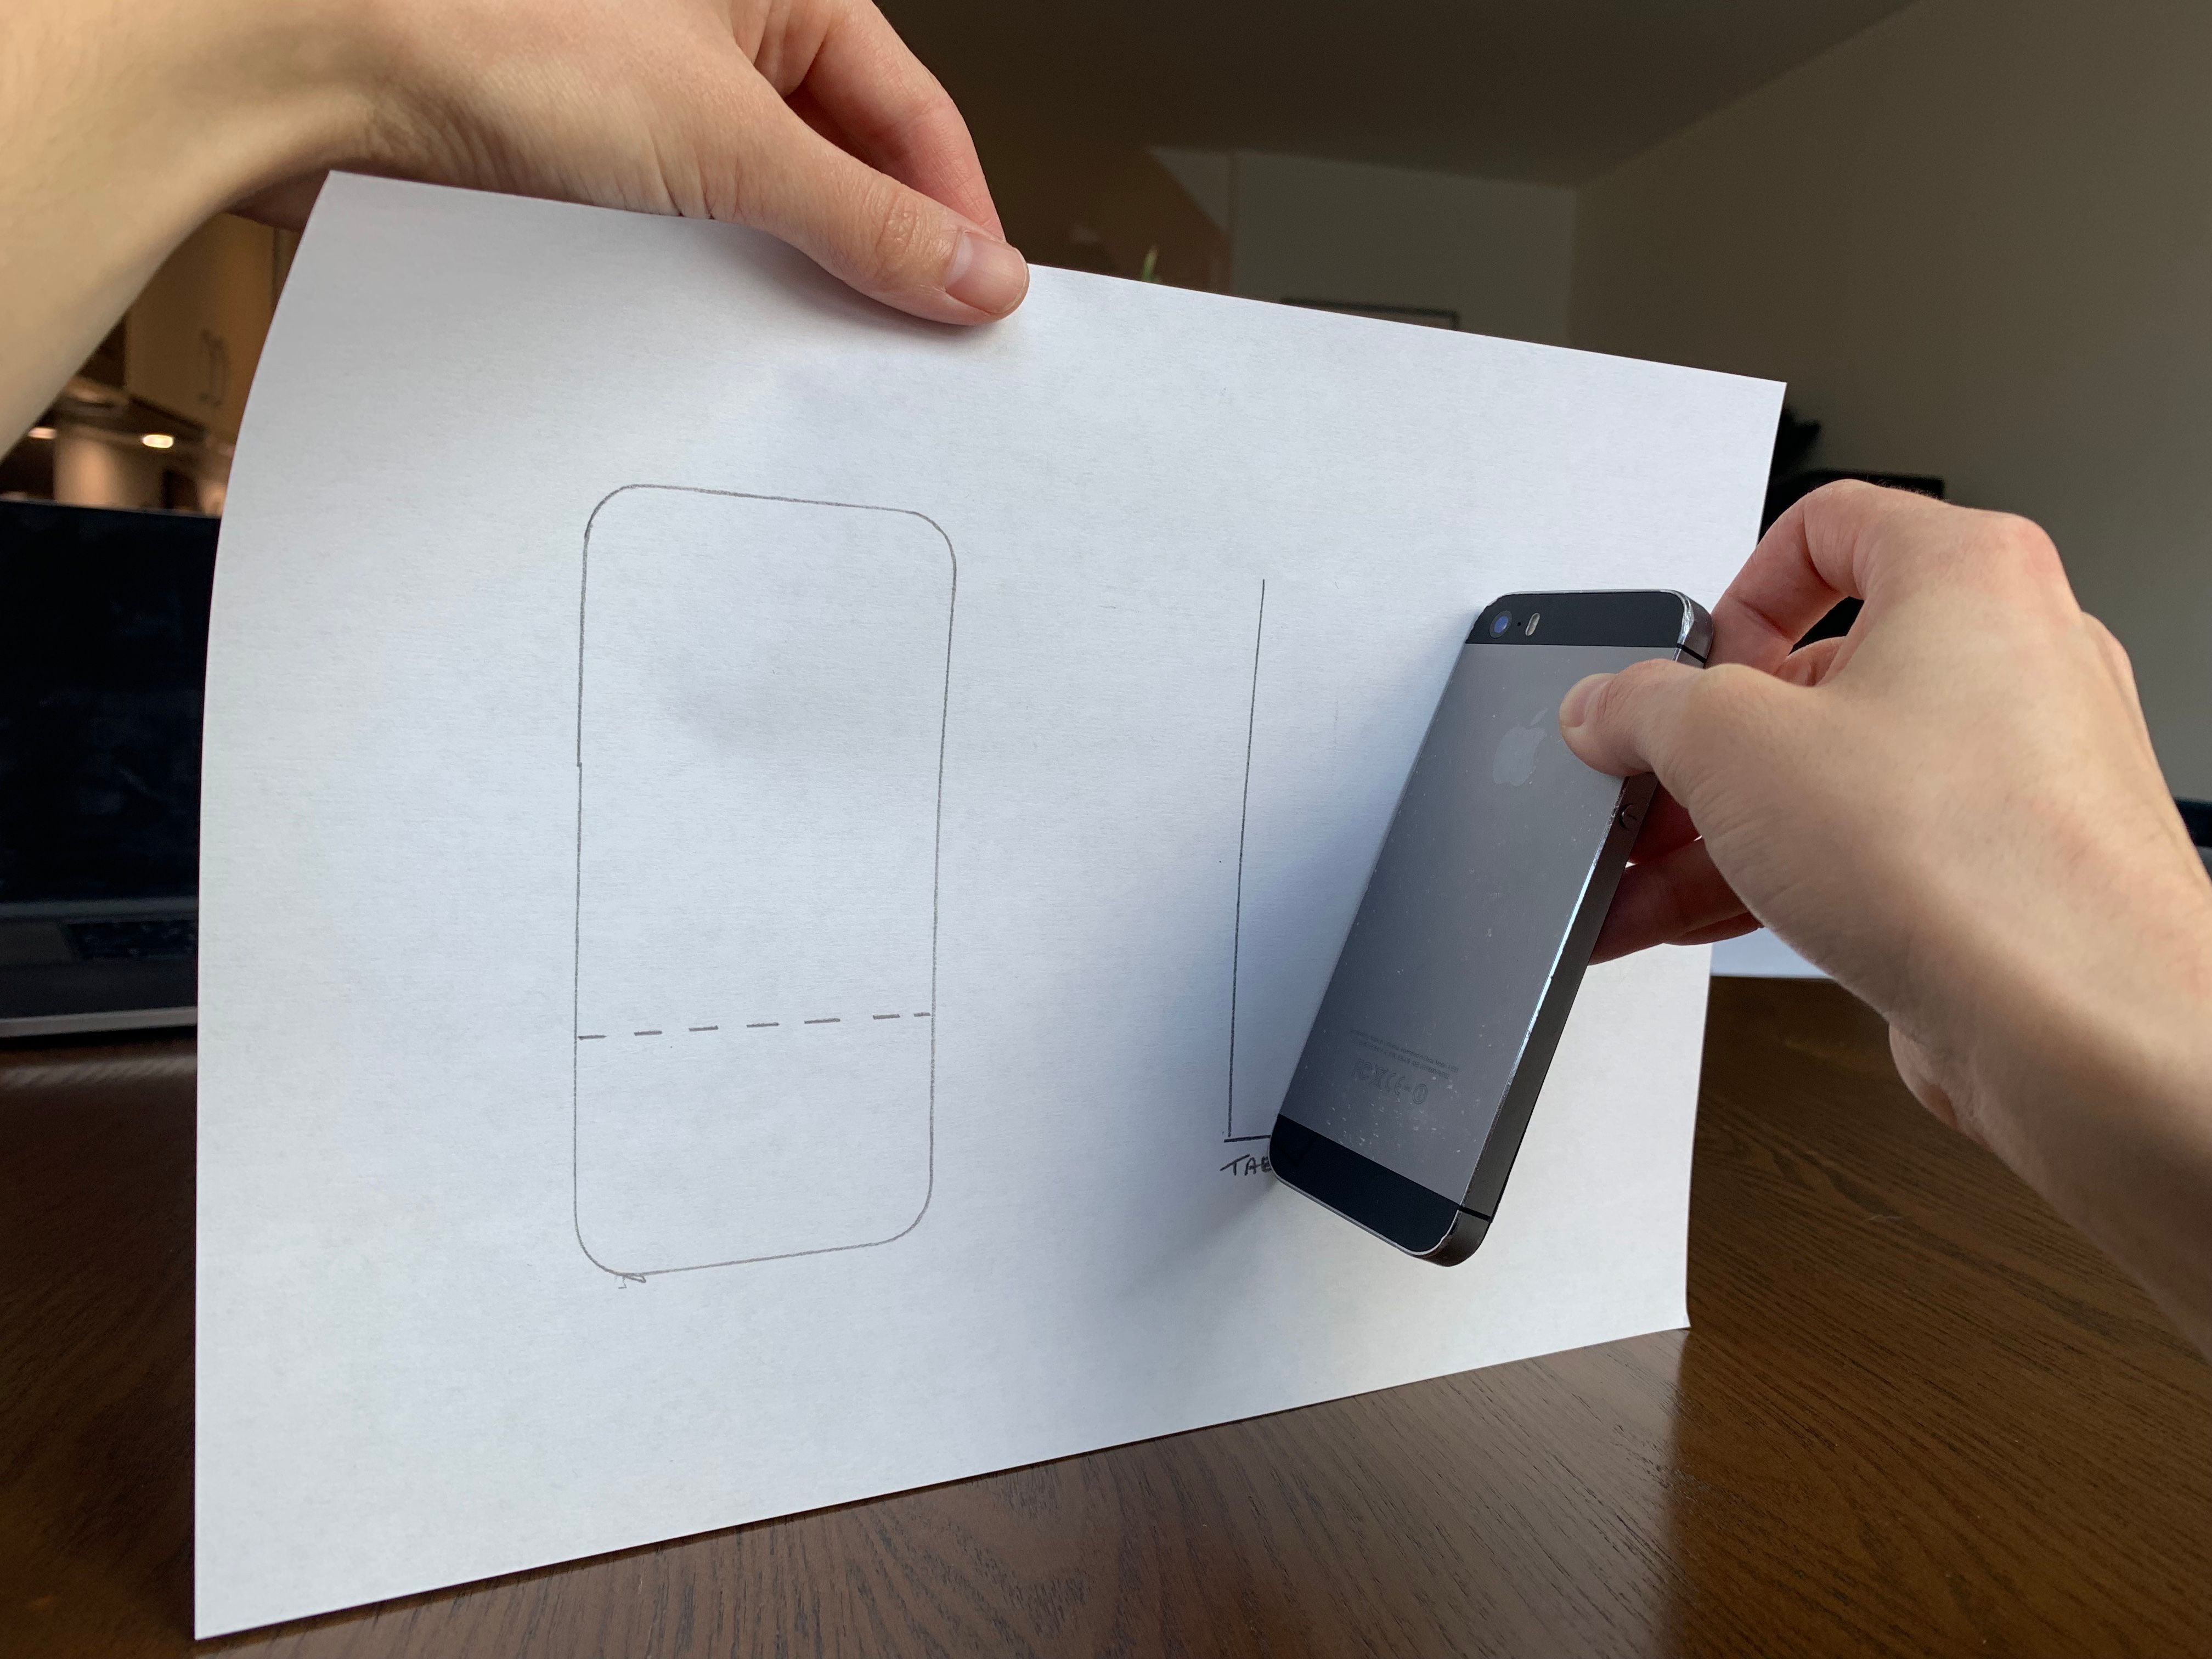
After you have an thought of what to construct, start by making some sketches. Hint round your cellphone or pill, then mark a line on the paper to point how tall you need the cellphone stand to be. Subsequent, maintain your cellphone on the angle you need your cellphone stand to be and mark that in your paper. You should utilize these markings as a tough information for shaping the clay later. On this design, be certain that the peak of the cellphone stand reaches over a few third of the cellphone.
Step 3: Roll Out Clay Shapes
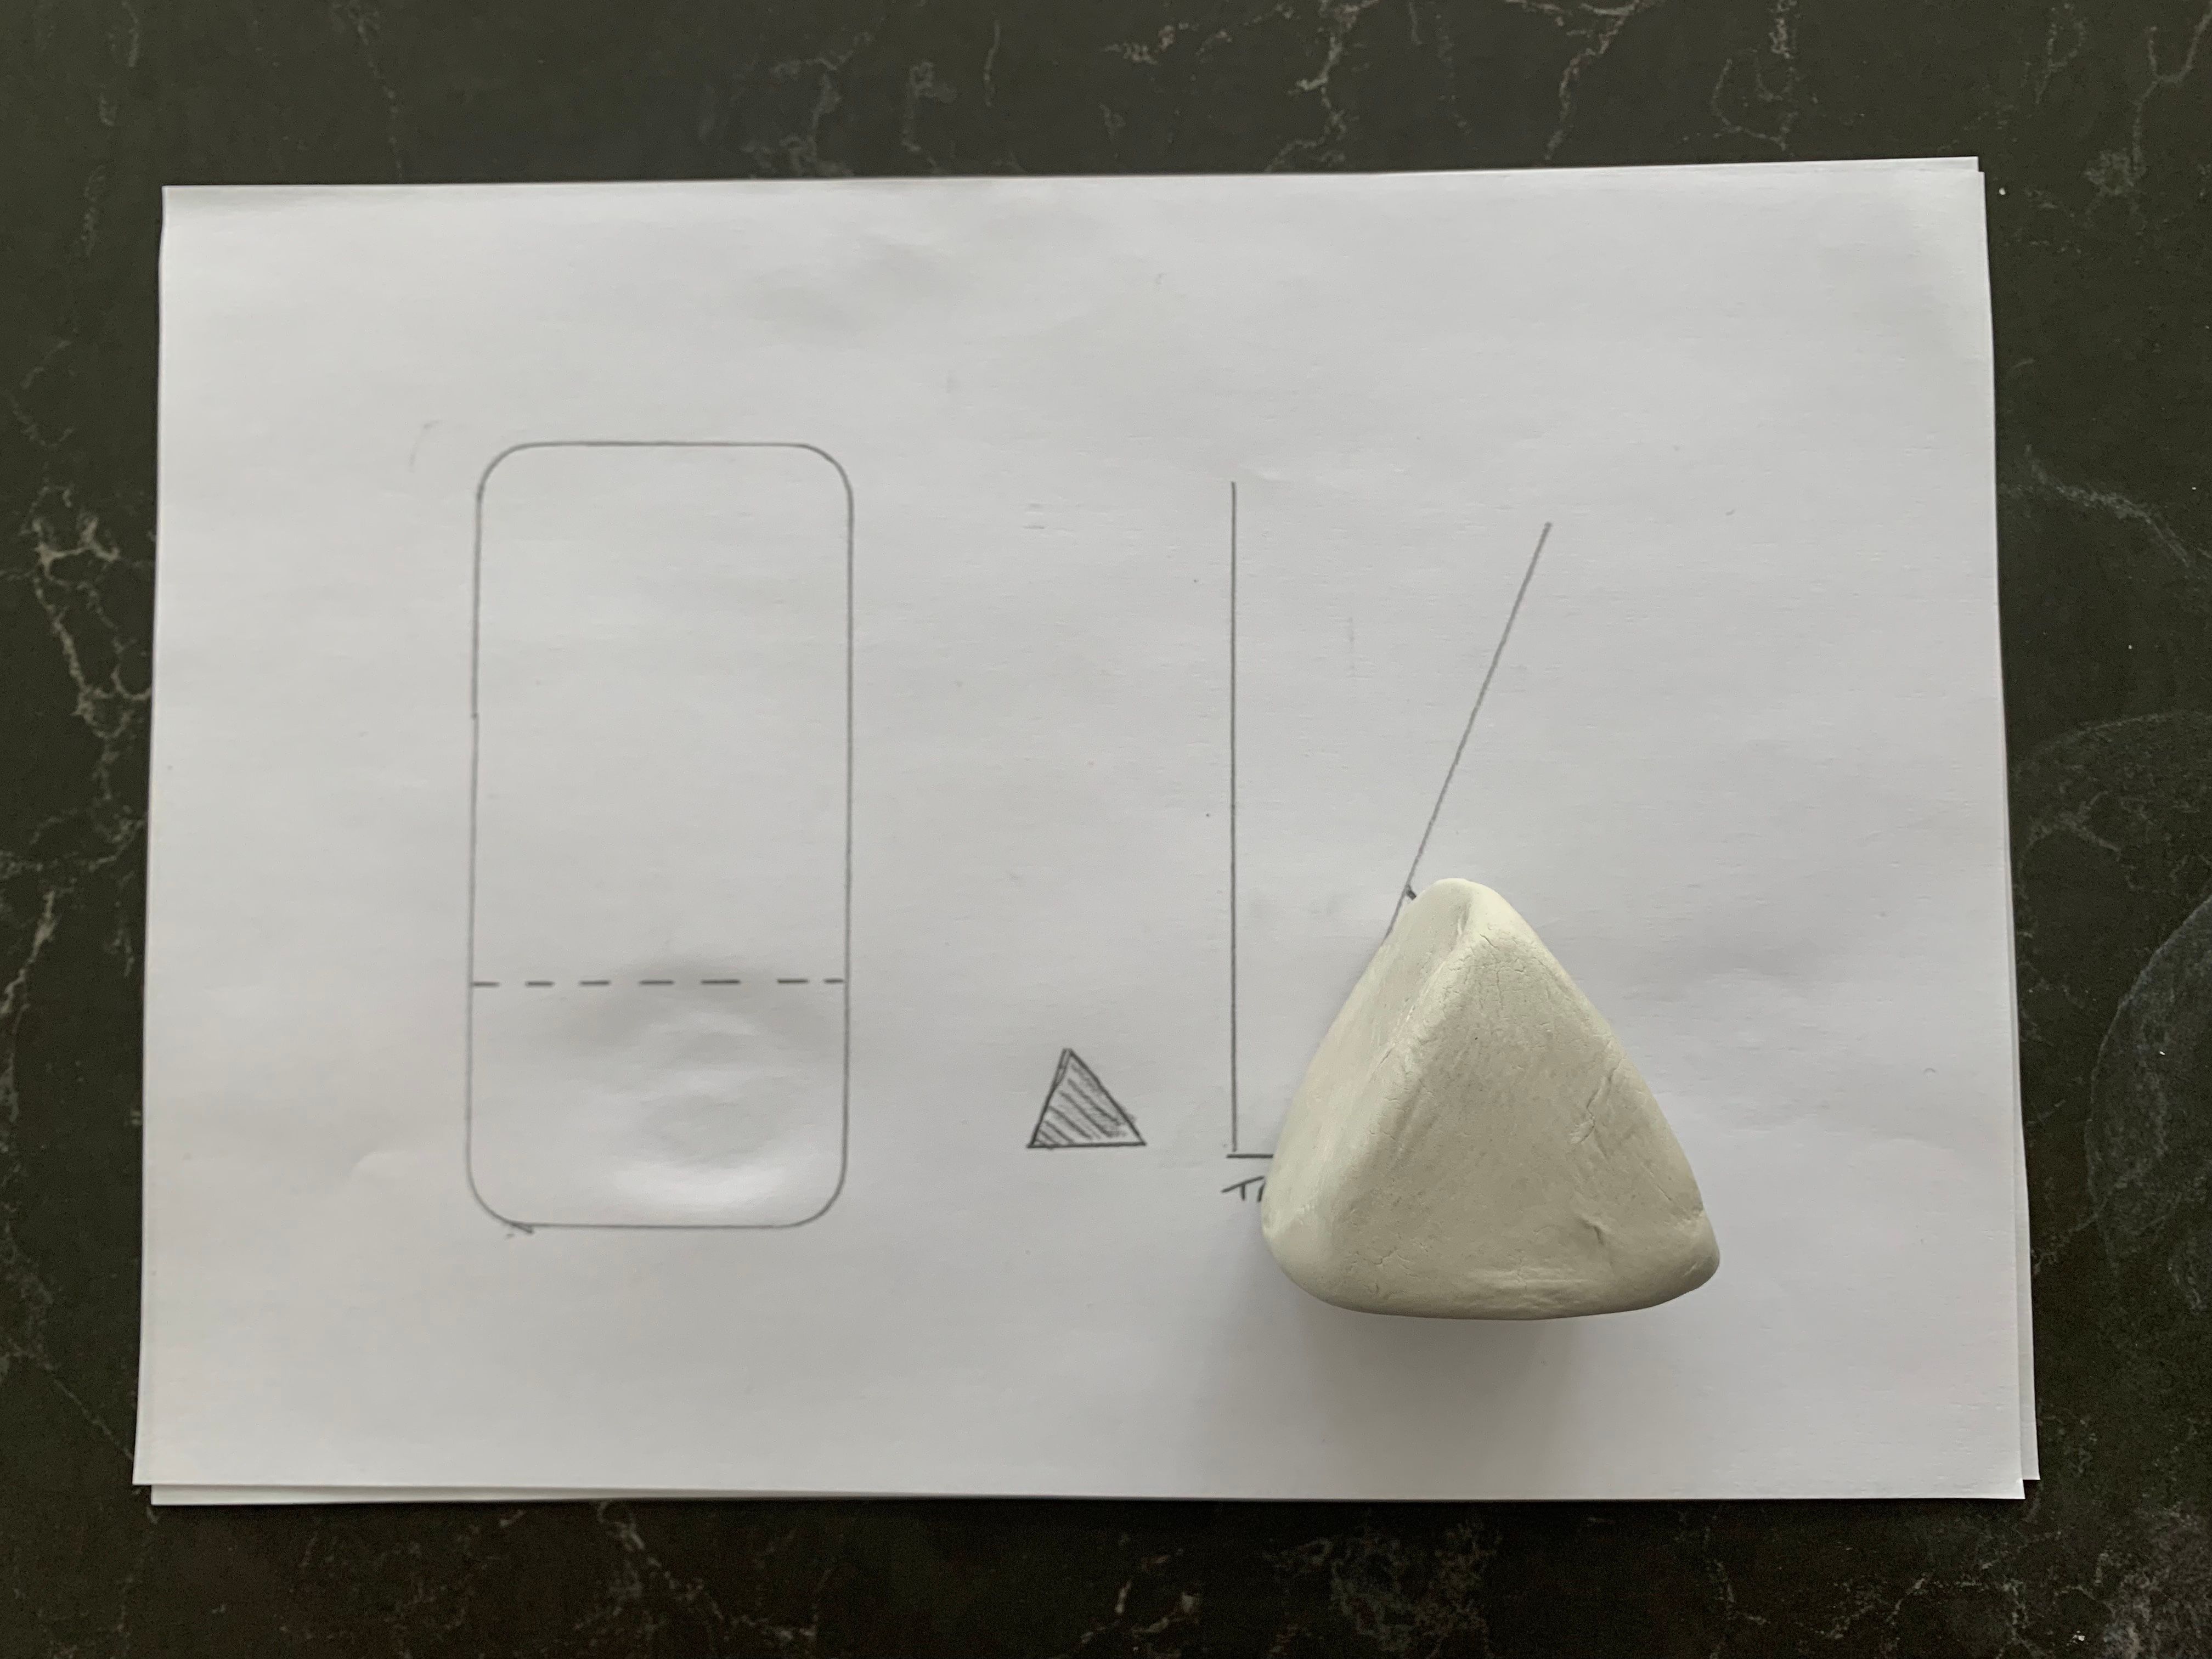
To create a geometrical cellphone stand, you’ll need to create three shapes: a big triangle, a small triangle, and a skinny cylinder. Begin by rolling a big ball of clay and evaluating it to your markings to get the proper peak. After that, form it right into a triangle.
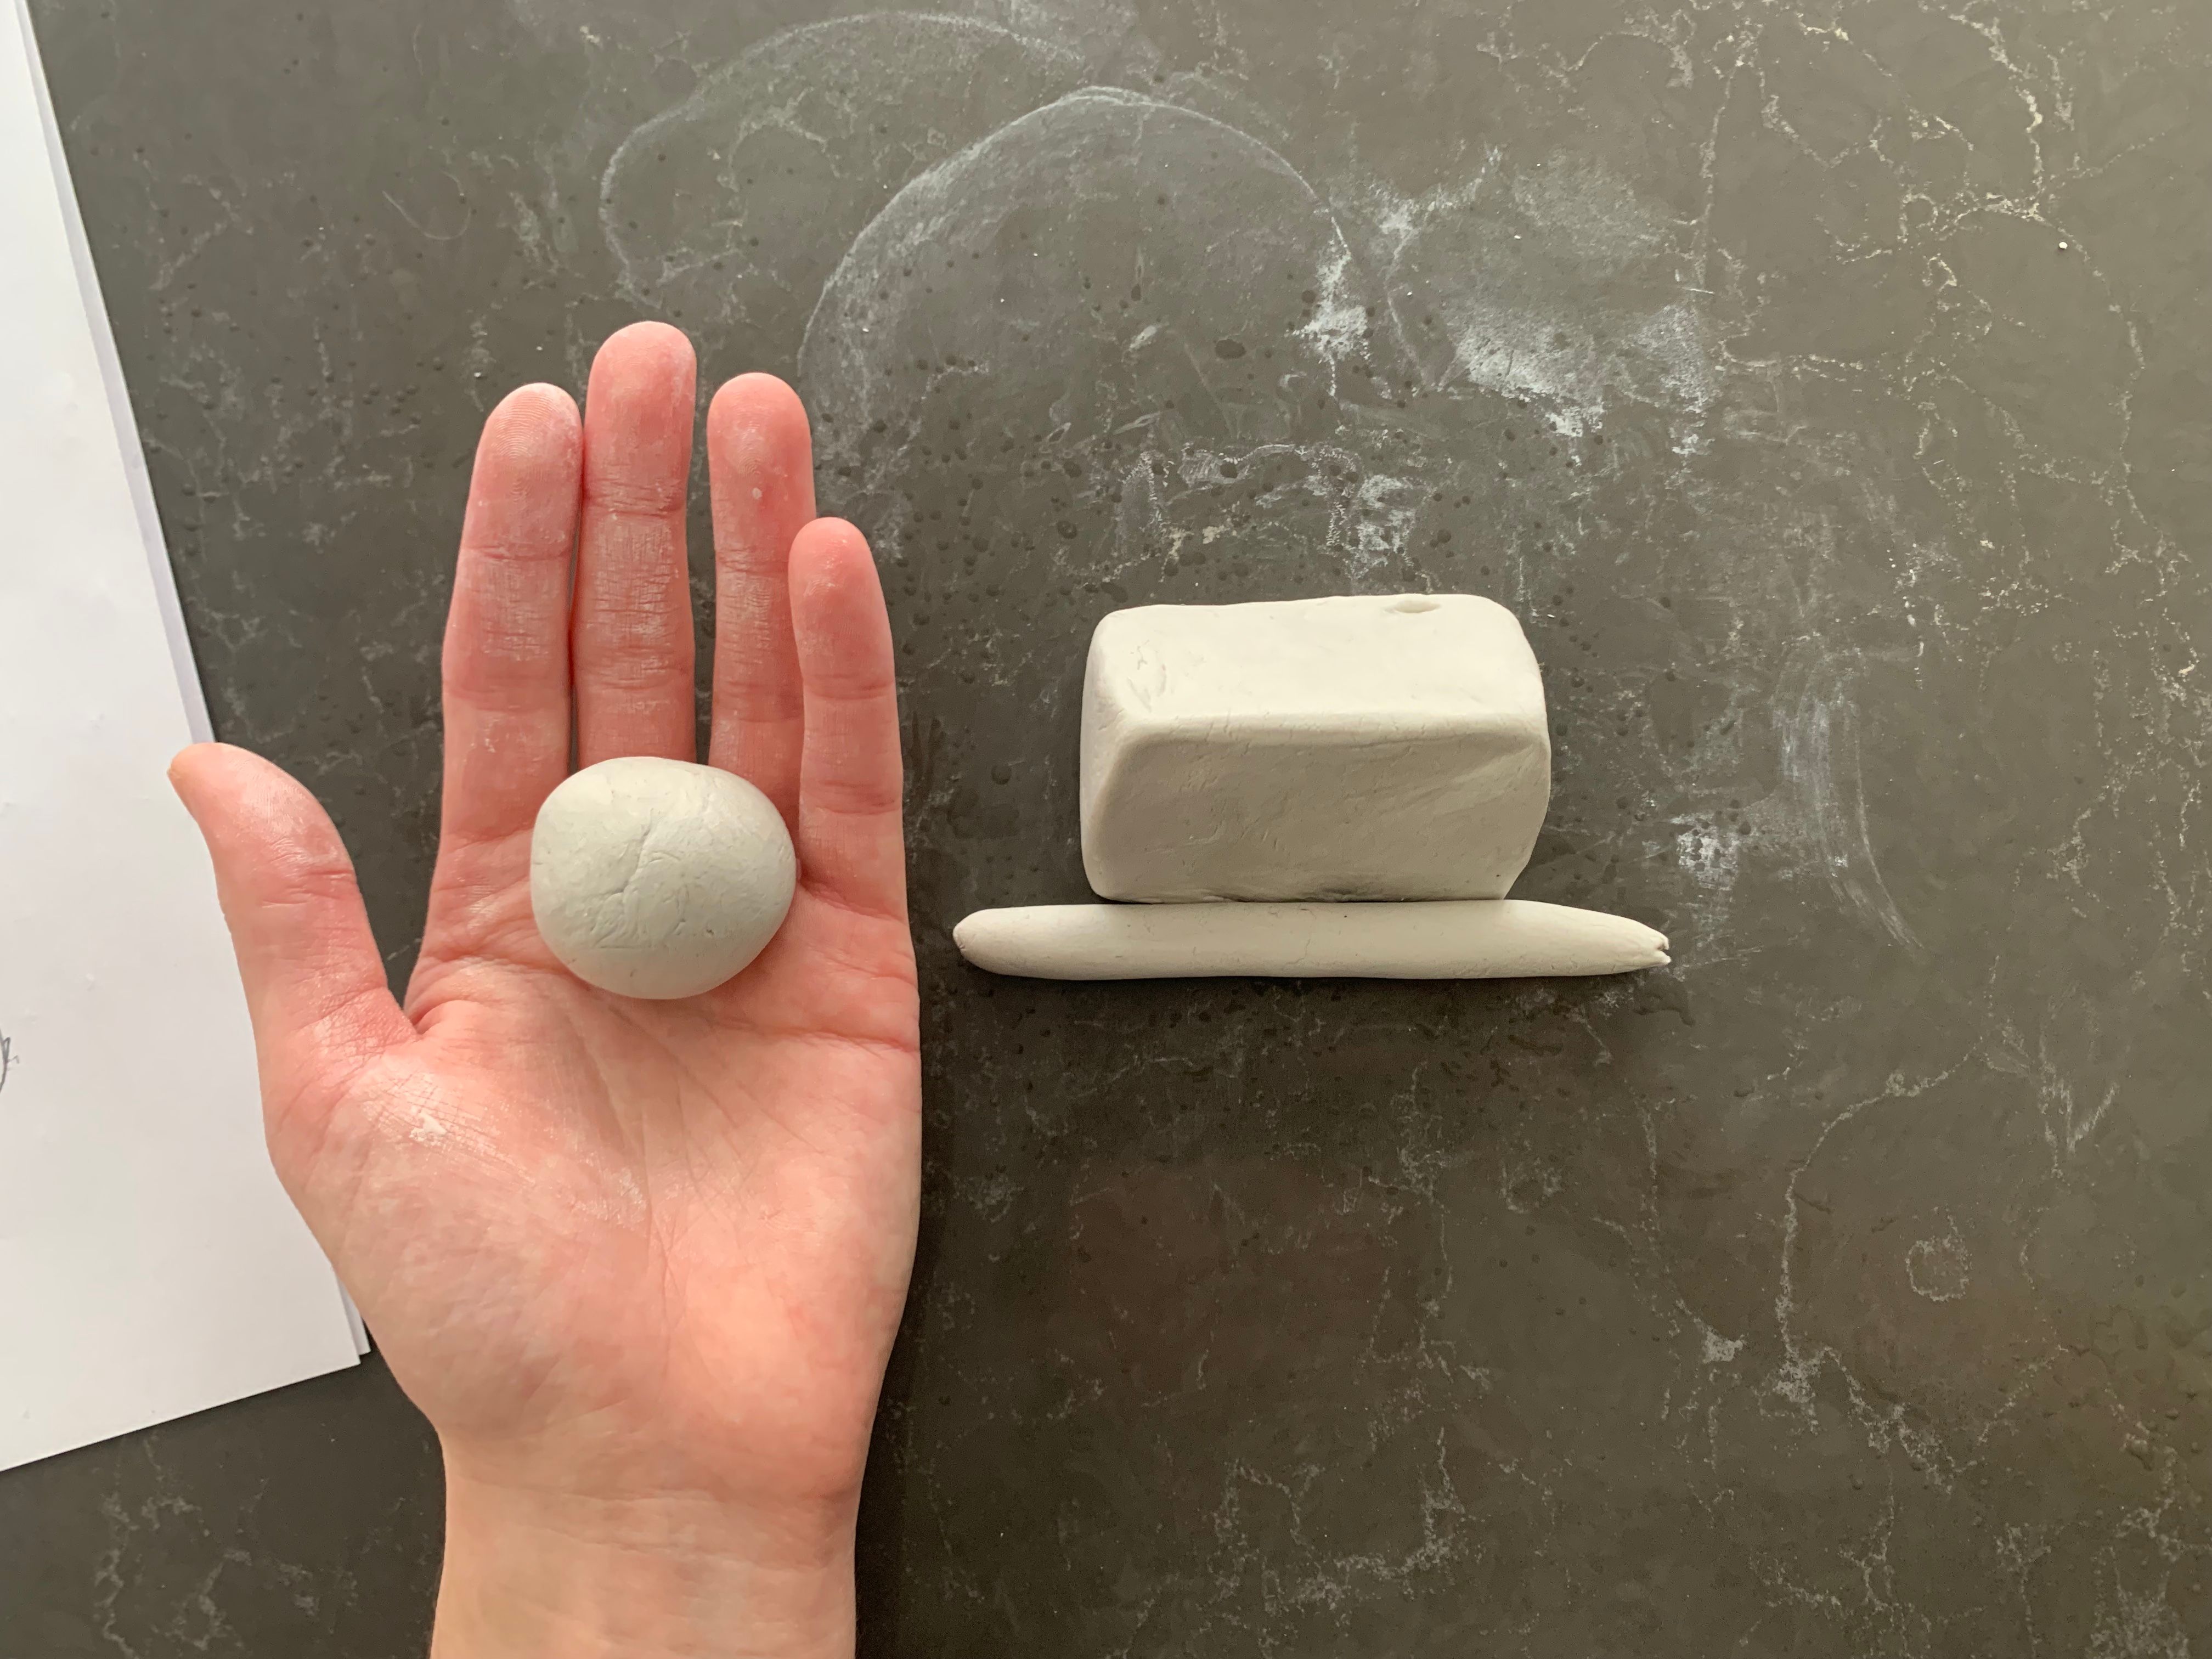
For the smaller triangle take a ball of clay and roll it right into a cylinder earlier than shaping it right into a triangle. Lastly, roll a skinny cylinder to bridge between the 2 triangles. All through the method, be certain that to maintain the clay hydrated by periodically including a couple of drops of water to the clay to stop cracks from showing.
Step 4: Check the Viewing Angle
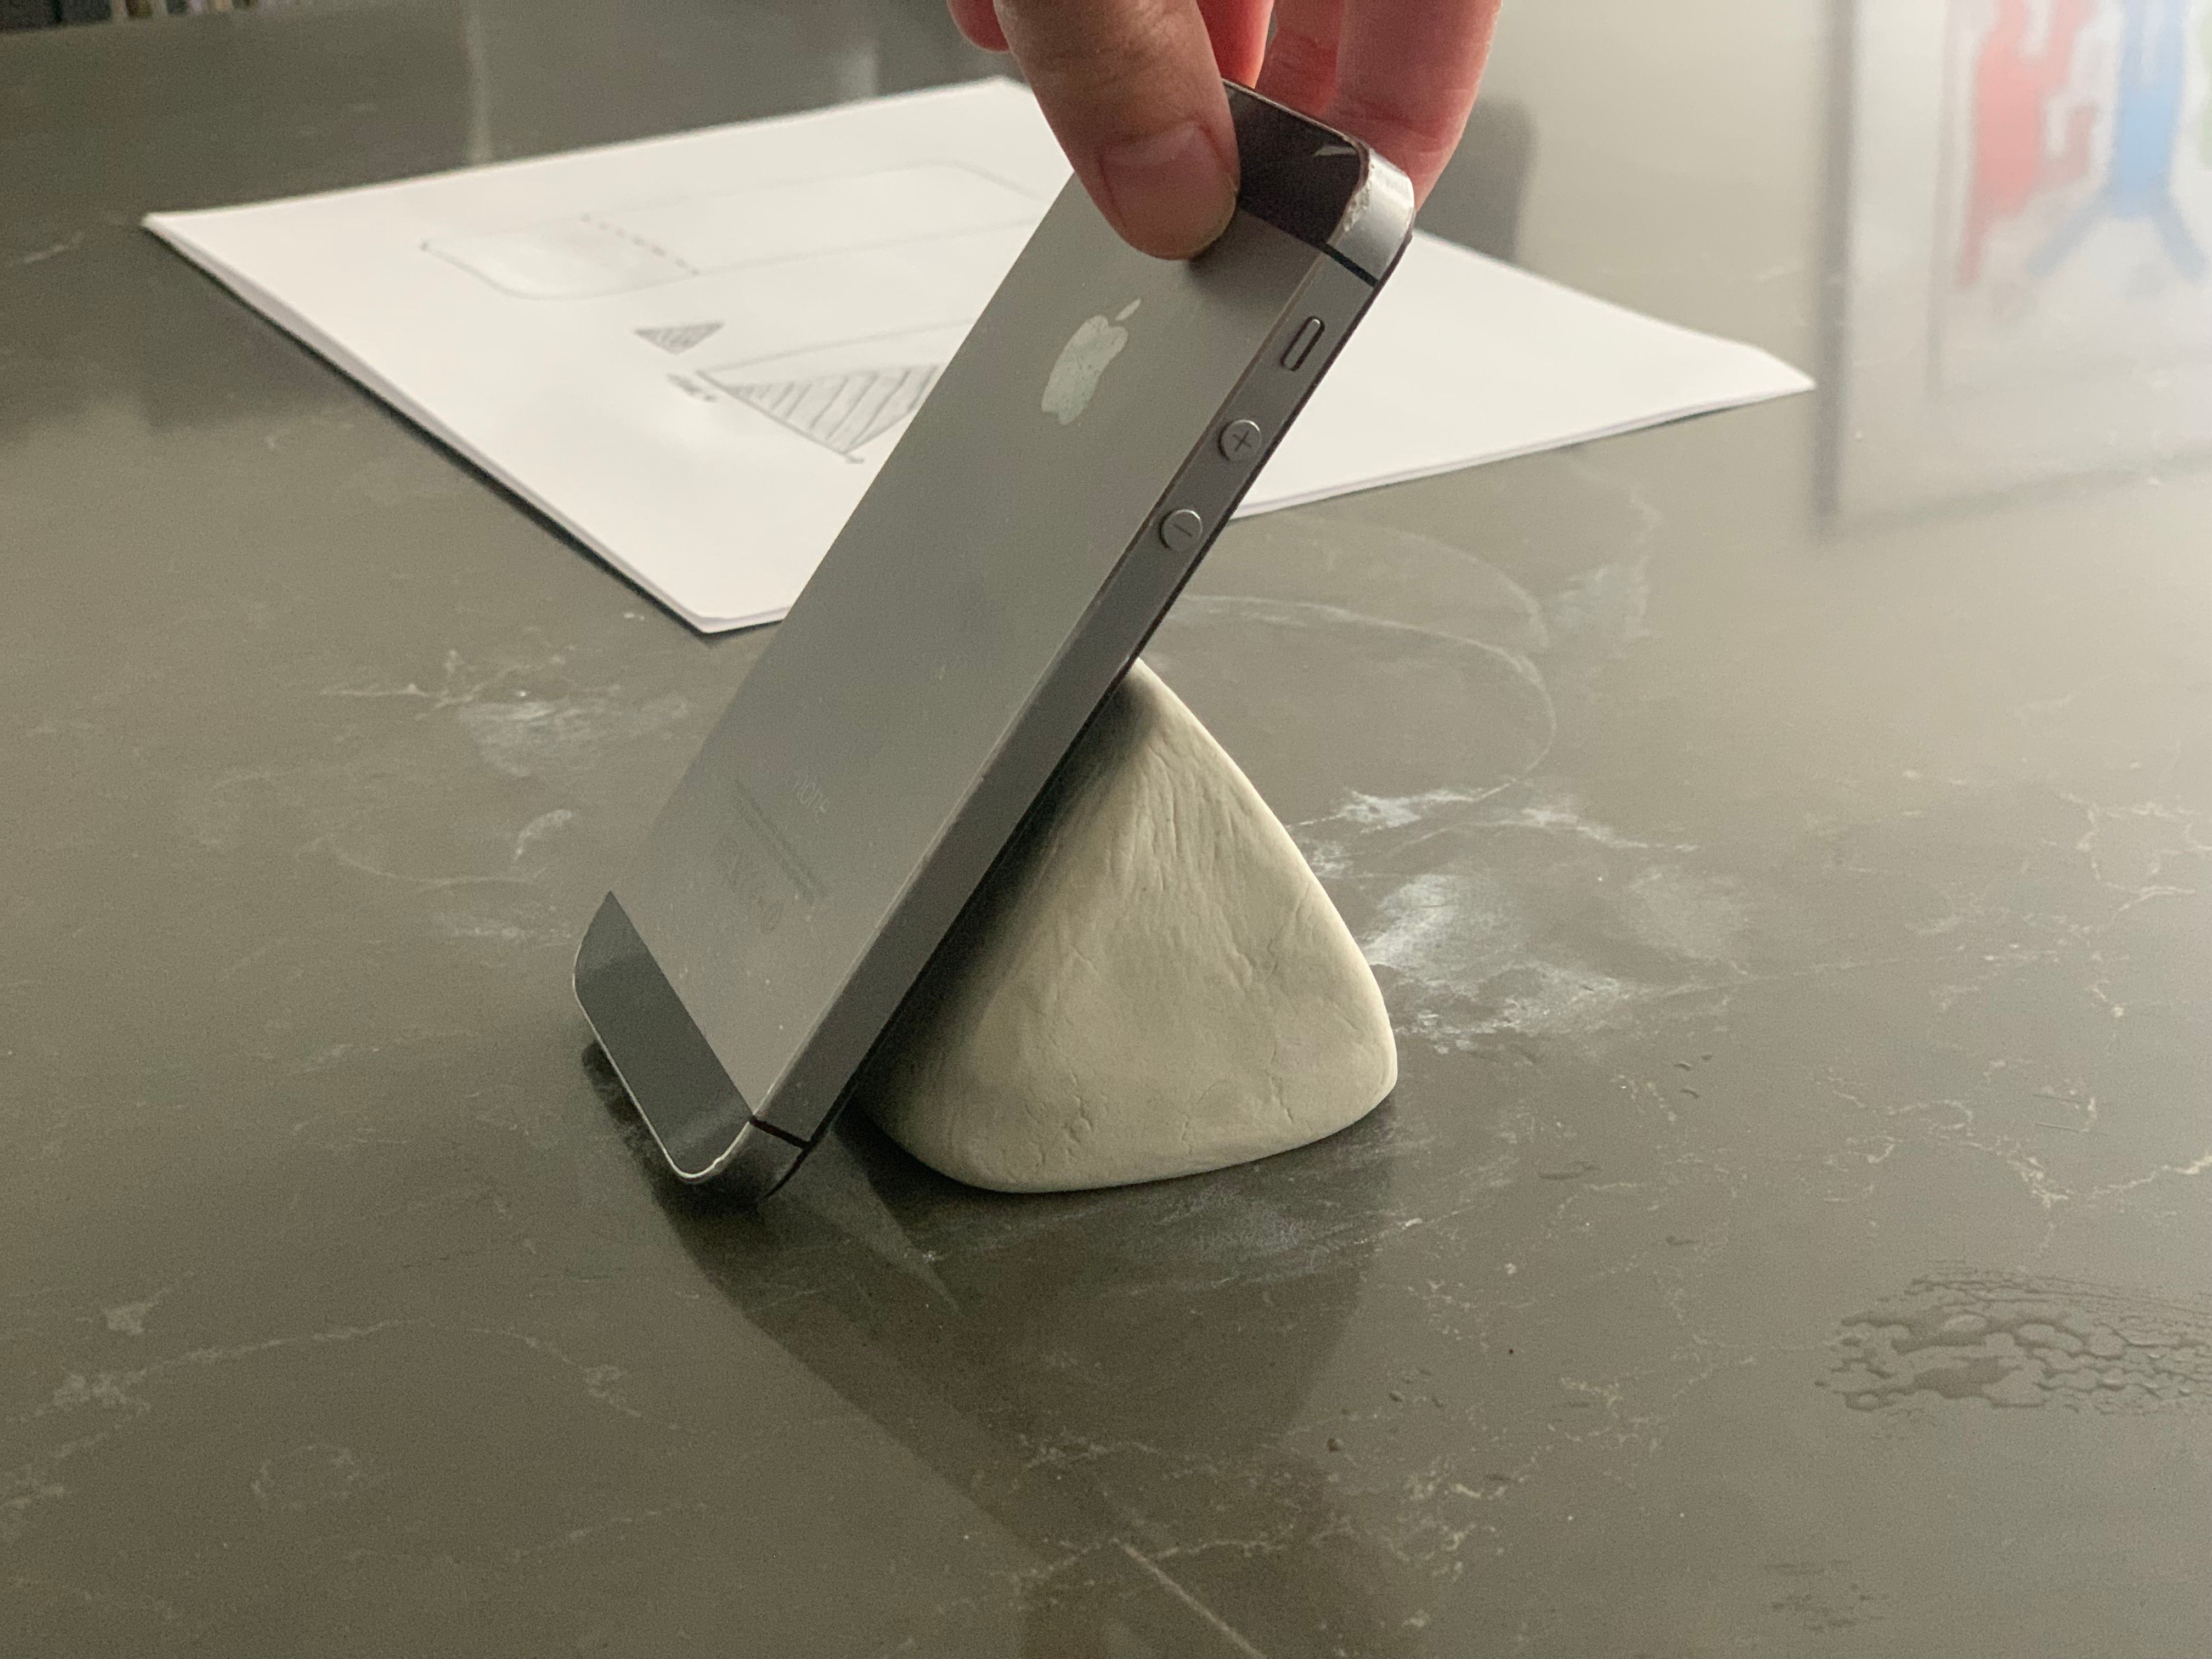
Getting the viewing angle proper is necessary, so it is a good suggestion to check your form out by holding your cellphone in place in opposition to the clay. Make any changes if wanted.
Step 5: Connect Shapes
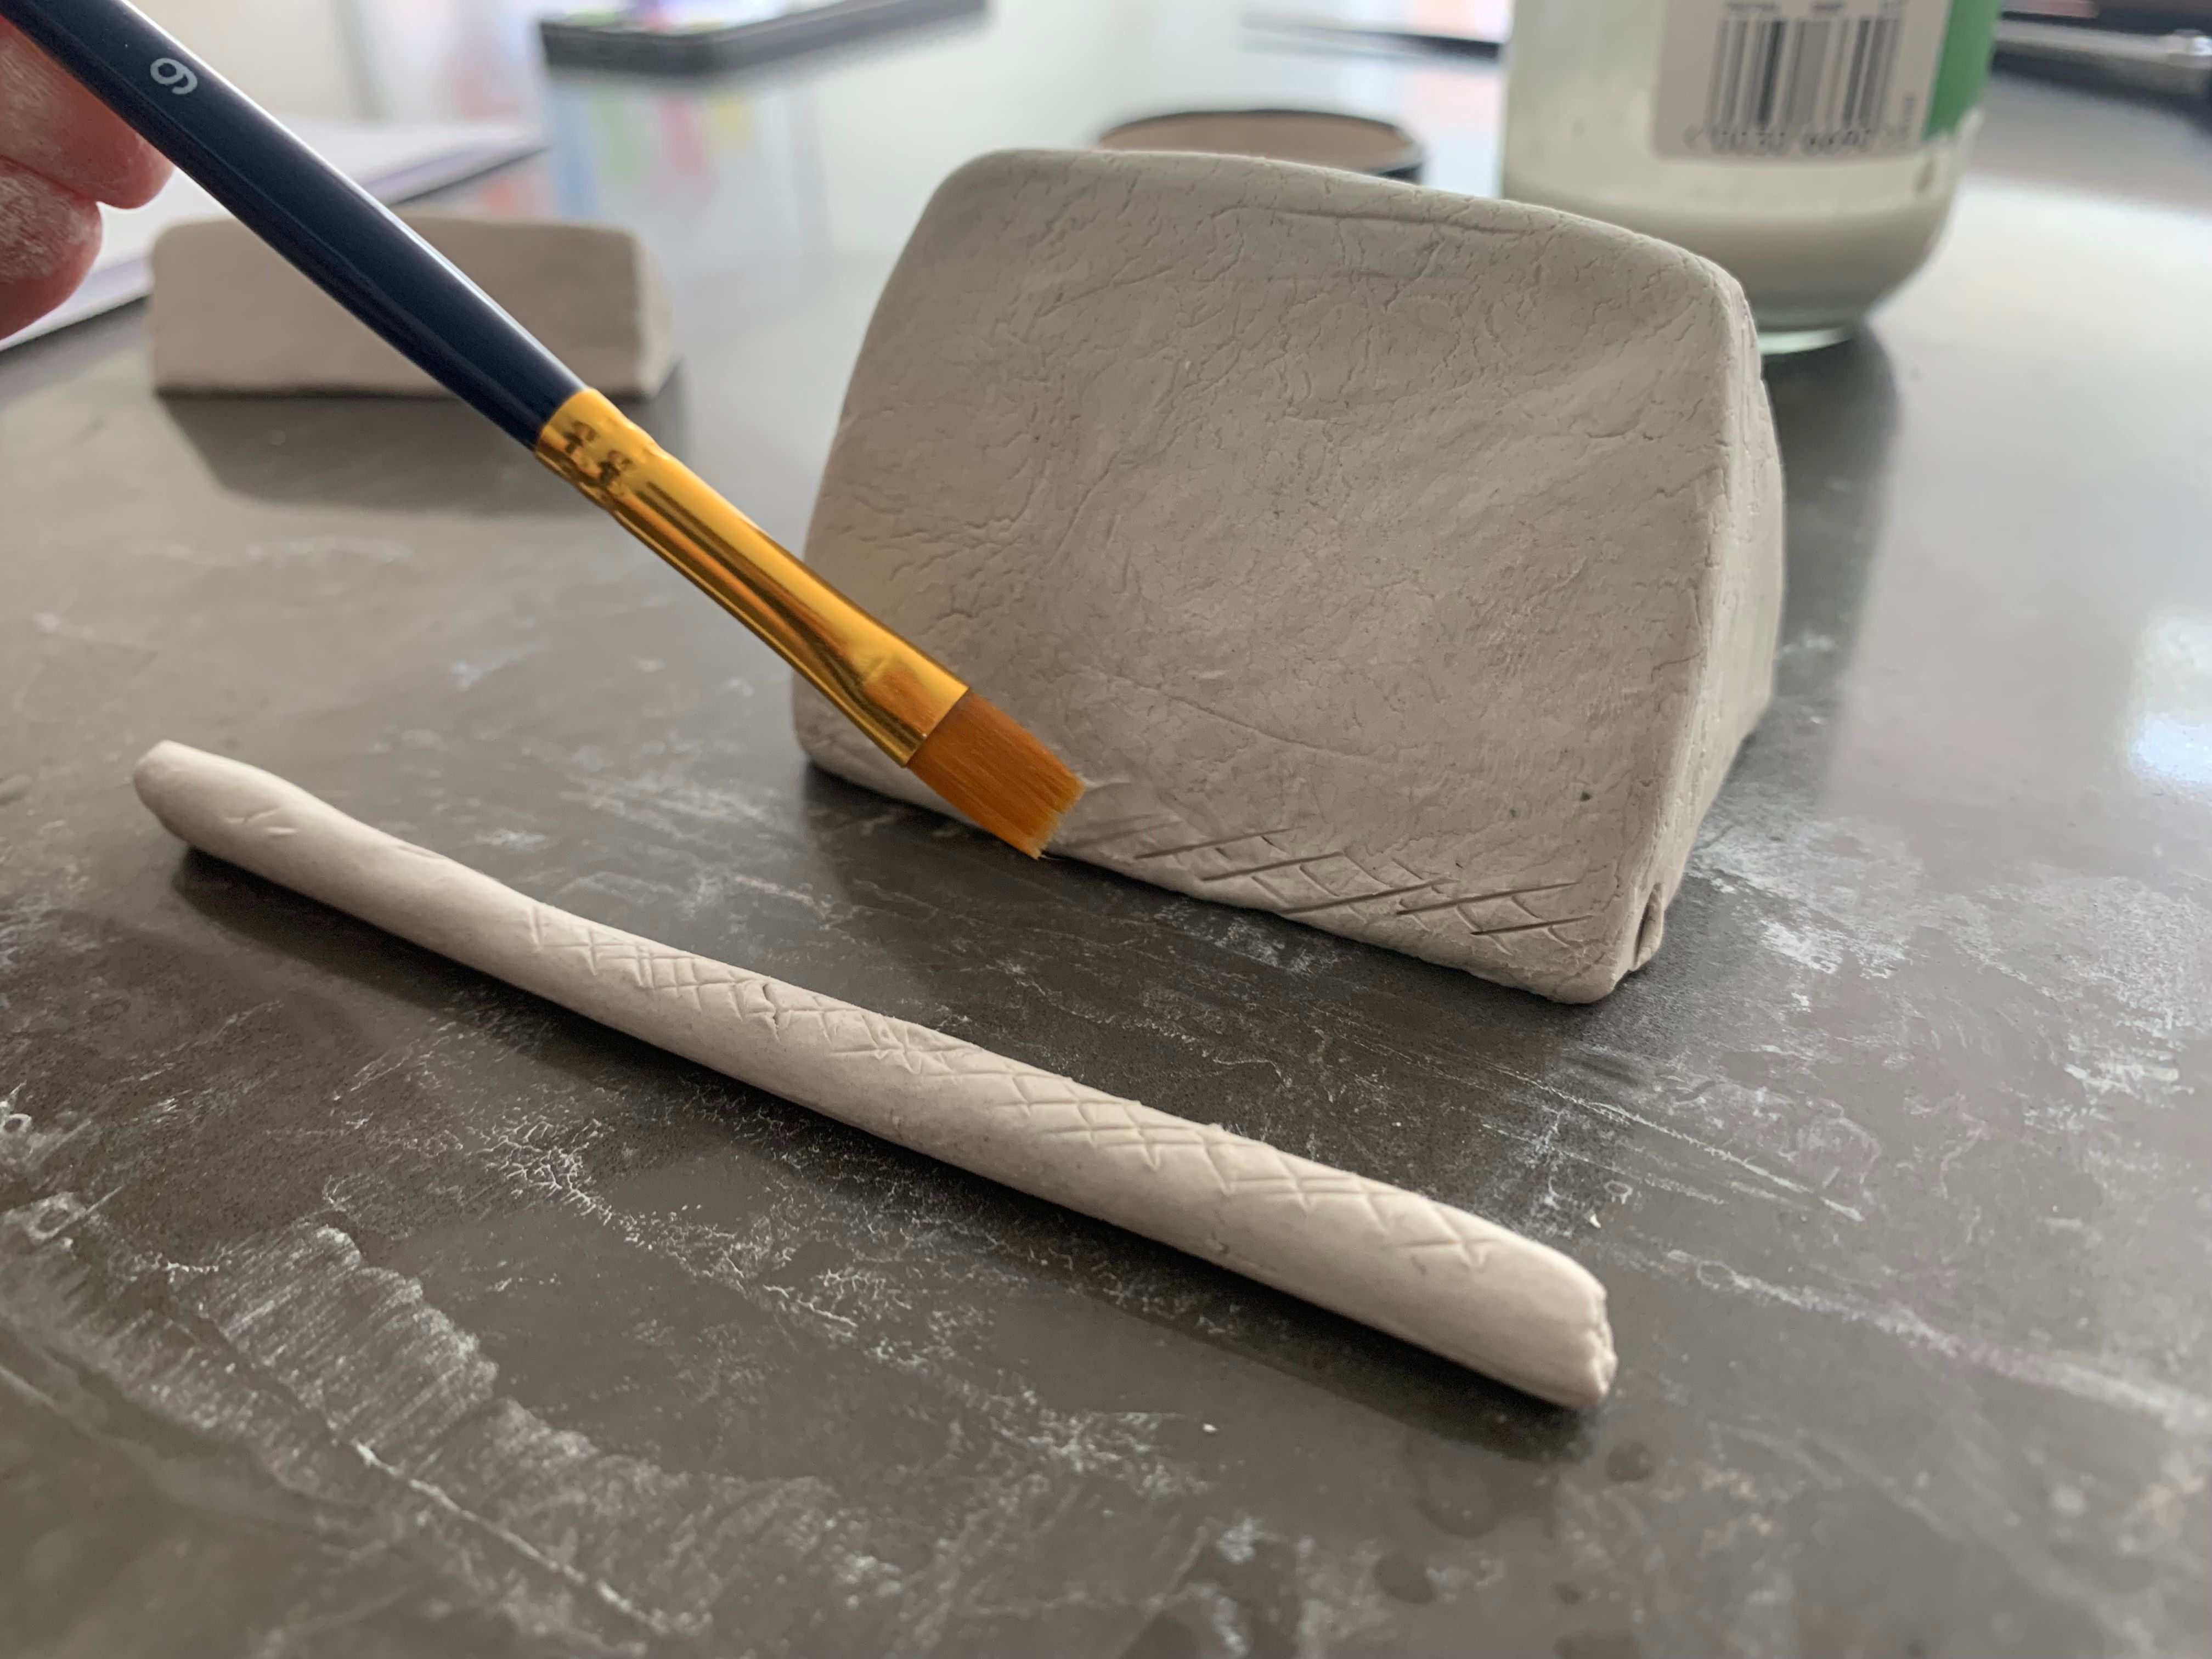
The easiest way to connect the three shapes collectively is to connect them utilizing a combination known as slip. It is constituted of water and clay and resembles a thick paste. You could find the directions for making slip firstly of this tutorial. If it’s essential pause to make the slip, place your clay shapes into an airt-tight plastic bag and add a couple of drops of water—it will forestall it from drying out.

To connect each bit, merely rating the clay with a crosshatch sample utilizing a pointy knife or X-Acto blade. After that, apply some slip and gently press the shapes collectively. Utilizing your fingers, clean out the joint between the 2 elements to make it seamless.
Step 6: Let It Dry
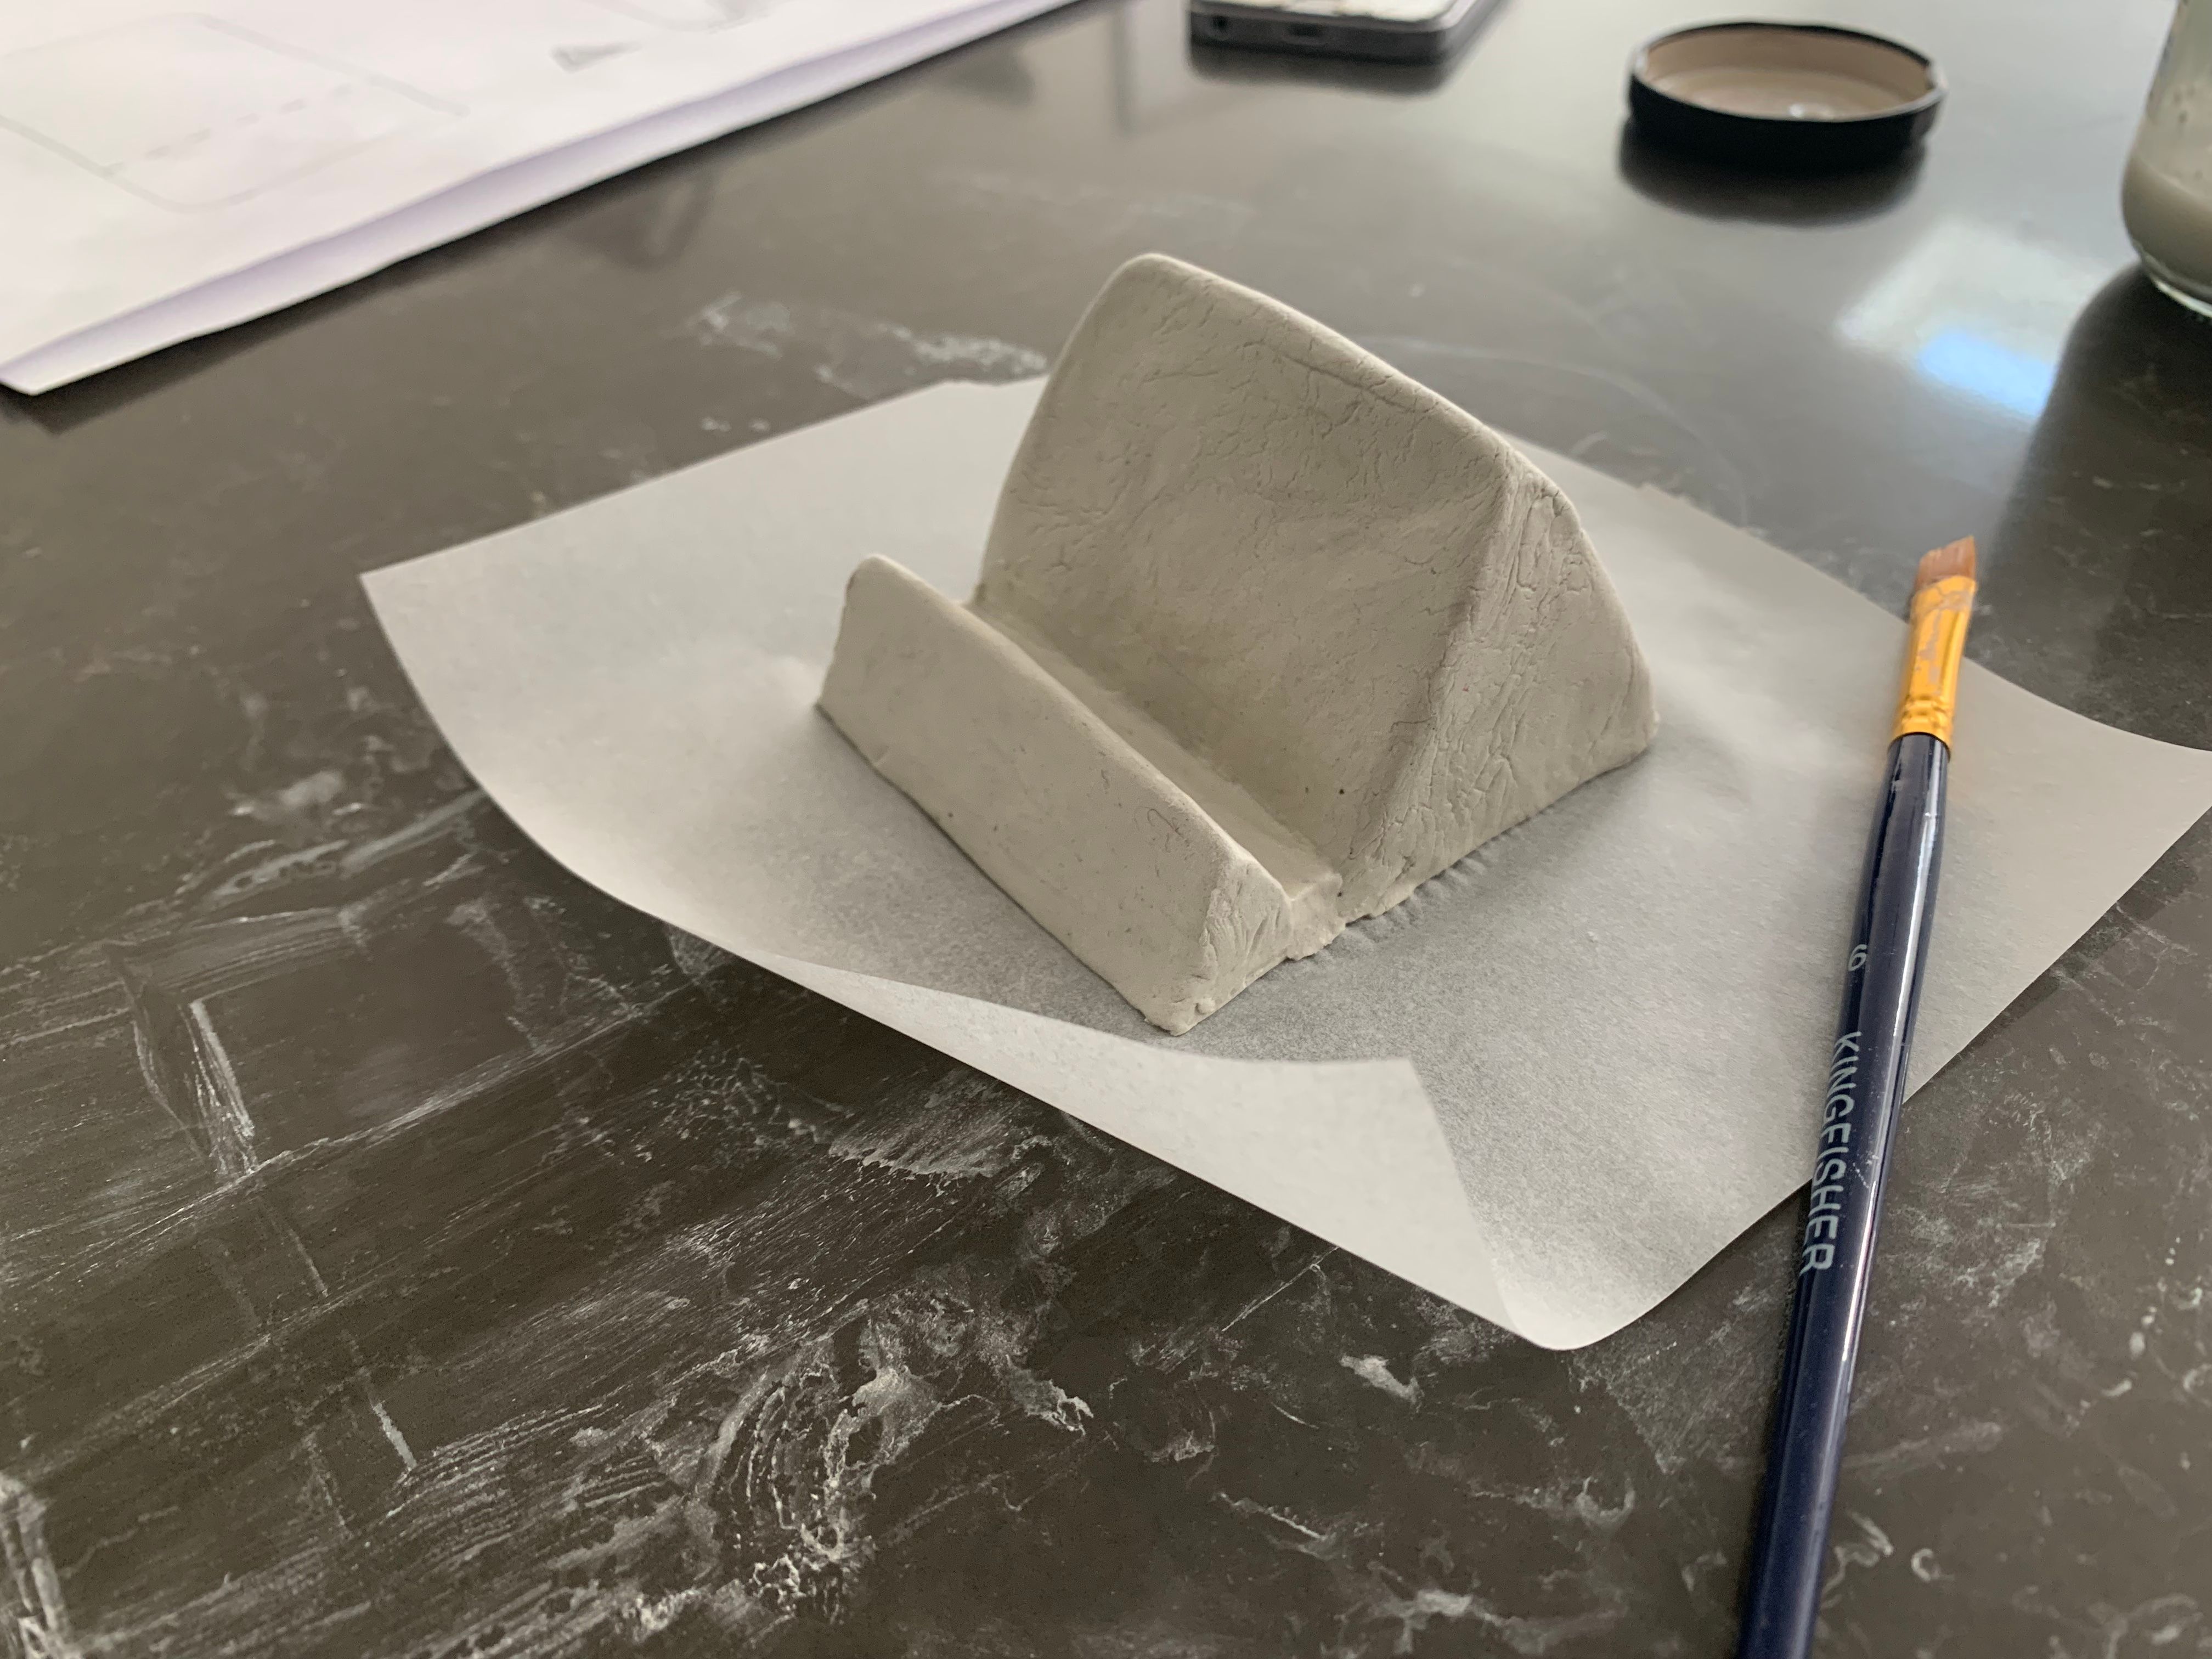
Dip your fingers in water and clean out your complete kind to take away undesirable marks and fill in small cracks. As soon as happy, switch the clay work onto a chunk of baking paper and depart it to dry. It’s going to take about 24-48 hours for the clay to dry fully. Sometimes examine in your work to verify no cracks have appeared. If you happen to do discover cracks, merely apply some slip to the realm with a paintbrush. The clay is dry as soon as it turns vivid white and feels rock arduous.
Step 7: Sand Tough Edges
An effective way to shine up your work is to take a little bit of sandpaper and clean any tough edges. You should utilize sandpaper to straighten the sides as nicely. Sanding clay will create extraordinarily positive mud that may trigger hurt, so be certain that to put on a face masks to your personal safety.
Step 8: Paint
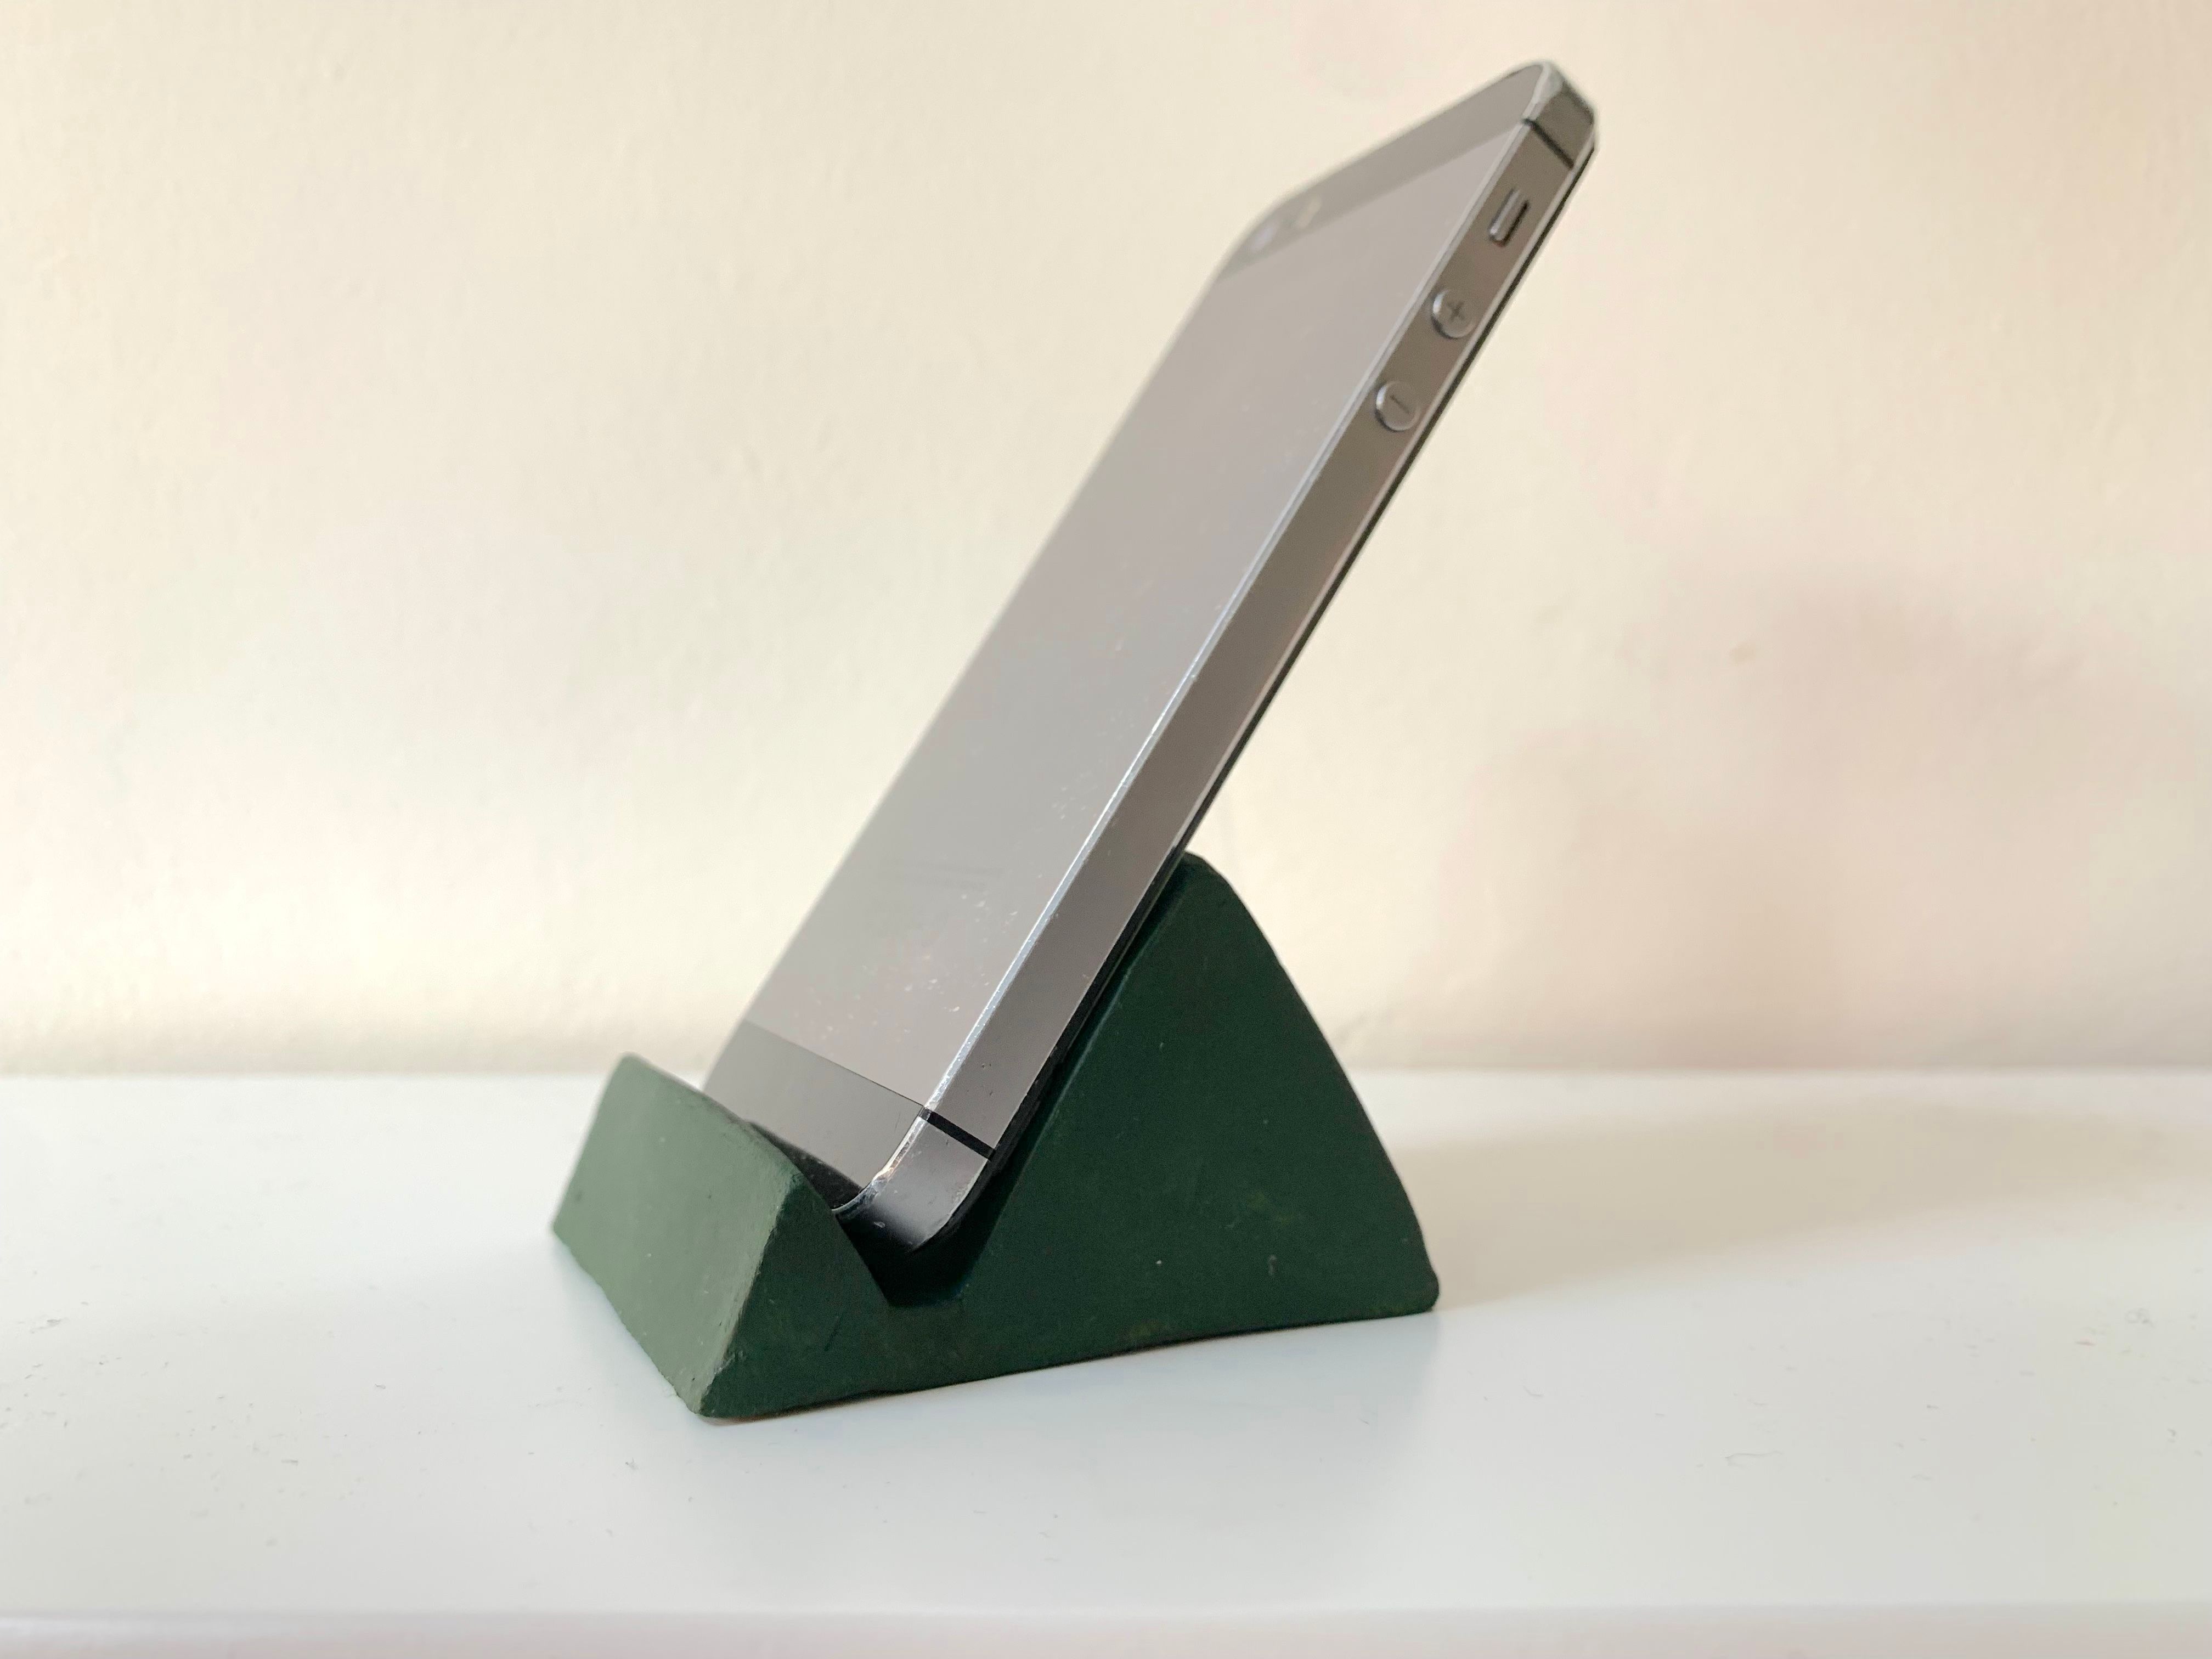
Now you are prepared to color your new cellphone stand. If utilizing acrylic paint, work in layers to construct up the colour and look ahead to every coat to dry in-between. It took us a number of coats of paint to get strong shade, however utilizing higher-quality paint will help cut back this time. If constructing your personal cellphone stand has impressed you, be certain that to take a look at our record of DIY laptop computer stands you can also make this weekend.
Step 9: Apply Sealant (elective)
Whereas extraordinarily arduous, dry clay is not waterproof, so it is an ideal thought to use a sealant so as to add sturdiness to your creation. You may as well use it so as to add a shiny layer to your work, giving it knowledgeable look. If you happen to used acrylic paint to complete your clay cellphone stand then it will shield the clay from small water droplets to some extent (although not the paint itself), so you possibly can depart it there should you like.
If you’d like a extra sturdy and waterproof choice, nonetheless, listed below are some sealants you can apply to your creation:
- White Craft Glue: Typically known as wooden glue or craft glue, it is an inexpensive choice you can apply with a paintbrush.
- Acrylic Sealer/Varnish: You could find this product in {hardware} shops as it is also used to seal wooden. Apply with a paintbrush and let dry.
- Resin: Resin entails two supplies that when mixed will remedy extraordinarily arduous. This feature is dearer and would require studying easy methods to use the substance safely.
Straightforward DIY Clay Telephone Stand
A DIY cellphone stand could make an ideal customized present or a purposeful workplace accent. With only a few supplies and instruments required, it could not be simpler as nicely. Have enjoyable making this geometric design, or strive creating your personal this weekend.
Learn Subsequent
About The Creator
