Apache Tomcat, also called Tomcat Server, is an open-source net server with the Servlet container to launch Java-based net purposes. Tomcat contains JavaServer Pages (JSP), WebSocket, Java Servlet, Java EL, and so forth., for a completely Java HTTP net server setting to run the Java code.
The nice neighborhood of expert builders maintains the Tomcat server below the administration of the Apache software program basis. Due to this fact, the Tomcat server gives wonderful accessibility to work on the Java-based utility effectively. Cross-platform assist signifies that it is accessible for each Home windows and Linux. The most recent model of Apache Tomcat is 10.0.18, so on this information, we’ll clarify learn how to set up Apache Tomcat 10 on Ubuntu 20.04.
1. Set up of Java (The Newest Model)
First, notice that in case you have simply put in Ubuntu 20.04 in your system, it’s essential to add a brand new consumer in Linux earlier than establishing Apache Tomcat.
As now we have talked about, Apache Tomcat is used for Java-based purposes, requiring the newest model of Java. The most recent model of Apache Tomcat requires JDK 8 (Java Growth Equipment) or a better model to operate appropriately. You may set up the most recent model of JDK by operating the next instructions within the Linux terminal:
sudo apt replacesudo apt set up default-jdk -y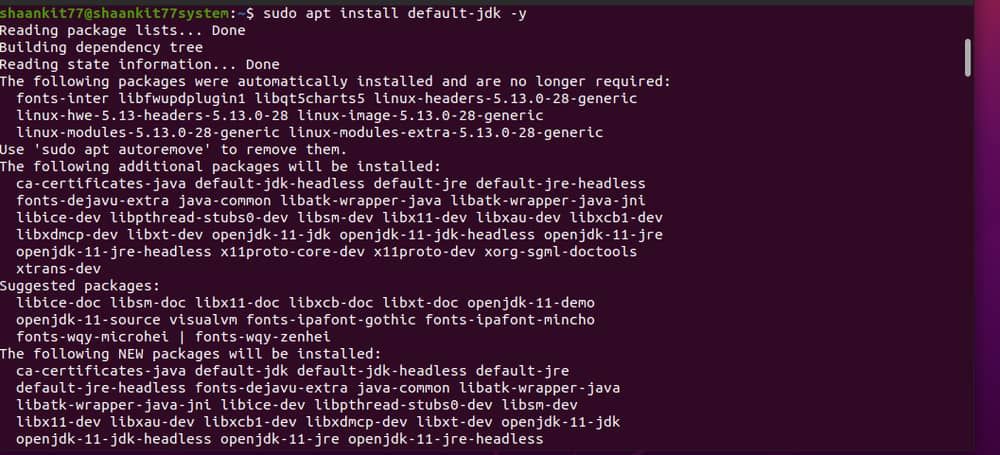
We have now used -y within the above command to surpass the set up affirmation robotically. Subsequent, you must examine and confirm the Java model by way of the next command:
java -version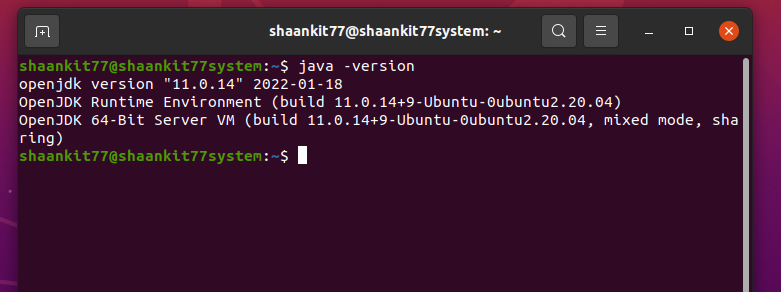
As you may see within the above picture, now we have the newest model of OpenJDK, 11.0.14. It additionally exhibits essential details about the OpenJDK Runtime Setting and server.
2. Apache Tomcat 10 Set up
Apache Tomcat has an energetic growth workforce that delivers the newest updates commonly, so obtain it from the official server utilizing the under command:
wget https://dlcdn.apache.org/tomcat/tomcat-10/v10.0.18/bin/apache-tomcat-10.0.18.tar.gz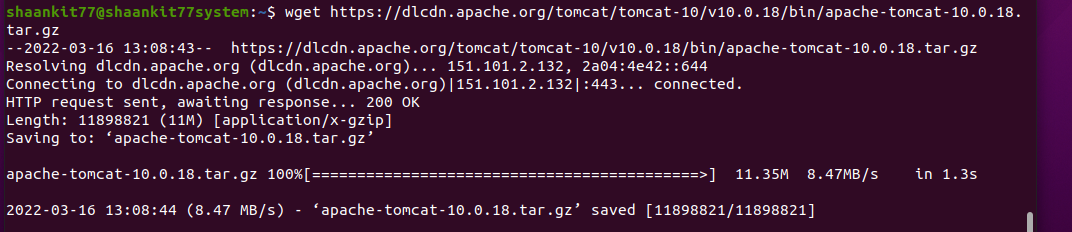
In case you are studying this information months after posting and there’s a new replace after 10.0.18, be sure to change the model within the above command. In any other case, the command is not going to work, and you’re going to get errors whereas downloading the newest model of Apache Tomcat.
When you obtain the Tomcat tar.gz file, extract the tar archive with the command given under:
tar xvf apache-tomcat-10.0.18.tar.gz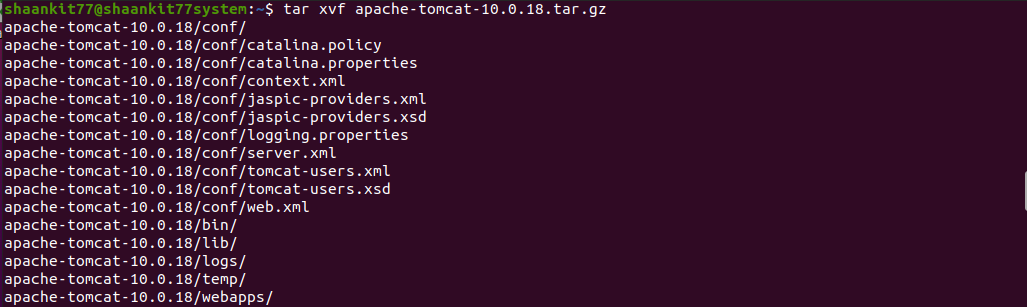
Now transfer the extracted recordsdata to residence listing (/usr/share/apache-tomcat) utilizing the next command:
sudo mv apache-tomcat-10.0.18 /usr/share/apache-tomcat
You can even use the next command to extract and transfer the Tomcat listing on the similar time as an alternative of doing it one after the other:
sudo tar xzvf apache-tomcat-10*tar.gz -C /choose/tomcat --strip-components=1 3. Setting Up the Tomcat Person Account
Operating the Tomcat server by way of a particular consumer account is a good suggestion for safety functions. Execute the under command to create a brand new consumer account:
sudo nano /choose/tomcat/conf/tomcat-users.xmlNow, change the username and password in keeping with the necessities and reserve it:
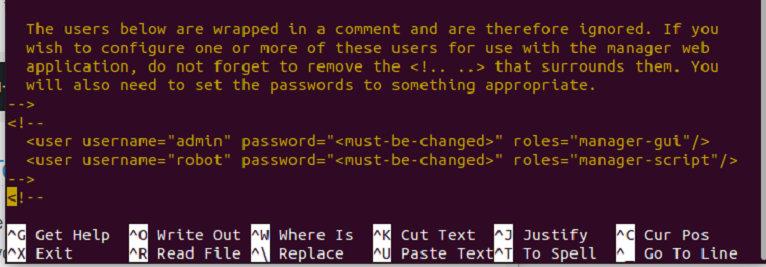
Change the roles to supervisor and host-manager, and set their passwords accordingly.
Lastly, set the required file permissions within the Tomcat listing as follows:
sudo chown -R tomcat:tomcat /choose/tomcat/
sudo chmod -R u+x /choose/tomcat/bin
4. Allow Entry to Apache Tomcat
You may entry host-manager and tomcat supervisor purposes as localhost solely, so you will need to configure the entry permissions. There are two methods to permit entry, both from permitting the actual distant methods or permitting all methods. Open the context.xml file to edit it for the supervisor and the host-manager purposes:
sudo nano /choose/tomcat/webapps/supervisor/META-INF/context.xmlsudo nano /choose/tomcat/webapps/host-manager/META-INF/context.xmlNow change the strains by including the IP deal with which you’ll entry. See learn how to discover your IP deal with in Linux when you need assistance:
enable="127.d+.d+.d+|::1|0:0:0:0:0:0:0:1|10.0.2.15" />
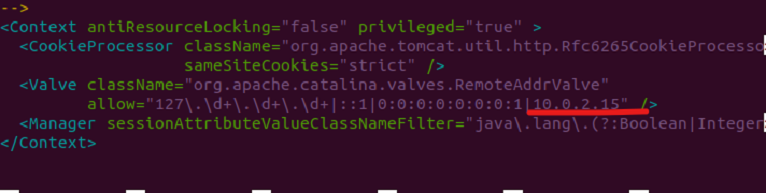
Ultimately, save the file, and the system will enable entry for the supervisor and host supervisor.
5. Set Up the Tomcat Systemd File
Tomcat has bash script accessibility for beginning and stopping the companies. Nonetheless, you may create a startup script for managing all duties as a systemd service. So first, open the tomcat.service file in vim utilizing the under command:
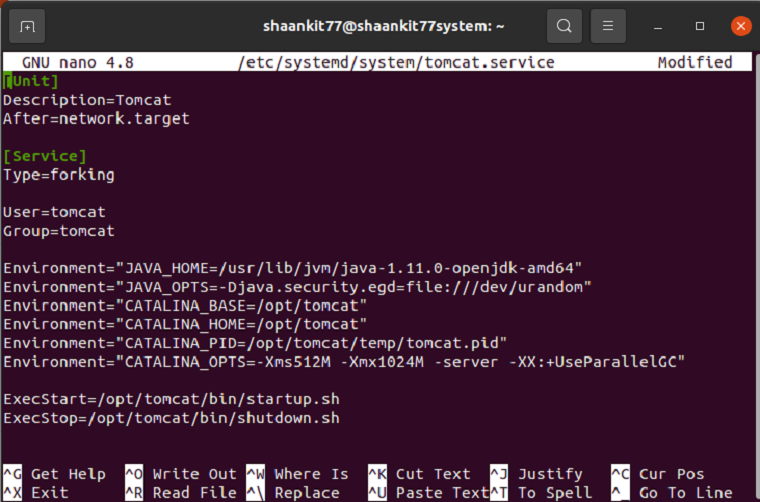
sudo nano /and so forth/systemd/system/tomcat.service
Now paste the next content material within the vim editor and reserve it:
[Unit]
Description=Tomcat
After=syslog.goal community.goal
[Service]
Sort=forking
Person=tomcat
Group=tomcat
Setting=JAVA_HOME=/usr/lib/jvm/default-java
Setting='JAVA_OPTS=-Djava.awt.headless=true'
Setting=CATALINA_HOME=/usr/share/apache-tomcat
Setting=CATALINA_BASE=/usr/share/apache-tomcat
Setting=CATALINA_PID=/usr/share/apache-tomcat/temp/tomcat.pid
ExecStart=/usr/share/apache-tomcat/bin/catalina.sh begin
ExecStop=/usr/share/apache-tomcat/bin/catalina.sh cease
[Install]
WantedBy=multi-user.goal
Run the under command to reload the systemd service to load the modifications finished within the file.
sudo systemctl daemon-reload
Now, begin and allow the tomcat utility utilizing the instructions given under:
sudo systemctl begin tomcat.servicesudo systemctl allow tomcat.service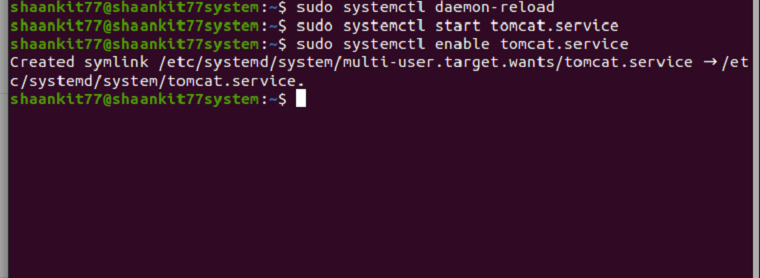
Let’s confirm the standing of the Tomcat service by operating the next command within the terminal:
sudo systemctl standing tomcat.service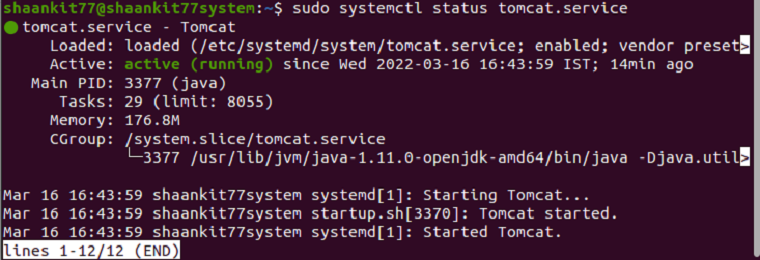
Right here, within the above picture, the system is displaying “energetic (operating)” within the standing.
6. Entry the Tomcat Internet Server
By default, Tomcat Server runs on port 8080, however you may examine it utilizing the next command:
sudo ss -tunelp | grep 8080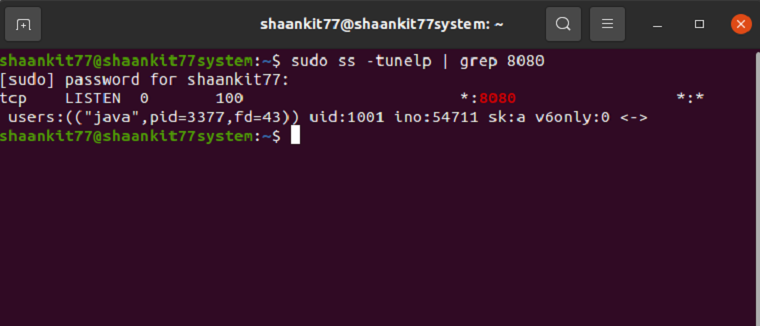
Now entry the Tomcat server from the browser:
http://localhost:8080/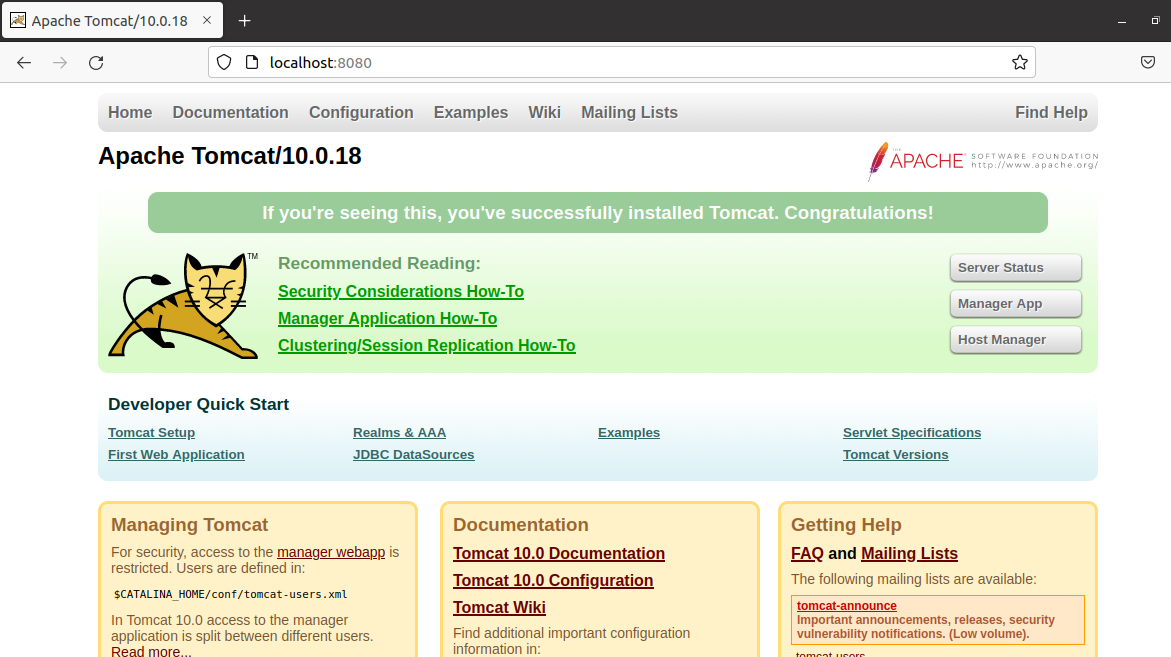
Lastly, present a username and password to entry Tomcat 10 out of your Linux machine:
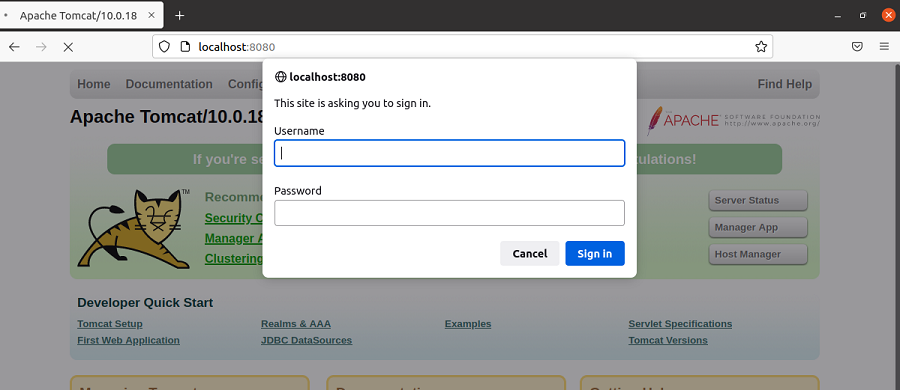
You may examine the server standing, obtain the supervisor app, and host a supervisor from the online interface. In the event you encounter any error whereas accessing Tomcat 10 from the online browser, you must reload the tomcat.service once more. It can assist to present a recent begin to the Tomcat service and cargo all the information to work appropriately. When you reload the tomcat.service, then please begin, allow and examine the standing of the tomcat.service as now we have talked about above.
You Put in Apache Tomcat 10 Efficiently!
So that is how one can simply set up and arrange Apache Tomcat 10 on Ubuntu 20.04. We have now divided the method into six distinct steps, the place now we have thought of the whole lot concerning the set up of Tomcat 10.
Please ensure that you comply with the steps one after the other, as it’s important for efficiently establishing of Apache Tomcat. Do not get confused within the set up course of as a result of the method begins up by putting in the Tomcat 10 and finally ends up by accessing the Tomcat server from the online browser. There are a number of shortcuts that now we have used within the above strategies, as these shortcuts will provide help to set up Apache 10 simply.
Learn Subsequent
About The Writer