Familiarize yourself with Microsoft Visible Studio and develop your personal apps with Home windows Types with virtually no coding required.

Home windows Types is a framework out there in Visible Studio that means that you can construct desktop purposes with the help of a graphical person interface. This lets you click on and drag widgets reminiscent of buttons or labels immediately onto a canvas, and manipulate the properties of every widget reminiscent of its font-size, coloration or border.
On this article, a easy Celsius to Fahrenheit Converter will likely be used for example to undergo the fundamentals of tips on how to arrange a Home windows Kind Utility. Visible Studio 2019 Neighborhood Version is the version used for this tutorial.
Methods to Create the Home windows Types Challenge in Visible Studio
First, create the venture in Visible Studio.
- Open Visible Studio and choose Create a New Challenge.
- Visible Studio will give you an inventory of venture templates you may select from.
- To create a Home windows Types Utility, seek for Home windows Kind App and choose it from the listing of templates. As soon as that is chosen, click on on Subsequent.
If the Home windows Kind App choice is just not out there on the listing, modify your installed version of Visual Studio. In Visible Studio Installer, add the .NET desktop growth workload for Desktop and Cellular, and re-launch Visible Studio.
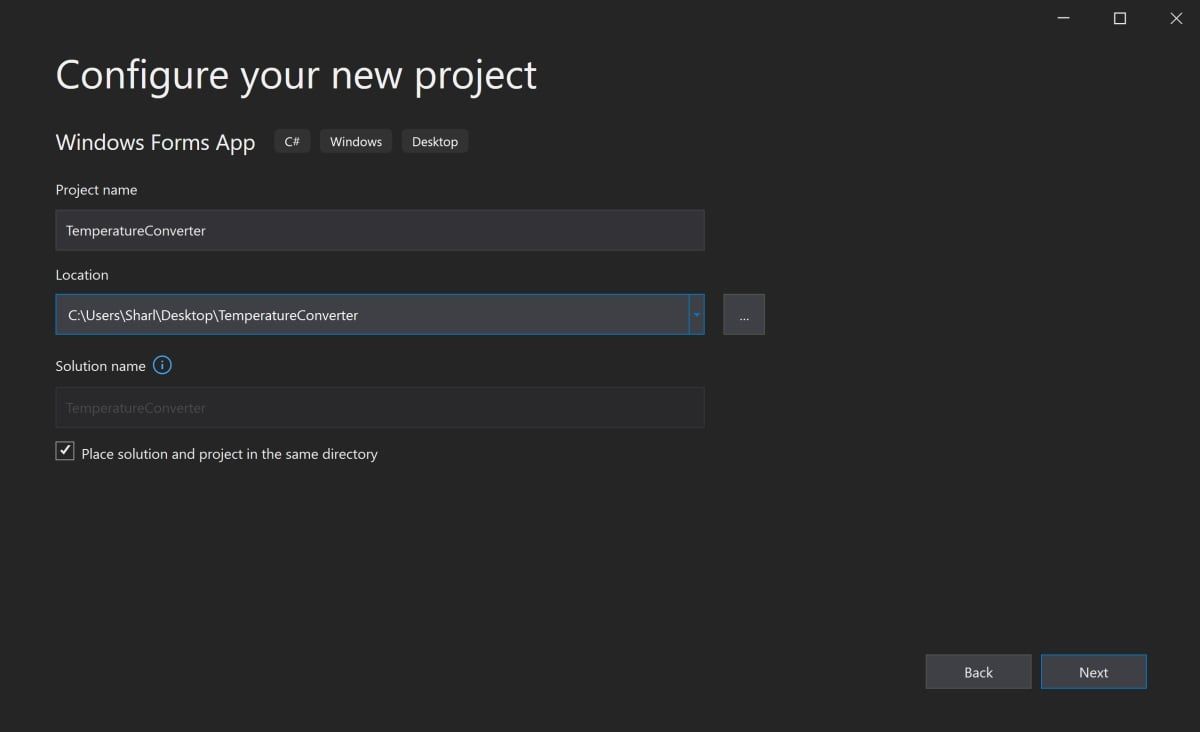
- Add a reputation and placement for the venture, and click on on Subsequent. The placement is the listing the place the code recordsdata will likely be saved.
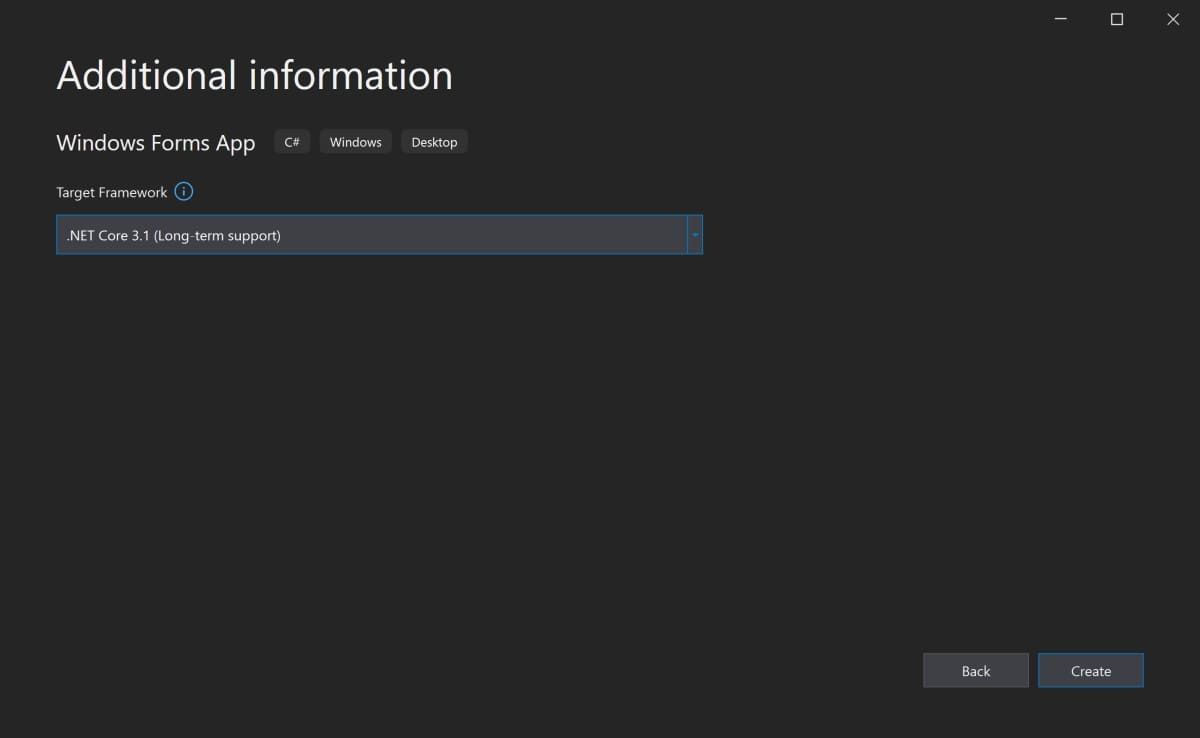
- On the subsequent display screen, hold the default choice of .NET Core 3.1.
- Click on Create.
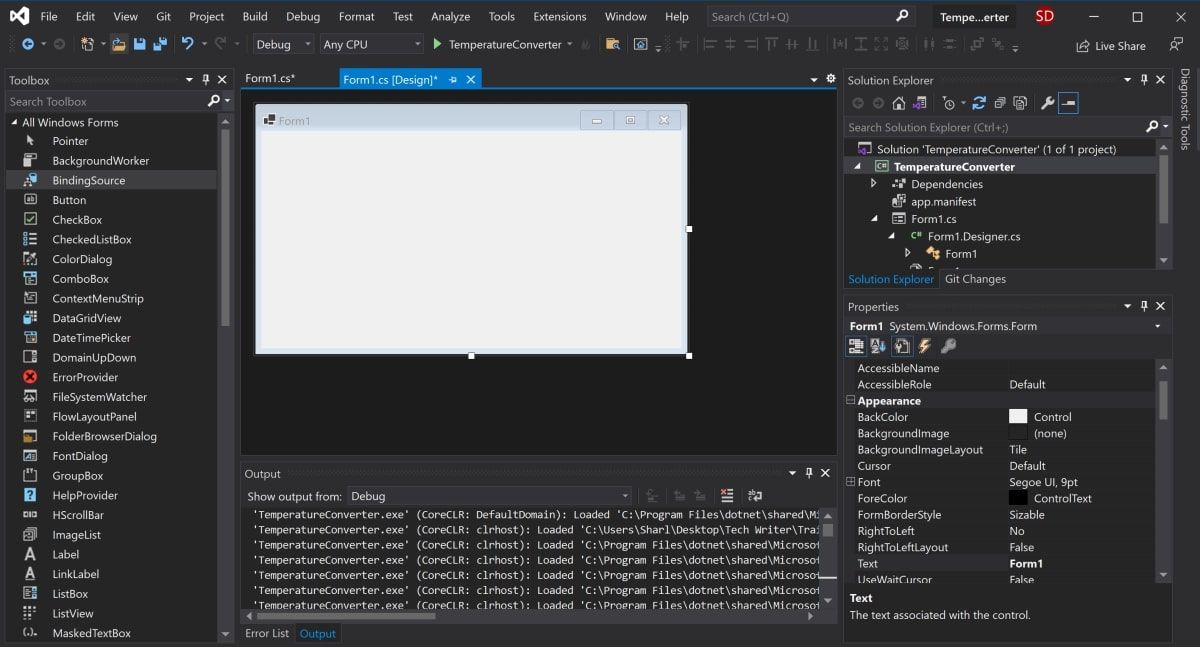
- As soon as Visible Studio has completed creating the venture, the venture will open.

Methods to Add Parts to the Challenge Canvas
The canvas is the white space positioned on the top-left of the display screen. Click on and drag the factors on the underside, proper, or bottom-right of the canvas to resize it if wanted.
To create the UI of the appliance, add widgets reminiscent of buttons or textual content containers onto the canvas.
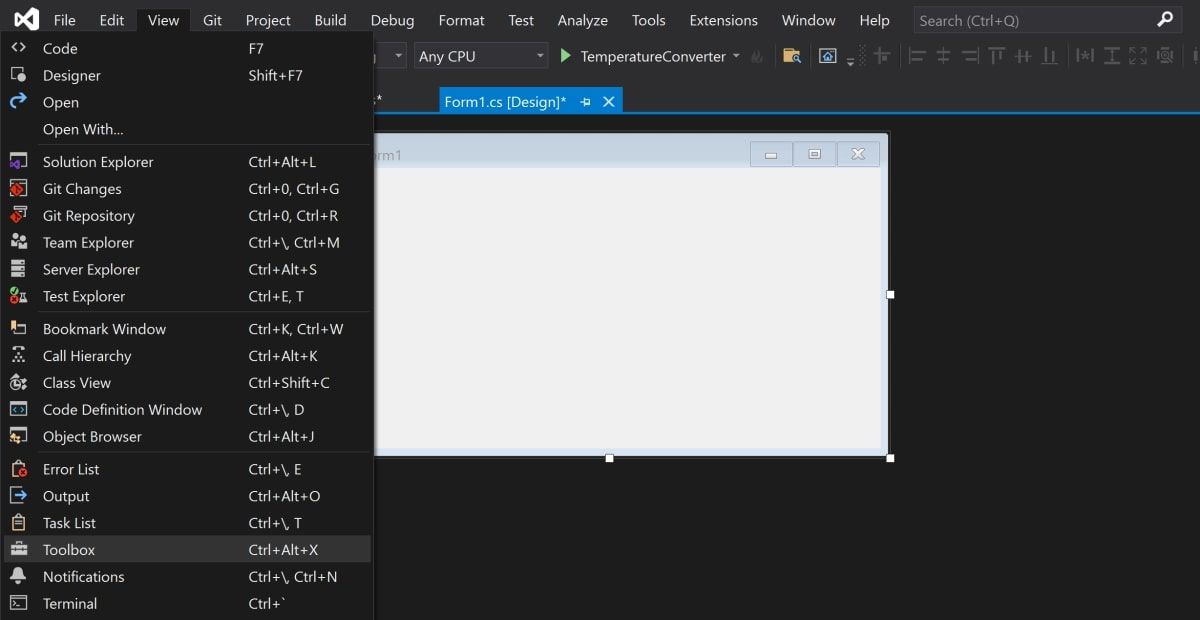
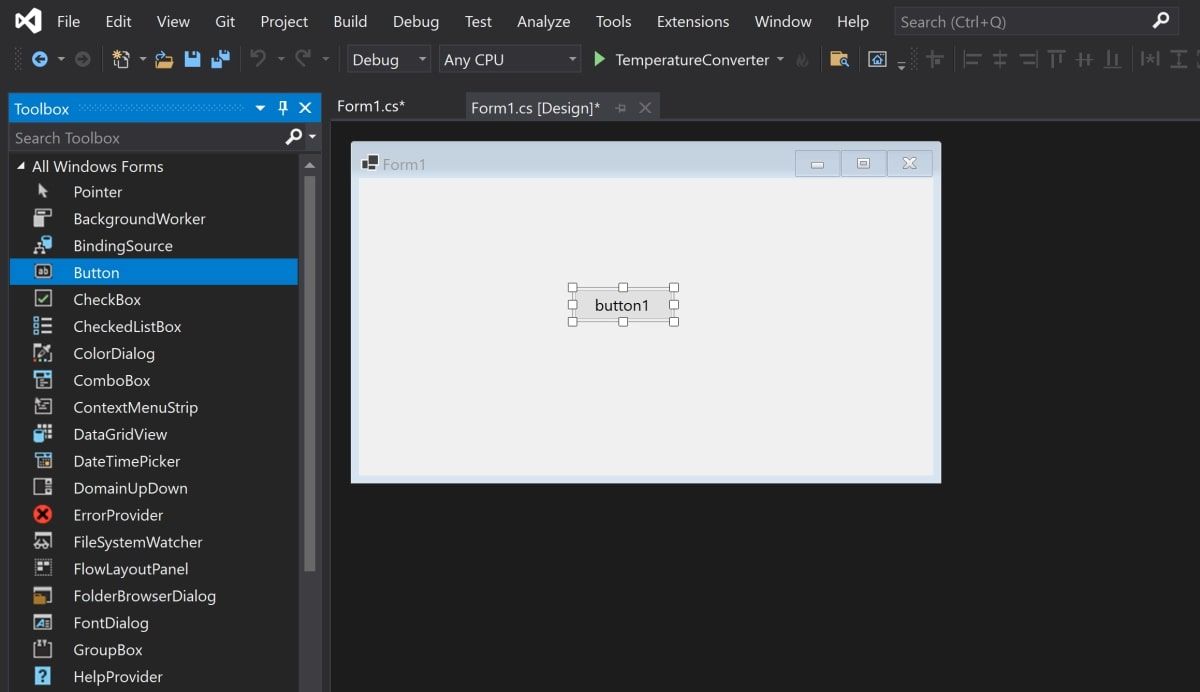
- Open the View Tab on the prime of the window, and choose Toolbox.
- This may add a toolbox to the left aspect of the appliance. Choose the pin icon within the top-right of the toolbox to pin it there completely.
- That is the place you may drag any widget from the toolbox onto the canvas. Spotlight a button from the toolbox, and drag it onto the canvas.
- Drag two extra textual content containers onto the canvas, together with three labels (two labels for every textual content field, and one label for the title on the prime of the appliance).
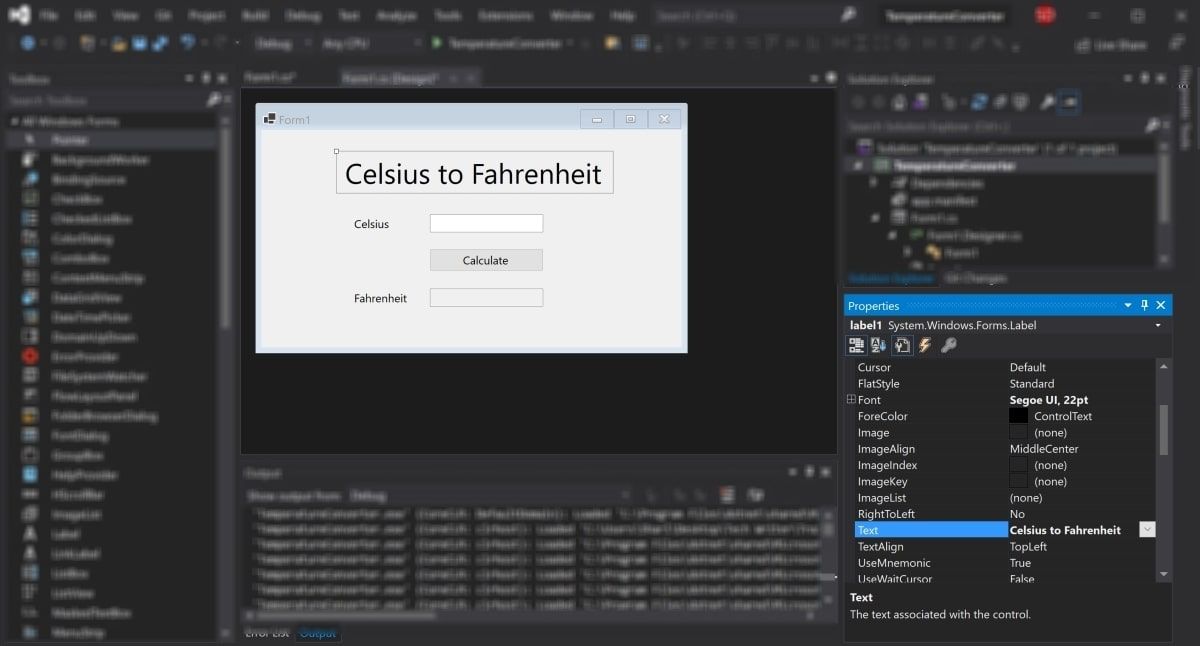
- Each widget on the canvas has properties related to them. Spotlight a widget to show the Properties window within the bottom-right of Visible Studio, which lists all of the properties that widget has. These properties can embody the textual content, identify, font dimension, border, or alignment of the highlighted widget.
- In the meanwhile, the textual content on these widgets nonetheless say label1, label2, or button1. Choose the label1 widget and edit the Textual content property within the properties window to say “Celsius to Fahrenheit”. Change the font dimension to be 22pt.
- Equally, edit the properties of the opposite widgets on the canvas to be the next:
Widget Property New Worth label2 Textual content Celsius label3 Textual content Fahrenheit button Textual content Calculate Fahrenheit textual content field ReadOnly True

Methods to Deal with Occasions and Write Code within the Code-Behind
Widgets on the canvas will be tied to occasions. Occasions can embody issues like clicking on a button, altering the textual content inside a textual content field, or choosing a selected radio button. When these occasions occur, it may trigger a piece of code within the Code-Behind to set off.
C# is the language used when creating Home windows Types. If you have not already used C#, there are numerous sensible causes to study C# programming.
For this explicit utility, add an occasion to the Calculate button, to set off a piece of code to run when this button is pressed.
- Double-click the Calculate button to mechanically open Form1.cs with a brand new Occasion methodology:
non-public void calculateButton_Click(object sender, EventArgs e) - That is the place you’ll add the code that can carry out the Celsius to Fahrenheit calculation, and show the outcome within the Fahrenheit textual content field. To do that, you want to have the ability to learn the worth from the Celsius textual content field, and modify the Fahrenheit textual content field to show the outcome.
- Return to the canvas, and re-edit the properties as proven earlier than. This time, edit the Title property for each the Celsius and Fahrenheit textual content containers. These names can be utilized to reference the textual content containers within the code.
Widget Property New Worth Celsius Textual content Field Title celsiusTextBox Fahrenheit Textual content Field Title fahrenheitTextBox - Return to the calculateButton_Click operate in Form1.cs.
- Now, the Celsius textual content field will be referred to within the code utilizing the identify “celsiusTextBox”. The Celsius worth the person entered is saved in its Textual content property. Nevertheless, since it is a string, parse this right into a double in an effort to embody it sooner or later Fahrenheit calculations.
non-public void calculateButton_Click(object sender, EventArgs e)
{
// Get the worth that the person entered within the Celsius Textual content Field
double celsiusValue = Double.Parse(celsiusTextBox.Textual content);
} - The celsiusValue variable now shops the worth that the person entered within the Celsius Textual content Field. The system for changing Celsius to Fahrenheit is (celsiusValue * 9 / 5) + 32. Subsequently, the outcome can now be calculated and saved within the Fahrenheit Textual content Field.
non-public void calculateButton_Click(object sender, EventArgs e)
{
// Get the worth that the person entered within the Celsius Textual content Field
double celsiusValue = Double.Parse(celsiusTextBox.Textual content);
// Apply the calculation
double outcome = (celsiusValue * 9 / 5) + 32;
// Retailer the outcome within the Fahrenheit Textbox
fahrenheitTextBox.Textual content = outcome.ToString();
}
Methods to Run and Debug the Home windows Types Program
Operating the Home windows Types Program in Visible Studio
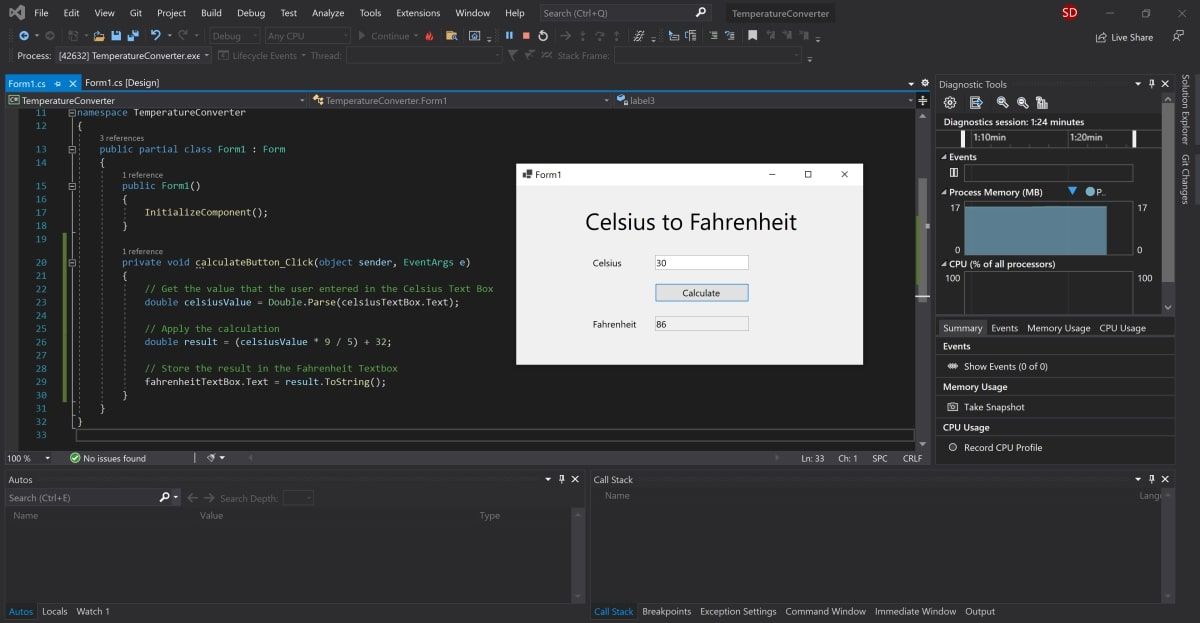
Now that the UI and code logic is about up, run this system to see it working.
- To run this system, choose the inexperienced arrow on the prime of the toolbar in Visible Studio.
- As soon as the venture has loaded, add a worth into the Celsius textual content field and press the Calculate button. This may add the outcome into the Fahrenheit textual content field.
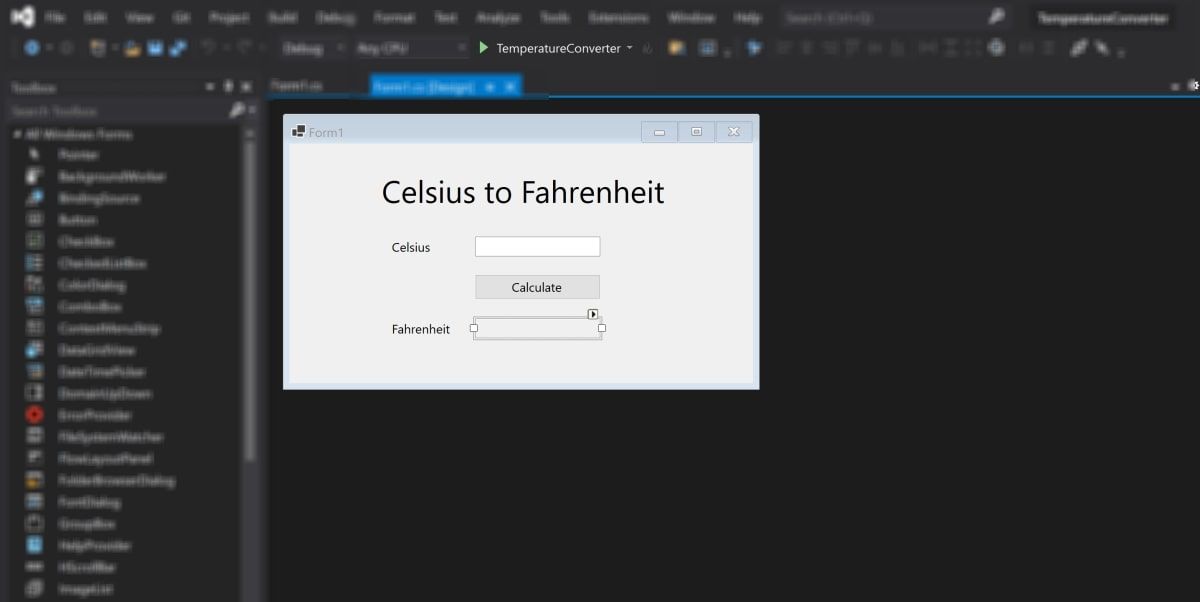
- If this system is blurry at runtime, it’s seemingly your utility is just not DPI conscious. This may trigger scaling and backbone points, so this can have to be enabled. You can too learn extra about configuring show scaling on Home windows 10 for Excessive-DPI displays.
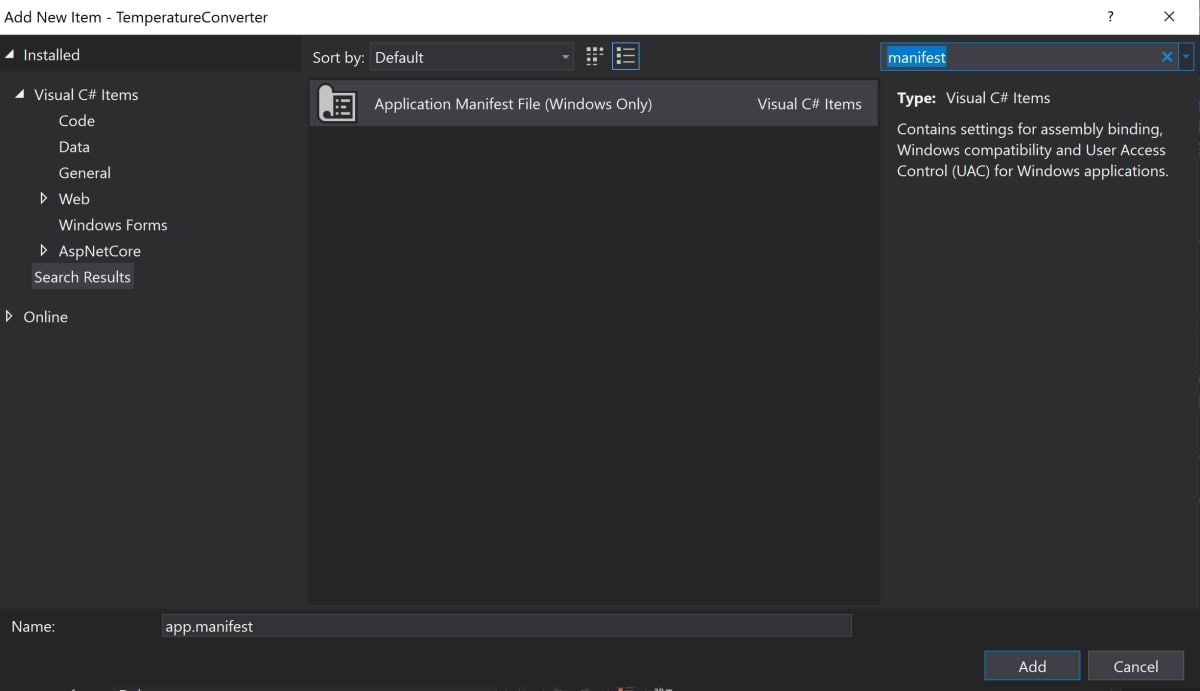
- Proper-click on the TemperatureConverter Challenge within the Options Explorer. Choose Add, then choose New Merchandise.
- Seek for the Utility Manifest File, and click on Add.
- Copy the next code into the brand new app.manifest file, as a baby of the meeting tag (if the code is already generated, simply un-comment it).
<utility xmlns="urn:schemas-microsoft-com:asm.v3">
<windowsSettings>
<dpiAware xmlns="http://schemas.microsoft.com/SMI/2005/WindowsSettings">true</dpiAware>
<longPathAware xmlns="http://schemas.microsoft.com/SMI/2016/WindowsSettings">true</longPathAware>
</windowsSettings>
</utility> - For this transformation to take impact, re-run this system. Choose the pink cease button on the prime of the toolbar, then choose the inexperienced play button once more.
Debugging the Home windows Types Program
Chances are you’ll wish to debug this system if the logic of your Home windows Types utility is just not working as anticipated.
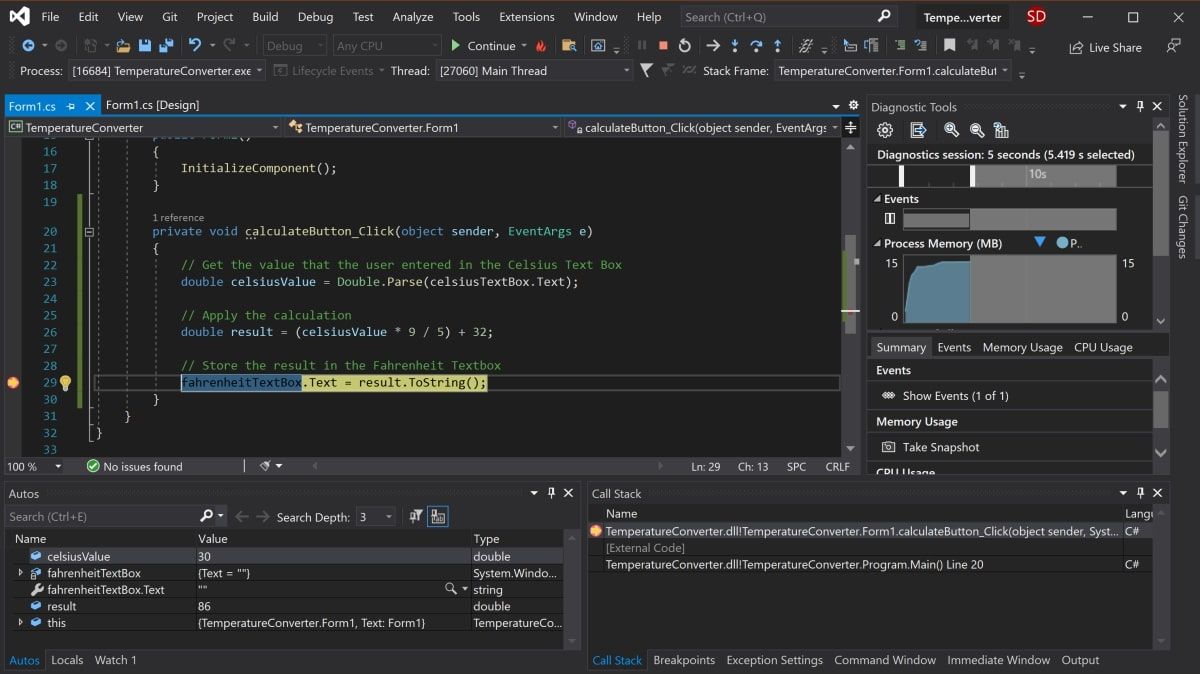
- Navigate again to the calculateButton_Click operate in Form1.cs and click on wherever on the grey bar within the far-left of the display screen. This may add a breakpoint, which is indicated by a pink circle.
- Press the “Calculate” button once more to set off this methodology to execute. This system will pause when it hits the breakpoint to indicate all of the values saved within the variables at that time.
- To proceed this system, click on the inexperienced Proceed arrow on the prime of the toolbar.
Operating the Program Utilizing an Executable File
Should you do not wish to run your program via Visible Studio, use the standalone executable file for this system. That is mechanically generated.
- Navigate to the executable file, which will be discovered right here:
<your-project-folder>/bin/Debug/netcoreapp3.1/TemperatureConverter.exe - Click on on the executable file to immediately run this system.
Including Extra to Your Home windows Kind
Hopefully you now have a primary understanding of the essential construction of a Home windows Kind Utility. You’ll be able to proceed exploring extra Home windows Types options by experimenting with new widgets, and taking a deeper dive into the opposite numerous occasions that may be dealt with.
As soon as you might be extra aware of Home windows Types, you can begin creating extra complicated purposes. You can too discover most of the different methods you may create purposes on Home windows desktop.
Learn Subsequent
About The Writer
