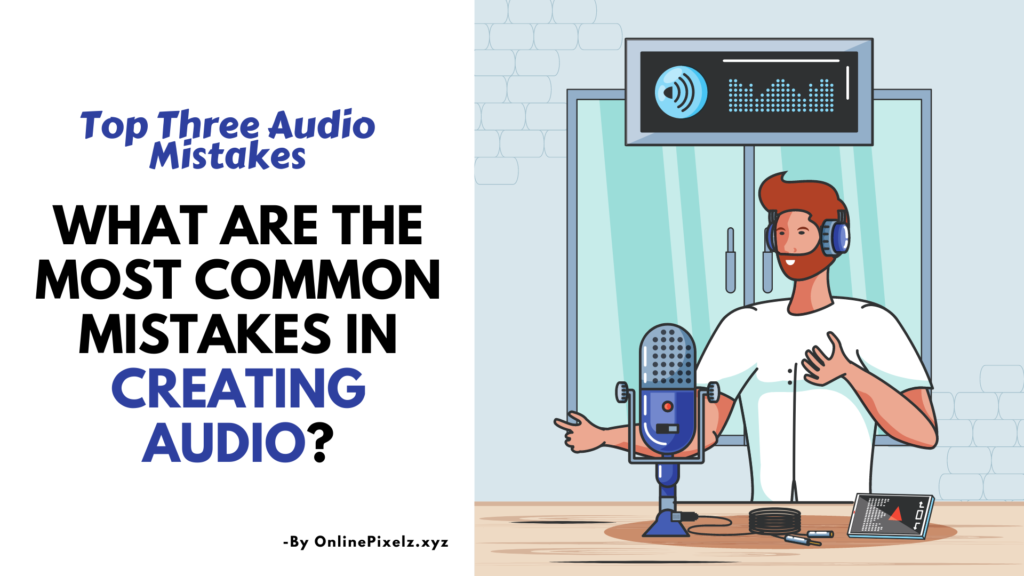
Creating audio content can be a daunting task. In this blog post, we will discuss the most common mistakes people make when recording their voice or someone else’s voice for use in an audio file. We’ll also cover what you should do to avoid those mistakes and create a high-quality sound file.
What are the most common mistakes in creating audio? The answer is simple: you. Your voice, your tone, and how you speak can all impact the quality of your recording. To avoid making these mistakes, it’s important to know what they are so that you can be more aware of them while speaking or before editing a file.
Here are the Top Three Common Mistakes in Creating Audio:
1. Not using a pop filter
A popular mistake is not to use a pop filter. A pop filter prevents the “P” and “B” sounds from popping out as they do in speech, giving your recordings that extra bit of smoothness and professional finish. They also help reduce sibilance (that whistling sound you hear when someone says a “th” or an “s”).
Sibilance is a term that refers to the ‘ess’ sound at the beginning of words like speak and pressure. Sibilant sounds are created when air passes over our tongue in just such a way as to produce this noise. Since so many people have trouble with sibilance, most microphones now come with a built-in pop filter.
A good quality microphone will also help reduce the amount of popping and sibilance in your recordings. Many people spend money on costly equipment only to find that their recording is still full of pops. That’s because they haven’t invested in a high-quality pop filter!
Pop filters range from $20 – $30 at Amazon (link here). If you regularly need multiple pop filters for different mics or if you are often sharing them between lots of other people, then it might be worth getting an even cheaper one like this Amazon’s Choice ($12). However, if you don’t record too much or share the mic around, I would suggest spending more to get a pop filter that will last you longer.
Also read: 5 Topmost Benefits of Using Audiovisual Equipment in the Educational Sector?
2. Not recording in a quiet space
If you are going to record yourself, make sure that your microphone is picking up only the sounds of your voice. It can be hard if there are other people around or lots of ambient noise recording. You should also invest in some headphones so that when you playback what, you have recorded, all you hear is your voice and nothing else. If any background noises sneak through, they will very likely distract from whatever you were trying to say on the audio file and ruin an otherwise good quality recording!
This leads me to my next mistake: not having enough room for both the mic and headphone cables while at the same time ensuring that no extra noise gets picked up by the mic. Don’t be like me and end up with tangled headphone cables all over your desk!
Our Recommendation on Amazon.com:
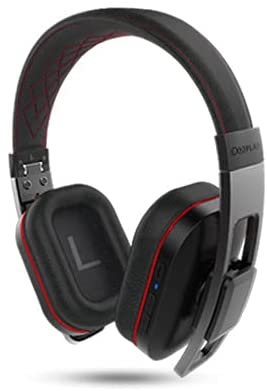
This iDeaPLAY headset ($89.99) is a good budget option that will allow for both cable management and comfort when recording. The earpieces are well cushioned to reduce pressure on the ears, which gives them an edge over other cheap headsets.
I know that a lot of people like to record using earbuds rather than over-the-ear headphones. They are more likely to hear any background noises and might find it easier if they also want to play along with the audio file as they go along. Still, for recording an actual voiceover, I do recommend going for over-the-ear headphones.
3. Not using professional software
The cheapest way to record audio is by using the voice recorder on your phone. However, it doesn’t take long for people who are used to high-quality recordings to be able to tell that their voices have been recorded with a cheap microphone or through just an average quality sound card on their computer. If you want something better than this but still want to avoid any professional recording equipment, your best bet is to use a program like Audacity (free) or GarageBand.
You will need some knowledge about how these things work, though, as you’ll have to set the input gain yourself and adjust it if there are sudden changes in volume levels throughout the recording.
Also read: 5 Ways to Increase Subscribers For Your Podcast
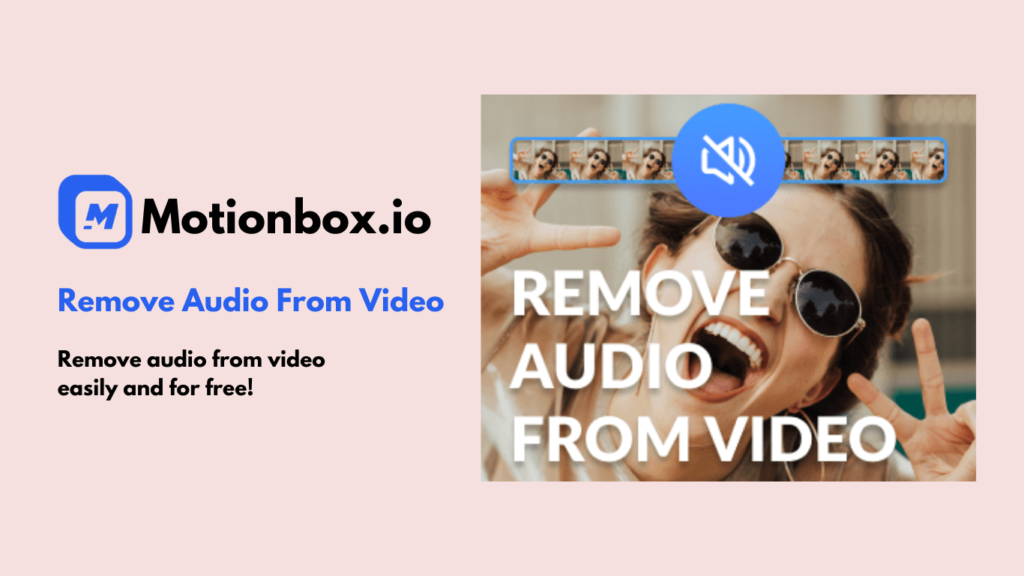
Remove Audio From Video Online Free
1. VEED
VEED.IO is an online video editor that lets you remove audio tracks in just a few clicks. You can mute any part or the entire clip with ease without having to install anything on your computer! With Veed.IO, it’s easy as pie-and free too!–so what are you waiting for. Click here to try it now!

2. Motionbox
Motionbox.io makes it easy to remove audio from video so that you can focus on the visuals without any distractions. It’s fast, easy to use, and completely free. Just drag and drop your video file into the Motionbox.io editor, mute the audio track, and export your new video file. It’s that simple; try it today!
Summary
There are plenty of other mistakes people make when trying to record audio without any professional equipment, but these three top the list! If you follow my advice, you should be able to avoid all of them and create high-quality voiceovers for your website or YouTube channel in no time at all.