
Rainmeter stays the champion of Home windows customization as a result of customers proceed to search out artistic methods to make use of this system.
One latest innovation is the parallax background. Parallax results are a easy and spectacular method to improve the look of your desktop background. Additionally they incorporate dwell wallpaper options.
Let’s check out how one can create your individual animated desktop wallpaper utilizing the parallax impact and Rainmeter.
What Is a Parallax Impact?
The Parallax Impact is when an object seems completely different from two completely different factors of view. For this reason a parallax impact gives the look of depth because the display screen is scrolled or hovered by a consumer.
On the whole, this impact is carried out to reinforce the consumer expertise on completely different web sites. And, Rainmeter makes it fairly easy to create a parallax impact in your desktop’s background.
It allows you to use your mouse as a digicam. So, your pictures shift in 3D house as you progress your mouse, creating a lovely animated wallpaper.
Handsome outcomes are simple to attain utilizing Rainmeter. That mentioned, it takes a good quantity of creativity to attain actually spectacular outcomes.
If you would like to create an in depth, multi-layered impact, some earlier expertise with graphic design packages like Photoshop is required. Our parallax impact will obtain a easy, but spectacular, four-layer backdrop.
Components of the Parallax
To make use of this impact, let’s go over the idea of layers briefly. Rainmeter achieves the parallax impact by creating a number of layers, that simulate one full background.
There are two important elements to the Parallax impact; the foreground and the background. The foreground consists of a number of PNG picture information, starting from smallest to largest.
Picture information have to be in clear PNG format, which removes white backgrounds out of your photographs.
If you happen to’re not a geek, we suggest testing our information on the best way to convert photographs to clear PNG format. Furthermore, the bigger photographs will transfer greater than the smaller photographs. This simulates the depth of area in your desktop.
Selecting the Components
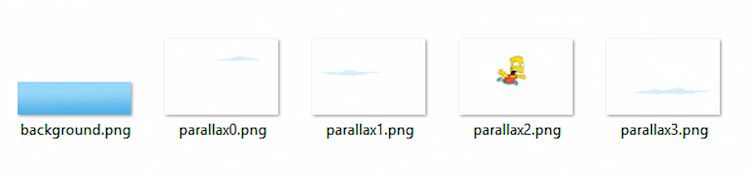
For this information, we’ll simulate a falling Bart from The Simpsons utilizing the parallax impact. Three picture varieties are required for the impact: a falling Bart, some clouds explicit to the cartoon type of The Simpsons, and a sky background.
Observe these steps to arrange some fundamentals for Rainmeter:
- Create a folder in your desktop named parallax supply to save lots of your picture information. This can make it simpler so as to add your photographs to Rainmeter.
- Save all of the information you have gathered to your desktop’s background in that folder.
- Identify your background background.png and title the pictures you’re utilizing to your parallax as parallax[x].png. The [x] corresponds to the layer degree, ranging from 0.
The smallest picture must be titled parallax0.png, the second smallest, parallax1.png, and so forth. That is what your folder ought to appear like:
Positioning the Components
Now, place your PNG information based on your desktop decision. If you do not know about your desktop’s decision, try our information for locating out your desktop’s decision.
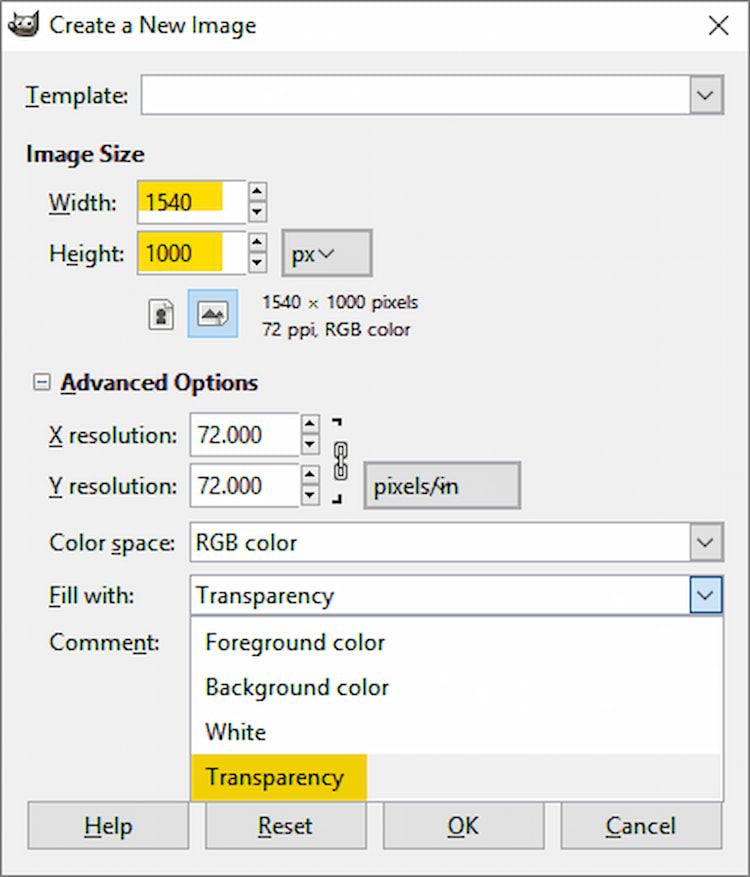
Additional, create a clear doc the dimensions of your monitor decision with an added 100 pixels to your size and width. Drop your information into this body and orient the pictures to your liking.
The way in which you orient your photographs right here is the way in which you will notice them in your background. As soon as you have match all of your photographs into your body, proceed with organising your Rainmeter folder structure.
Rainmeter Folder Structure
Right here comes the core a part of this setup. Observe these steps rigorously to keep away from any points whereas creating the parallax impact:
1. Obtain the newest model of Rainmeter from Rainmeter.net.
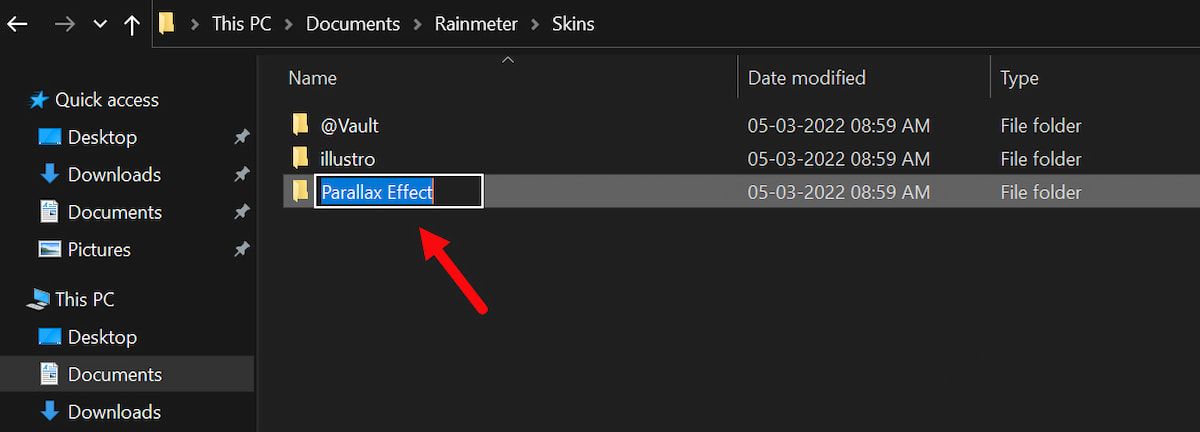
2. Within the listing C:UsersNameDocumentsRainmeterSkins, create a brand new folder named Parallax Impact.
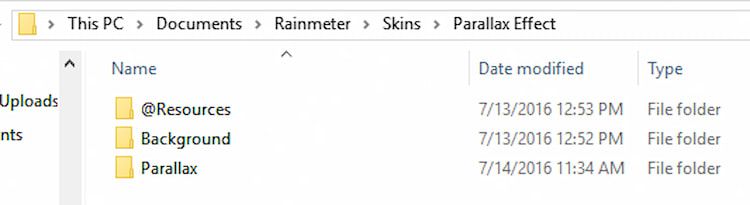
3. On this folder, create three extra folders and title them: @Sources, Background, and Parallax.
The @Sources folder will include photographs, the Background folder will maintain your background.ini file to activate your background, and the Parallax folder is to your Parallax.ini file.
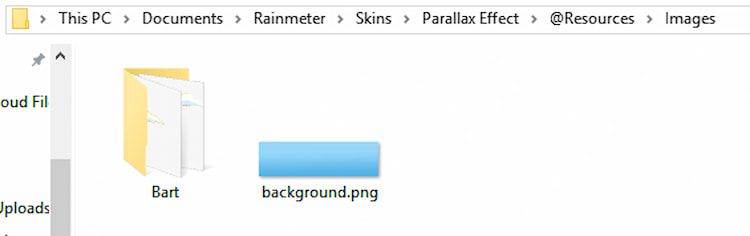
4. Now, open the @Sources folder and create a folder named Photos. Add your background.png file to this listing.
5. Add one other folder to this listing, and title it after your parallax impact. We have named the folder Bart. Add your parallax[x].png photographs to this folder. Your photographs folder ought to now appear like this.
That is it for picture information. Now, you possibly can start reaching the parallax impact.
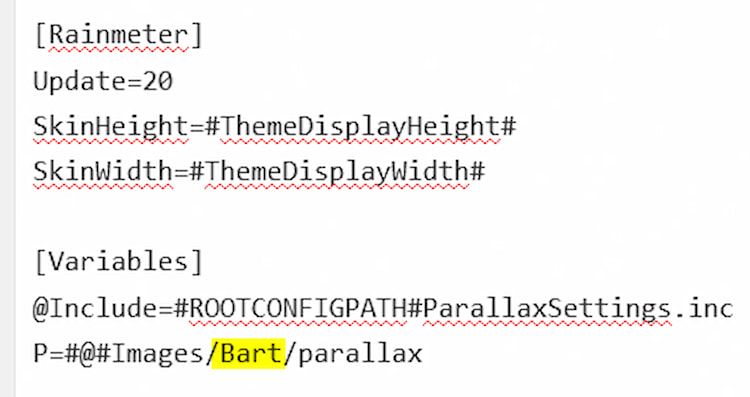
6. Within the root Parallax Impact listing C:UsersNameDocumentsRainmeterSkinsParallax Impact, you have to create a brand new textual content file. Enter the next code into these new paperwork:
[Variables]
ThemeDisplayWidth=1440
ThemeDisplayHeight=900
7. Keep in mind to call this file ParallaxSettings.inc and hold the .inc extension. This file will outline the decision of your parallax. Exchange 1440 and 900 with your individual decision and save.
Setting Up the Required Plugin
We’d like a easy plugin that may observe your mouse cursor’s actions to maneuver your parallax photographs. You possibly can obtain the plugin from this Rainmeter community post.

As soon as accomplished, observe the below-given steps to regulate some settings to your setup:
1. Open your Background folder. Proper-click inside the folder and choose New > Textual content Doc. Double-click this doc to edit, and paste the next script into the file.
2. Save this file as Background.ini, guaranteeing that you’ve got added the .ini extension. Subsequent, open your Parallax folder. Create a textual content doc, and paste the next into this file.
Be aware: You need to change the P variable below your [Variables] parameter to the title of your parallax photographs folder. Our P variable is #@#Photos/Bart/parallax, for instance. Solely change the center title, and hold the remainder the identical.
Finalizing the Parallax impact
Now, the final step is to finalize the whole lot and apply the impact utilizing Rainmeter. Listed here are the steps to do the identical:
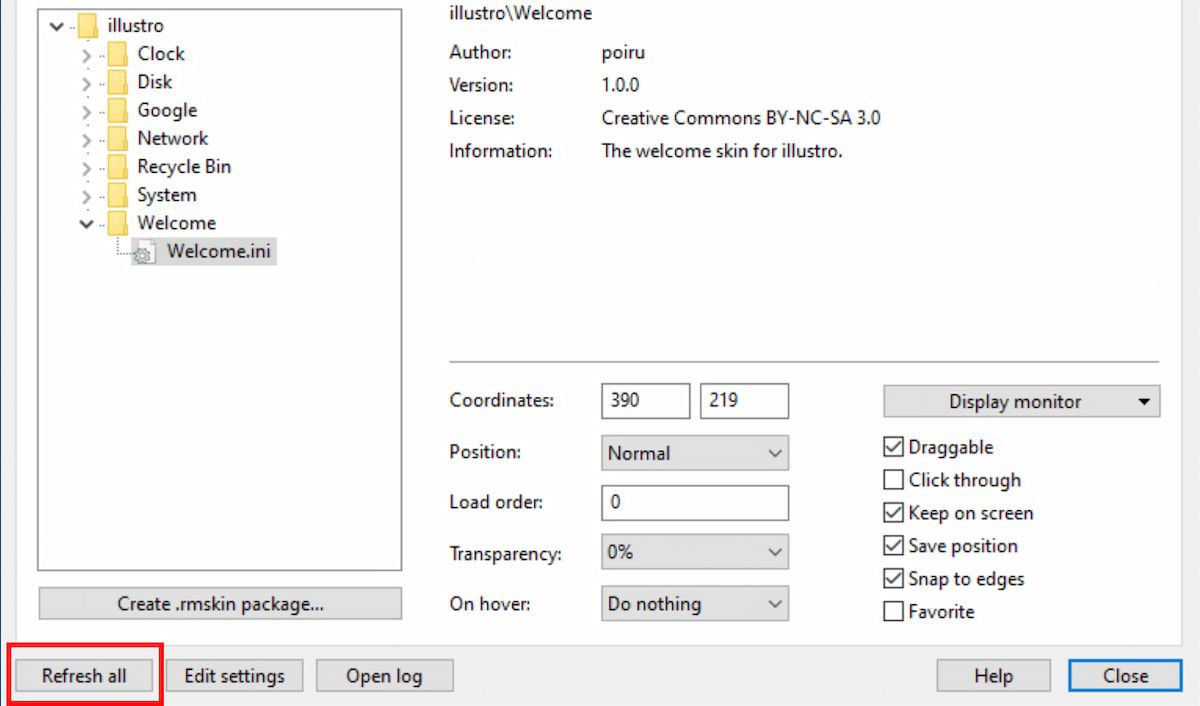
- Open your Handle Rainmeter window by opening your taskbar icon drawer and clicking the Rainmeter icon.
- Click on on the Refresh all button and find your Parallax Impact folder.
- Open your newly created Background and Parallax folders and Load your .ini information by double-clicking them.
- Lastly, verify to Click on by means of within the Handle Rainmeter window for each .ini information and your parallax impact must be full.
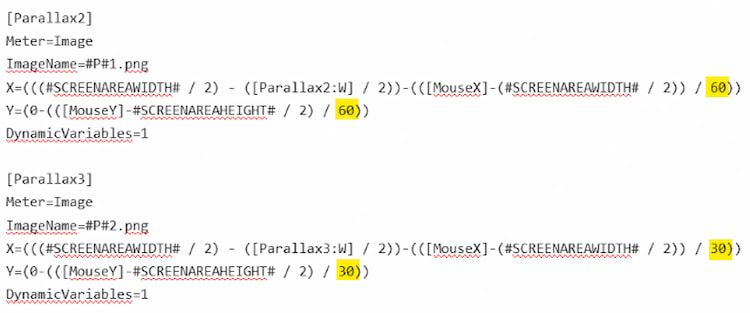
The above script permits for a refined impact. If you would like to make the impact extra dramatic, decrease the variety of parameters current within the Parallax.ini file by 10 or 20 (don’t repeat numbers or embody numbers beneath 0).
Keep in mind to save lots of your .ini file and refresh your pores and skin to enact the impact. If you would like to put in our Bart parallax background, you possibly can obtain the .rmskin from this Deviantart post.
Whereas Rainmeter is an incredible instrument for Home windows customers in the event you’re on a Mac, here is how one can change your desktop wallpaper on a Mac.
Do not Stick With Static Backgrounds
Sticking to static, non-moving wallpapers is okay for some. For others, Rainmeter is a blessing. This system seems to be limitless. Glossy Rainmeter skins are created day by day to swimsuit no matter desktop type you need.
The Rainmeter parallax impact is simply one of the latest improvements in Rainmeter skins, and its use is simply confined to your creativeness.
Learn Subsequent
About The Writer
