When you’re out taking photos, you need to consider several things if you want to get a better shot. One of the most important elements of a photo is white balance. It’s also one of the easiest things to fix in your pictures, and getting it right can transform your results. However, it’s something that many photographers often neglect.
Perhaps the reason why many photographers don’t bother with white balance is that it seems trickier than it is. We’re going to show you that’s not the case, though, and give you seven tips for perfecting this part of your pictures.
Why Should You Care About White Balance?

When you’re in your early days as a photographer, white balance is something that probably won’t cross your mind too much. Many people simply leave this setting as “auto” in their cameras.
In many instances, you can get away with auto white balance on your camera. But often, failing to tweak the settings can ruin the outcome of what otherwise would’ve been an excellent picture.
When used properly, white balance helps make the colors look more like they did in real life when you took the picture. If you neglect this area, on the other hand, you can get colors that look bizarre and will take a lot of editing to look appealing.
Now that we’ve touched briefly on why white balance is important, we can look at the best ways to perfect it in your images.
1. Take a Sheet of Paper With You
White balancing your photos doesn’t necessarily require you to set up some fancy studio, and doing so if you like taking pictures outdoors is impractical. In many cases, you can solve your problems by taking a sheet of paper with you.
Before you start taking the pictures, grab one shot of your paper. Then, use it to alter the white balance on your camera accordingly. If you’re out for a lengthy period and the lighting conditions keep changing throughout the day, you might need to do this several times.
If you don’t want to take a piece of paper with you, you’ve got other options. Taking a picture of a white surface while out and about—such as a wall—will have the same effect.
2. Use a Lens Filter
For some photographers, lens filters are a crucial part of their toolkit. You can buy filters that give you certain special effects, but there are also those that focus primarily on white balance.
There are many instances where you can put a white balance filter over your lens. Other times, you might want to hold it in front of the camera when you take pictures; just make sure that your hands don’t get in the way!
White balance lens filters vary in price. You’ll also find different sizes that fit on different lenses. There are plenty of places to find them online.
3. Manually Adjust In-Camera Using Kelvin

If you’re not interested in buying a lens filter or carrying a sheet of paper around with you, not all hope is lost. Many modern cameras will let you manually adjust your white balance from within the device.
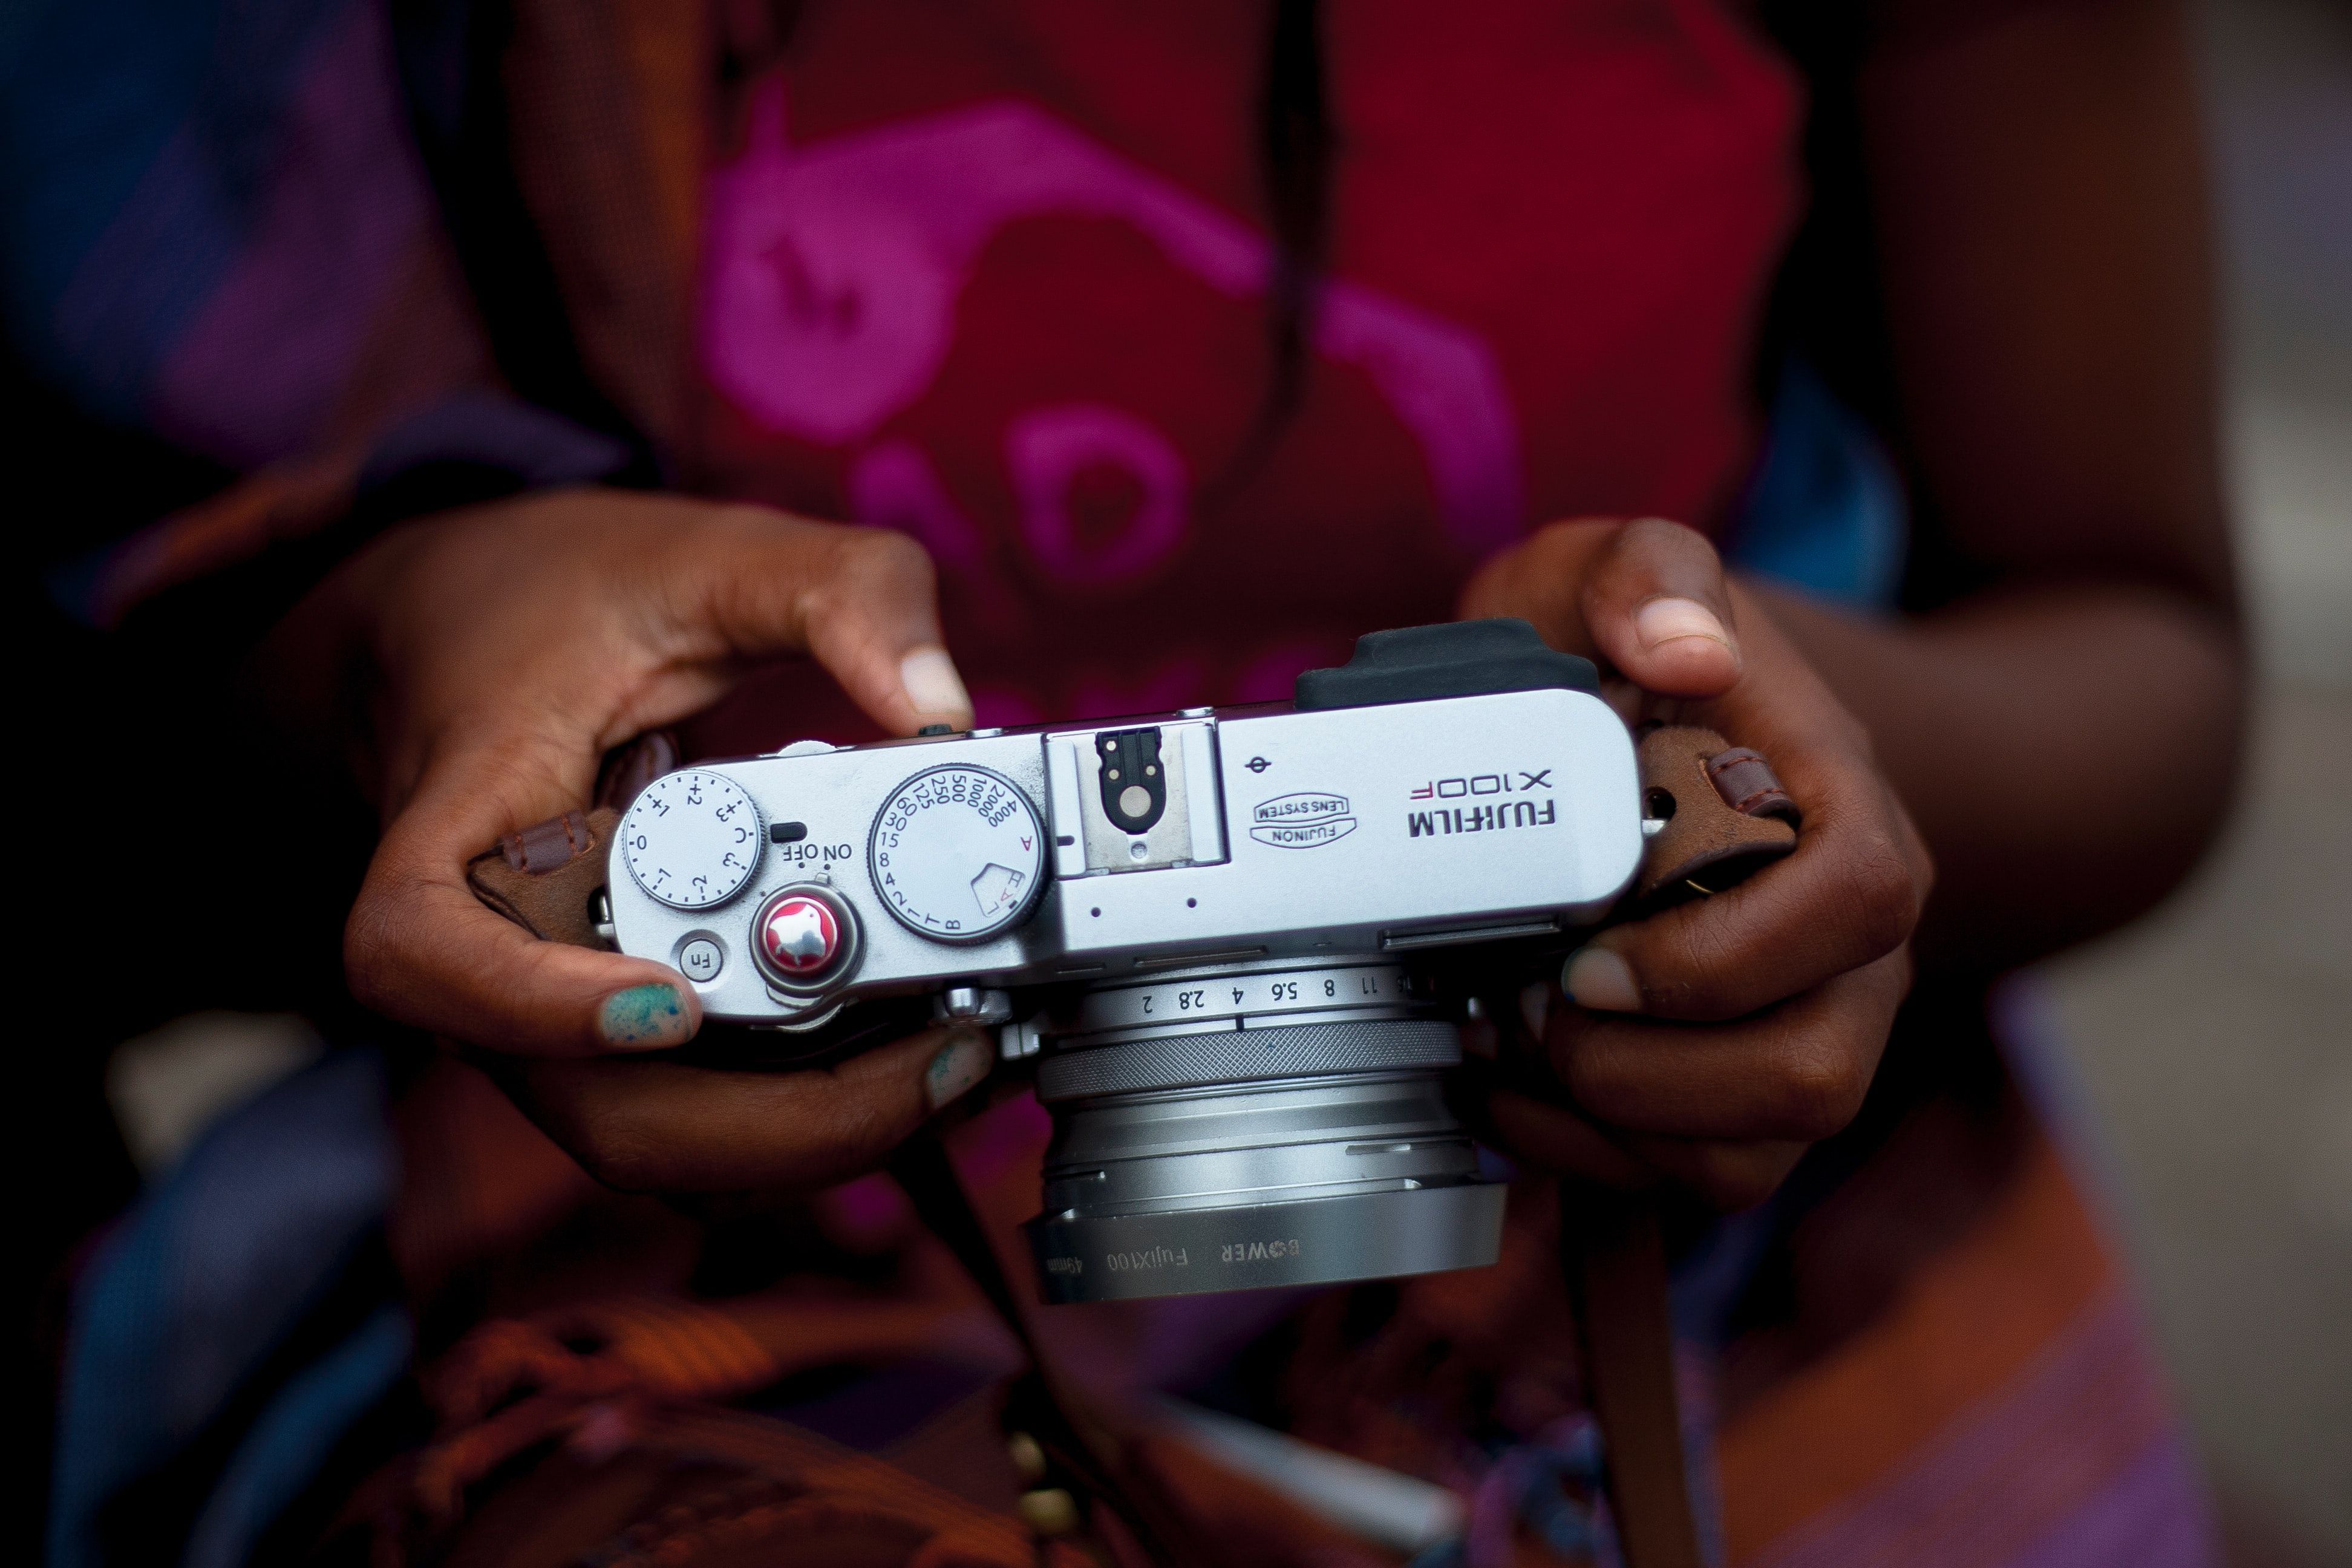
When you use the Kelvin feature in your camera, you can control the temperature in your photos. The lower the number, the bluer your image will be; your camera’s white balance will become warmer if you go the opposite way.
Adjusting your camera with Kelvin is also useful if you’re looking to achieve a specific style. How you access this setting will depend on the camera manufacturer you use.
4. Learn More About Lighting

Almost everything in photography revolves around lighting. One reason that many beginner photographers struggle to get the right white balance is that they lack knowledge about the different types of lighting conditions, so it’s worth getting up to scratch early on.
Making yourself familiar with as many lighting conditions as possible—whether you plan to shoot in them or not—will better equip you for correctly balancing your pictures. You’ll find plenty of videos on YouTube explaining this topic. Alternatively, you can read blog posts about lighting in photography and take courses on platforms like Skillshare.
5. Use the White Balance Selector in Adobe Lightroom

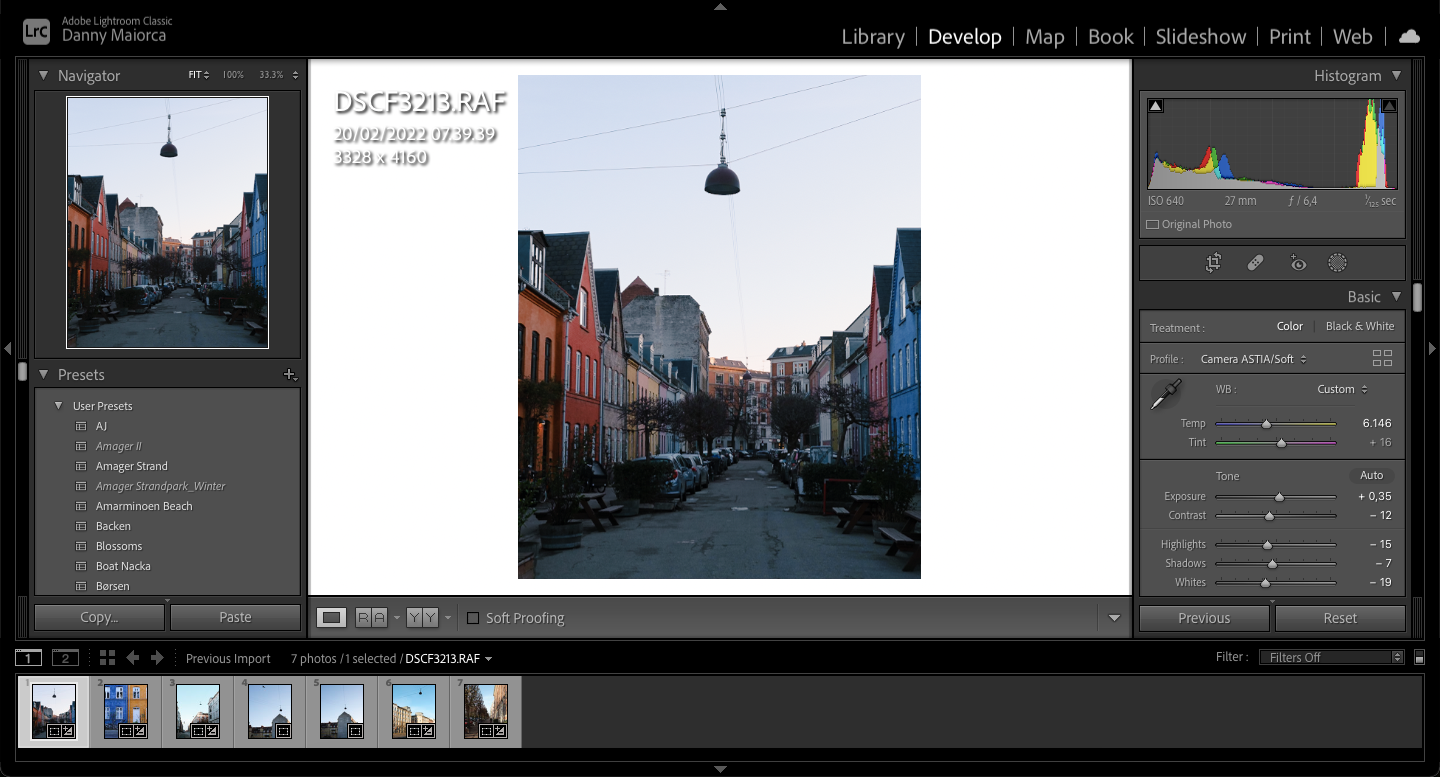
It’s preferable to perfect your white balance while you take the picture, but you can make tweaks in the post-production phase if you need to. If you use it right, Adobe Lightroom can be one of the most powerful tools for altering your photos.
In Lightroom, you can use the white balance selector to change this aspect of your picture accordingly. Under the Basic subsection, click on the dropper icon; this is the white balance selector, you’ll see it next to your camera profile. Then, click on a white area in your image to alter the balance.
6. Calibrate Your Camera Screen
Sometimes, the conditions we see on our camera screen aren’t the same as what we’re looking at in real life. If you’ve ever found yourself uploading an image to your computer and being shocked at the difference, an uncalibrated screen is probably why.
Luckily, many modern cameras give you a lot of freedom to calibrate your screen. You can alter brightness, colors, and much more. How you do this will depend on the manufacturer you use.
7. Readjust Your Eyes
Sometimes, the problem might not be your camera. Instead, it’s possible that all you need to do is readjust your eyes.
When you stare at a screen for extended periods, your eyes will see things differently. If you’ve been editing for a few hours without a break, consider taking a step back and doing something else—preferably something that doesn’t involve your phone or computer.
If you’re out taking photos, spend some time taking in your surroundings. After that, you’ll have a better idea of how you think the white balance should look.
White Balance Is Crucial for Getting Good Pictures
White balancing your photos correctly is one of the easiest ways to instantly improve your results. Yes, you can sometimes get away with auto mode, but using this method will only get you so far, and you’ll eventually get frustrated with your progress. If you’re unsure about how to improve your white balance, start with the tips we’ve listed here.
Read Next
About The Author